Animating a Dragon for Your Personal Reel: Tips and Techniques
Alessandro Tommasi pursued his dream of special effects creation after high school, honing his skills at Side Academy. With guidance from industry experts like Oscar winner Sarah Arduini, he mastered 3D animation and in this article shares how to create a dragon animation for your demo reel.
Alessandro Tommasi resides in Verona, Italy. After completing his scientific-oriented high school education, he embarked on fulfilling one of his dreams: studying and working as a creator of special effects in the cinematic realm. Fortunately, he found Side Academy in Verona, a perfect fit for his aspirations. Under the guidance of international industry experts such as Sarah Arduini (an Oscar winner for The Jungle Book), Alessandro spent three years mastering the art of 3D animation. Now, having completed his studies, he has secured a position at a studio affiliated with the Academy, providing him with firsthand experience as a newcomer in the film and video game industries. We asked Alessandro to share the process he followed in creating his final year's thesis: a captivating reel featuring a dragon!
My third year in Side Academy was a real turning point in my career as a CGI artist. By tackling all the various areas of this vast world I was able to get an idea of everything it can offer, and I understood that animation was the area in which I wanted to specialise.
For my final thesis I therefore decided to create a reel that contained various animations of a character, more specifically a creature.
Who’s the main character?
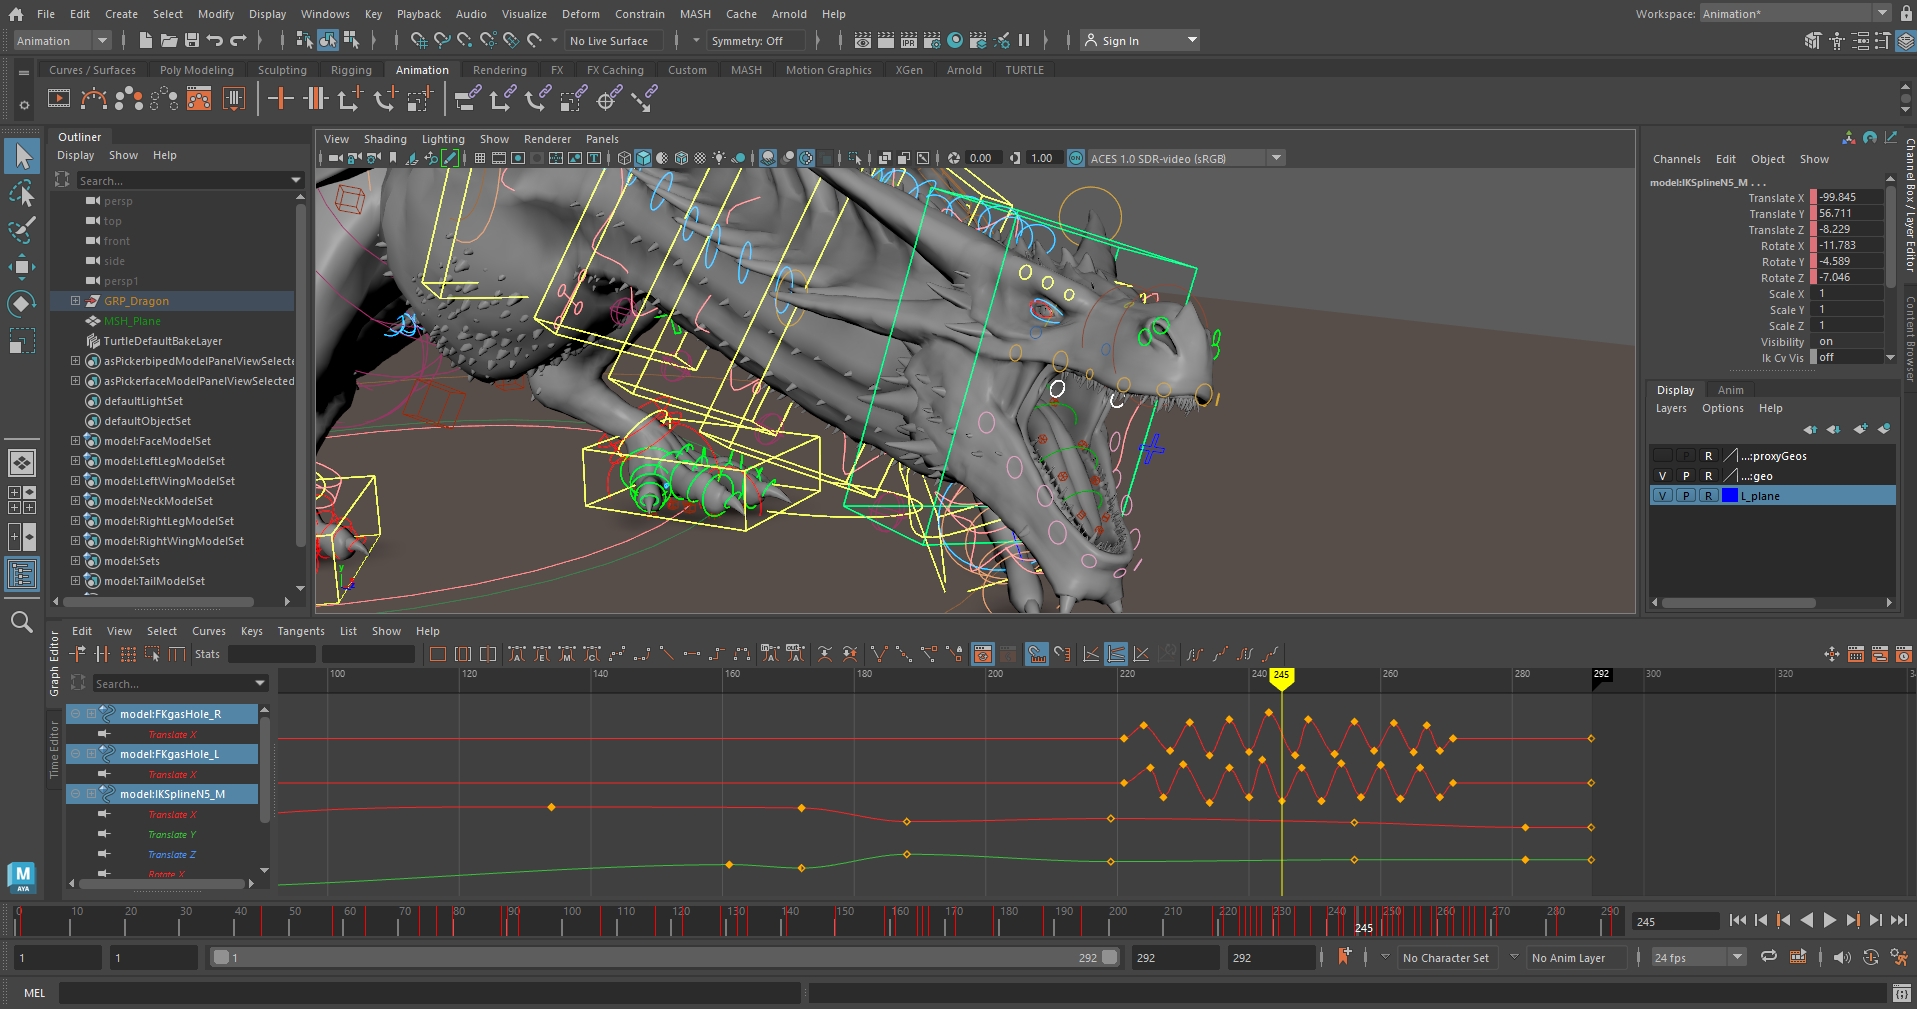
In the past I had already animated dinosaurs, and therefore I was looking for something more challenging and which would allow me to improve my skills, so my choice fell on a dragon. I had to look for a rig made for Autodesk Maya, the software I use to animate.
After a bit of research I came across what I still consider one of the best rigged models that can be purchased online.
I’m referring to “The Tyrant Dragon” by Truong CG Artist at the link above.
The model is amazing, with a high level of detail. But the highlight is definitely the rig, which has various features that allow the animator to have fun creating very particular movements. Later I will show you in detail what I'm talking about.
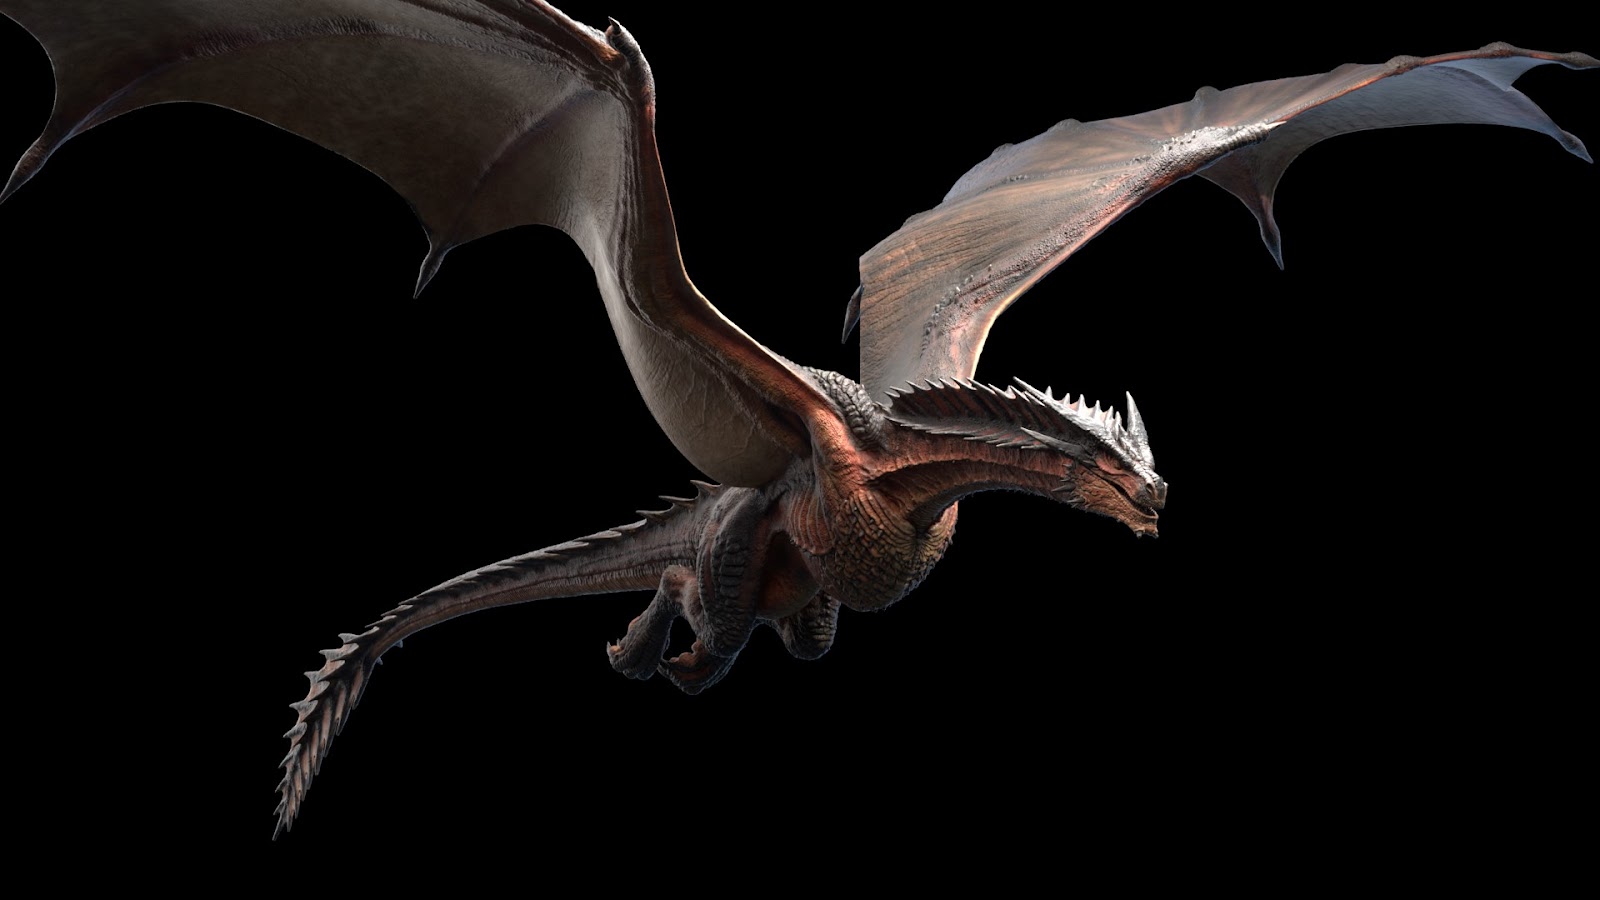
Flight Cycle
Every time I work with a new character, the first thing I do is create some animation cycles, to get familiar with the rig and explore all its controls. I had recently taken a course on how to animate the flight of a dragon, held by my teacher Sarah Arduini at the Academy, so I decided to start with that.
In a flight cycle you have to animate a single flap of wings, which is then looped to simulate flight. Before getting to work it is important to set all the controls of the body parts in Forward Kinematic mode (FK). This saves you from having to animate them pose by pose, since they follow the body.
The basic concept is very simple. I started by working on the control of the dragon's root, focusing on the translation from top to bottom then forward and backward, which is repeated with each flap of the wings, and on the rotation on the axis X. Then, I proceeded on adding that rotation on every body control, offsetting each of them by one frame.
In a flight cycle the head must be counter-animated since it is the part that guides the animal and indicates the direction in which it flies. So I inverted the rotation x of it and of the neck to make it more fixed in one point, despite being animated. I raised and lowered the tail and legs according to the movements of the pelvis, and the closer I got to the final part of the limb, the more I increased the offset of the movements.
I animated the wings last, the process is similar to the other parts of the body, but this rig also allows work on the membranes between one finger and the other, simulating their swelling upwards and downwards caused by the wind. I watched many videos of bat flight and they were very helpful.
Once that was animated, the primary animation could be considered finished, and I could move on to one of my favourite parts, adding the secondary animations and details. As I was telling you, this model has special controls that allow you to create particular movements.
For example, I used pivots scattered around the body to simulate the vibrations of the skin, the gurgling of the belly and the fantastic swaying of the fins on the neck and tail, which have an automated movement, manageable with simple values in the channel box.
Now I could call the flight animation finished!
Walk Cycle
To create a walk cycle of a quadruped, as opposed to a flight cycle, it is important to set the legs (and wings in our case) in Inverse Kinematic mode (IK). This allows you to move the body without affecting the legs.
During the dragon walk I paid particular attention to managing its weight. When he takes a step it is important to make the observer perceive the weight shift from one leg to the other, managing the translation of the body controls on the X axis well.
For the rest, on the body, tail and head, the procedure is always the same, offsetting all the movements well, starting from the root to the ends.
Once this was done well I could focus on the details. I particularly enjoyed realising the bounce of the long wing fingers and the membranes that connect them. It was also fun to move the neck fins, which in this case I rotated up and down, to emphasise the step.
Final Animation
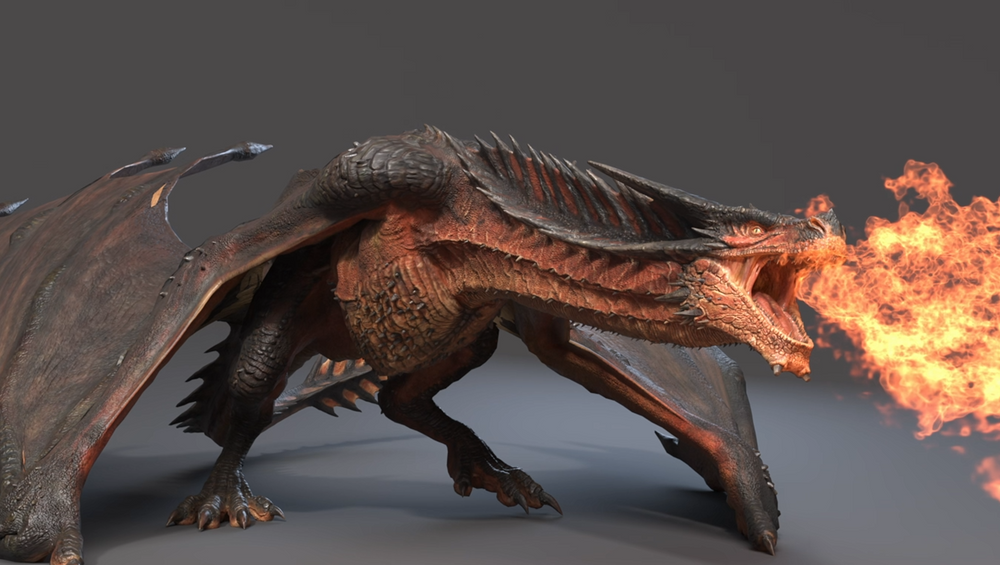
Two cycles were enough. After finishing them I decided to move on to a scene with a little more acting. I created a shot in which the dragon wakes up and shakes itself, like a dog would do, to shake off the torpor accumulated during sleep, and finally breathe fire.
The search for references is essential, I took inspiration from a scene from a "Dungeon and Dragons" cinematic, and then implemented other films of animals shaking, dogs in particular.
In this case I worked a lot in stepped mode, to center the key poses and the timing of the main movements well. I created many breakdowns and in betweens to connect the key poses well to each other.
I also worked on the dragon's face, and in particular on the membrane of the mouth. I added some small vibrations to simulate the release of air during the roar. To do this I created very close keys, and I created cantilevers up and down, to speed up the movement. I then animated the tongue up and down, and then closed the eyes to accentuate the anger during the action.
Once stepped mode was done, I moved on to spline mode, and I firstly cleaned all the curves and animations of the dragon, making sure that it followed clear and precise arcs of movement. I eliminated the excess keys and added a few at some points of the curves, also checking their tangents.
Among the secondary movements I animated the fins to make them move similarly to those of the dragons in "Game of Thrones", moving them quickly and differently from each other when the fire is emitted.
Once the animation was finished I created the fire. With the help of my VFX teacher Daniele Martinello, I created an emitter with Phoenix FD, and we adjusted the release of particles to make them as similar as possible to a flame. It took some testing and attempts but the result came out well!
Final assembly
To conclude, I created a small light set, and rendered everything with Arnold. In Nuke I did some colour correction, and with Da Vinci I edited the final video for my reel.
I hope this breakdown inspires you to take on a project like this for your Rookies portfolio or as an entry for the Rookie Awards 2024!
Reach out to Alessandro via his Rookies profile here.