Automation in Houdini: From Curve to Flowing River
Discover insights from Giambattista Nicolosi, a seasoned 3D Artist and BigRock graduate, as he shares expertise in Houdini for your next project or Rookie Awards entry.
Discover insights from Giambattista Nicolosi, a seasoned 3D Artist and BigRock graduate, as he shares expertise in Houdini for your next project or Rookie Awards entry.

Giambattista Nicolosi, a recent graduate of BigRock and now a seasoned 3D Artist, generously shares his wealth of knowledge and expertise, particularly in utilising tools like Houdini. Dive into his insights for inspiration on your next project or Rookie Awards entry. Happy reading!
Since I was a child, I've always had an interest in creating things on the computer. I particularly remember when I was 13 years old and created my first 3D render for an intro to a video game clan. A few years ago, I decided that I could turn my fascination into a job one day. From then on, I never stopped studying and improving myself. I studied at BigRock, to have a general vision of the 3D work.
In the following years, I worked as a 3D artist and Motion Designer. During my last job, in my spare time, I approached Houdini and started studying it. After the initial panic period, I understood how the program works, I can't deny that I fell in love with it. I find the node-based workflow extremely convenient for the flexibility of projects. I also enjoy discovering techniques and uses. They are so varied that I don't see the limit of a program like this.
The only problem was that I couldn't dedicate as much time as I wanted, this significantly slowed down my studies. A few months ago, I decided to focus on studying Houdini quitting my full time job, and started from scratch. Since then, I've made good progress, and this river is the first example!
My primary objective in creating this scene as my first project was to fully utilise Houdini's procedural features. I set out to construct a kind of "tool" that would be beneficial. So, I wanted to learn everything I could about the use of attributes, and the integration between geometries and nodes. In my limited experience, I think I've accomplished what I set out to do. I am aware that there are still some issues. However, I am happy that I have accomplished my primary objective. I have become more adept at using the program and raised my knowledge of its potential.
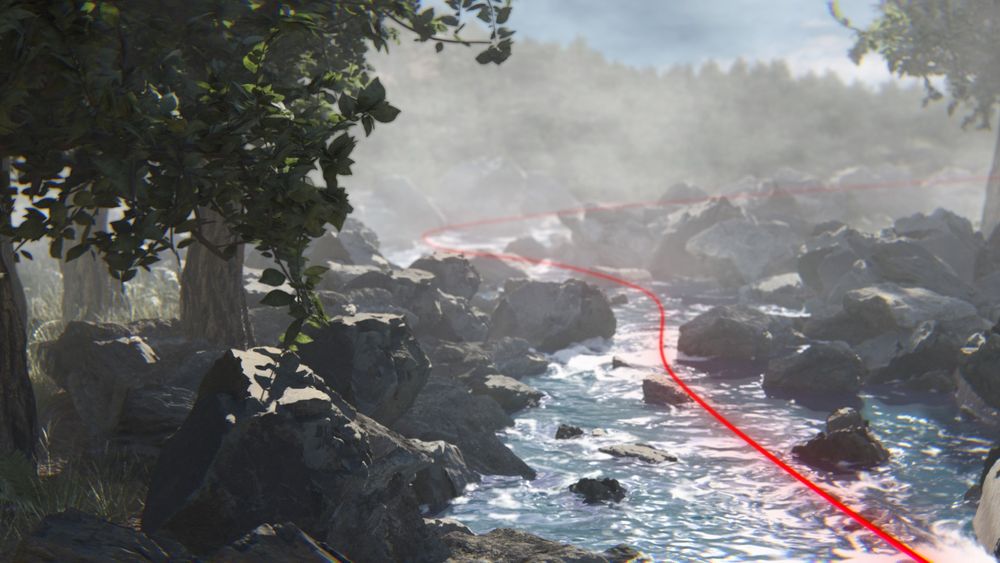
One characteristic of Houdini is its procedural capability, which allows for the creation of highly articulated systems that work in harmony. With my first project, I aimed to focus primarily on this aspect, generating a river as procedurally as possible, starting from a curve.
The project's initial stage was undoubtedly similar to any other. It involved gathering references for the river, which serves as the scene's central feature. Since my aim wasn't to attain a 1:1 match with the sources, it would be more accurate to talk about inspiration rather than references. Rather, I tried to keep the same tone but concentrated more on the technical parts. I specifically wanted to recreate the ambience of those videos. They repeat and play in the background as you work for example.

In terms of project management, my goal was to automate as much as I could. I used masks and boolean operations to make the riverbed. Then, I obtained all other project elements from it. Thanks to the characteristics I utilised, I was able to use a curve node to generate a spline that represented the form and direction of the river's course.
I generated the UV coordinates of the curve. I could then use them later in generating the "Size_ramp" attribute. I would then use this attribute as a multiplier for the river's radius. This would allow me to choose where and how to widen or narrow it.
After simulating the river, I understood that I required a means of directing the water's flow. I required a property that indicated which way the river ran. So, the river's curved tangent was just what I required. With the help of the entire procedural node system, I was able to return there. For each curve point, I built the "Tangent" attribute. This produced a set of vectors that followed the curve's course. I converted these vectors into the river flow's velocity. They will be essential for adding flow to the river simulation.

I produced an output from the tube that will serve as the FLIP simulation's BoundingBox. I used the "Bound" node, scattered points, and eliminated extra points outside the scene to do this. I created a box. Then, I used the following commands to convert this bound into float values:
bbox = To calculate the size on each axis (D_XSIZE, D_YSIZE, D_ZSIZE)
centroid = To calculate the center on each axis (D_X, D_Y, D_Z)

First, we create the tube. Then, we add noise and perform a boolean operation with the terrain. This gives us our riverbed. We then derive the position of all other objects in the scene from the riverbed.

I carried out some boolean operations to have the river simulation ready. In particular, we were able to acquire a volume that rather properly depicts the body of the river. We subtracted the rocks from the riverbed (I will discuss the scatter later) and the volume of the riverbed itself. To construct a control, I also included another boolean operation. It sets the "Water_level" (shown in purple). This regulation ensures a minimum river level. It prevents total neutralisation by using a Fit function.
I made my simulation's source from this geometry. I imported the curve and transferred the "tangent" attribute to the source to ensure an accurate velocity value. Then, I converted it into velocity to enable automatic tracking of the river's path. In the meantime, I designed a control to alter the river's velocity. This enables modifications to its height, form, and speed of flow. In this way, we have established a system in which the flow of the river is always in proportion to its form.

Once everything was simulated with their respective colliders, I saved the compressed simulation. Later, I converted it into a surface. I also used this surface for the whitewater simulation.
I always did the same thing for the geometry instances. I first created an area to distribute points for inserting the variants. Then, I made a few tweaks to the settings in order to automate the process. I designated precise regions for the points' placement:

The scattering is done automatically in various zones. It modifies the Cd.x (Red zone) to convert it into the "Density" attribute, which drives the scatter.
Larger rocks: I created a group using a range of edge angles in the primitives. I selected only the edges of the river.

Smaller rocks: I imported the curve from which the river originates. Then, I used it to create the central zone.

Vegetation: I isolated the upper part of the geometry. I created the zone, excluding the edges. Once I scattered both the grass and the trees. I removed the points that intersected with the rocks turned into geometry. This cleaned up the scene.

I used the Instancer in Solaris to distribute the variants at their respective points. I prepared the variants and collections first, controlling instance probability in Solaris.
I created parameters and commands to set up the scene. Then, I connected values to various nodes. I adjusted the point count for each geometry. I also adjusted various attributes like orientation and scale.

This instance configuration also allows deciding whether to have a specific variant at a particular point. For example, I removed a repetition that was visible in the frame by modifying the "probability" attribute of a point.


Once these points were created, I prepared the geometries for scattering. I created a "proxy" geometry for each variant. Before animating them, I converted the geometries into a lighter version. This reduces the load on the viewport.
About the dynamics of the vegetation, I simulated the movements using Vellum. I created a red zone for each variant, using the same logic as geometry scattering. I used the red zone to determine the area to be constrained. I set up and simulated with Vellum. Then I applied the deformation to the geometry, merging everything I had separated.

The same process was applied to the leaves, but managed separately. I created a group to use for locking the geometry, and I simulated the rest with Vellum. This time, we added "attach to geometry." It connects the leaves to the movement of the previously animated branches.

To render, I used Solaris with Karma XPU to fully leverage the rendering speed of the graphics card. Once I imported the various geometries, I organised the work into visual boxes for a clearer view.

I created the various materials in MaterialX. I assigned them to their respective geometries and i made sure to rename all the primitive paths correctly.

Finally, after defining the camera and lights, I created the various render passes using the "Render Geometry Settings" nodes. I set the Matte or Phantom according to the requirements. I configured the AOV for Depth, which is essential for compositing. Then, I proceeded with rendering the entire job in XPU.

Once I had all the render passes, I composited my scene in After Effects. I used the Z-Depth to create the depth of field effect and the fog effect. I added camera movement in post-production using a wiggle expression. Then, I applied various color effects and chromatic aberration.

First of all, thank you for reading the article to the end!
I hope my explanation was understandable and did not cause any confusion. I've only recently started using Houdini, so my project isn't highly complex and it definitely has some issues, but it's still really exciting for me that TheRookies were interested in it (thank you for the opportunity, guys!). This positive feedback is certain to encourage me. I'll keep moving forward with confidence in my career. I express my gratitude to my friends for their input and encouragement in the project and in the studio, hoping to find a job soon!
If you want see the animated Breakdown you can see it there:
Reach out to Giambattista via his Rookies profile here.