The Skills of Portrait Artists: Studying Light and Shade
Join e-artsup student Alice Crucy as she explores faces and light reflection in her project, mastering Photoshop tools to create portraits within a challenging 2-hour timeframe. This article uncovers the methodology behind Alice's vibrant portrait creations.
Alice Crucy, a current student at e-artsup, Strasbourg, embarked on a project aimed at studying faces and exploring the nuances of light reflection. Her objective was to enhance her mastery of Photoshop tools while undertaking the challenge of creating these portraits within a limited timeframe of approximately 2 hours. This article delves into the methodology employed by Alice to bring these portraits to life.
Goals and inspirations
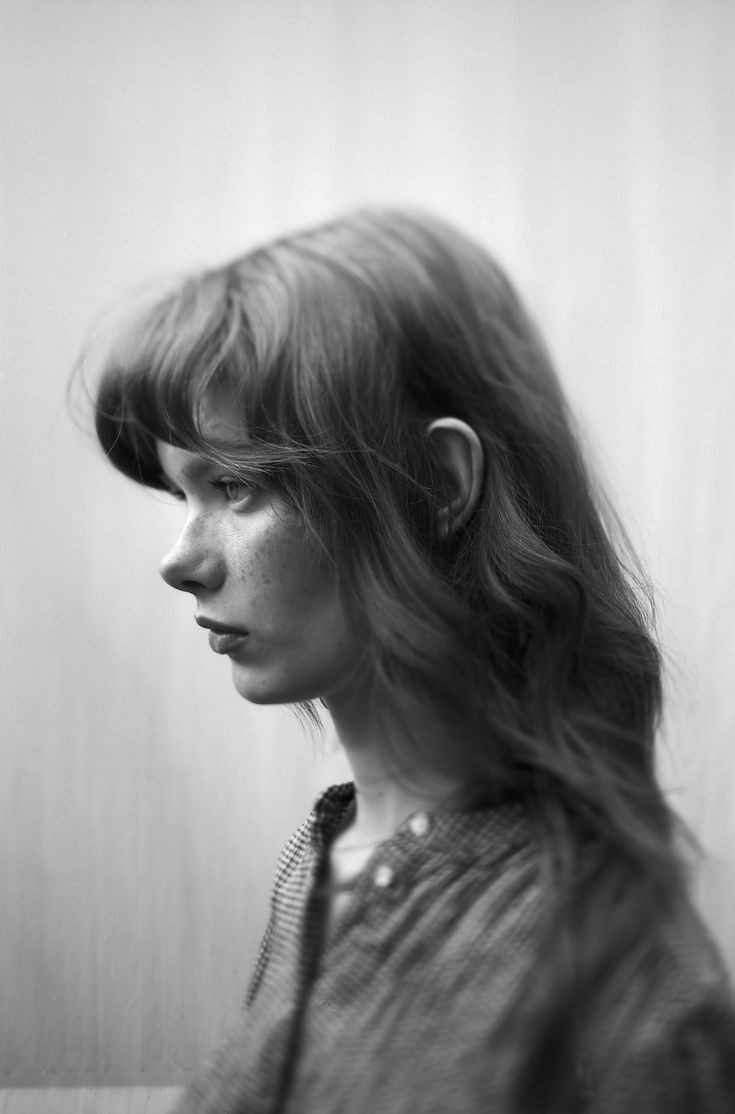
I begin by searching for references on Pinterest. To make the exercise more engaging, I'll opt for atypical faces, stepping out of my comfort zone to deepen my understanding of face morphology. Choosing faces that catch the light well will help me comprehend how it's reflected, as exemplified by the two portraits below.
Rough and Sketch
I lay the foundation of the face using a basic Photoshop brush, opting for a rounded net pressure size (general brush) at size 3-4 for a fine line. The initial sketch is done in black, with occasional colour changes for emphasis. While staying fairly faithful to the reference, adaptation to the desired style is always an option. I typically start with the profile and hair, gradually adding facial features like eyes, eyebrows, and mouth.
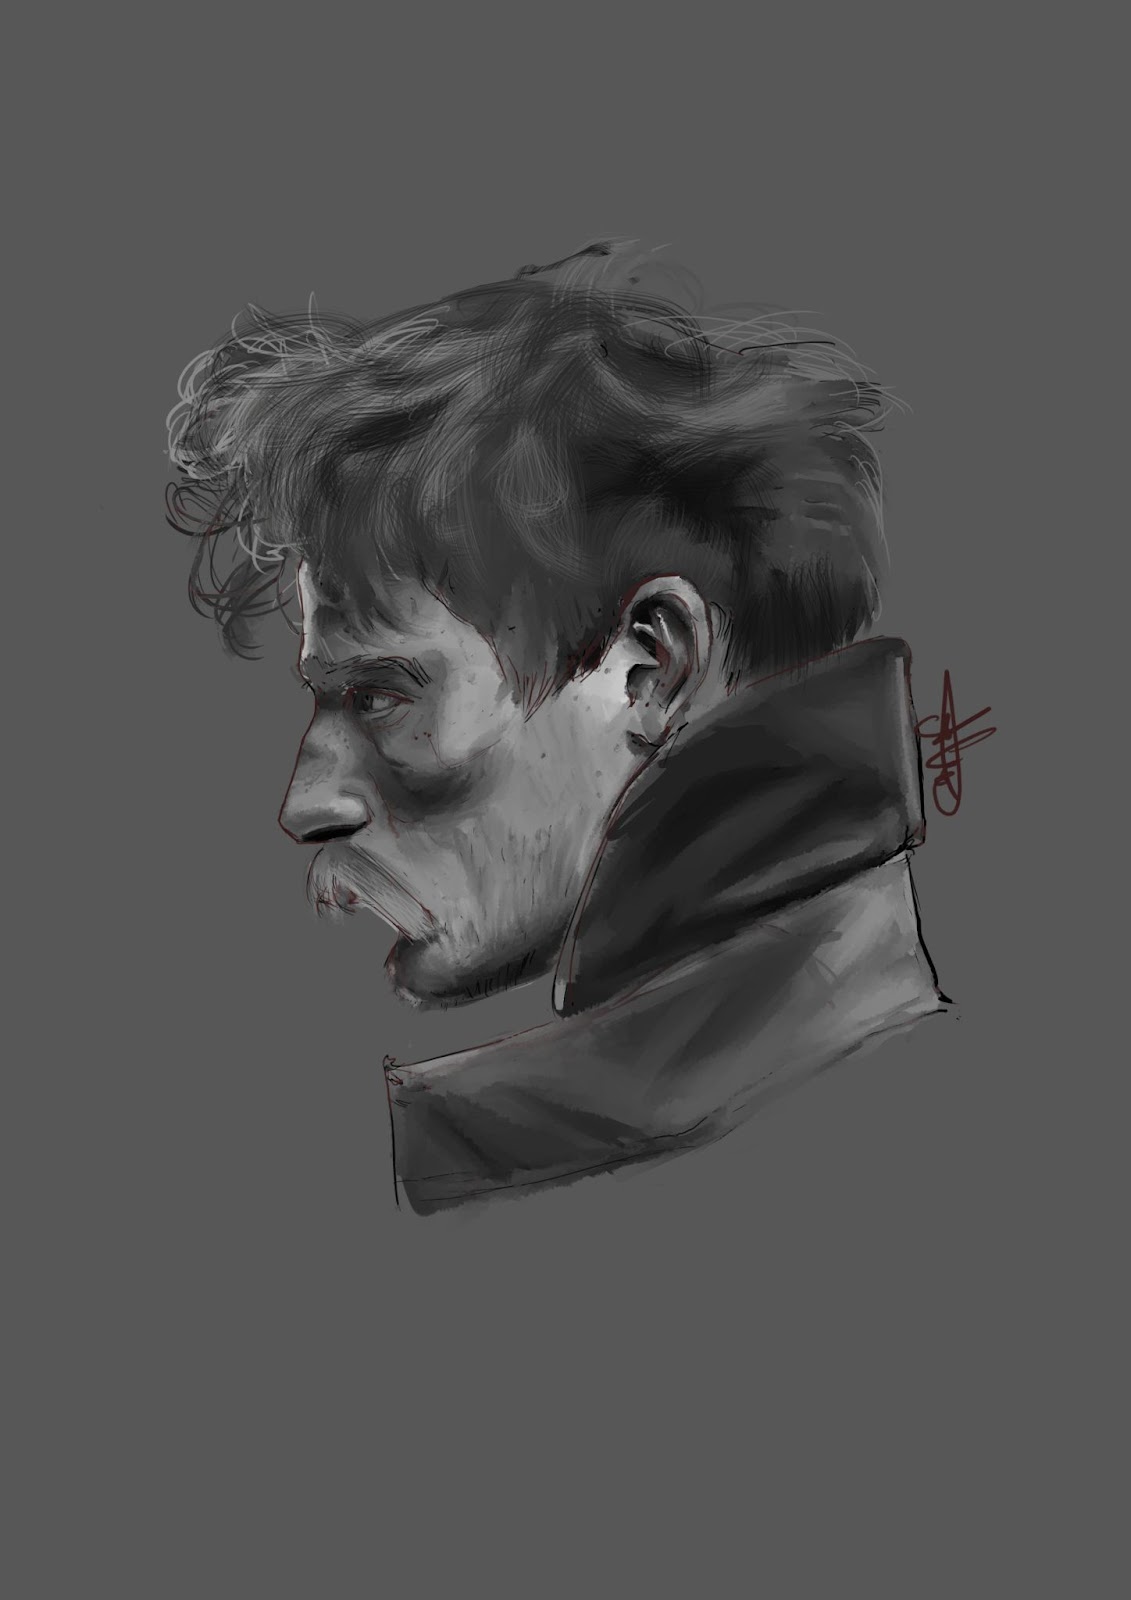
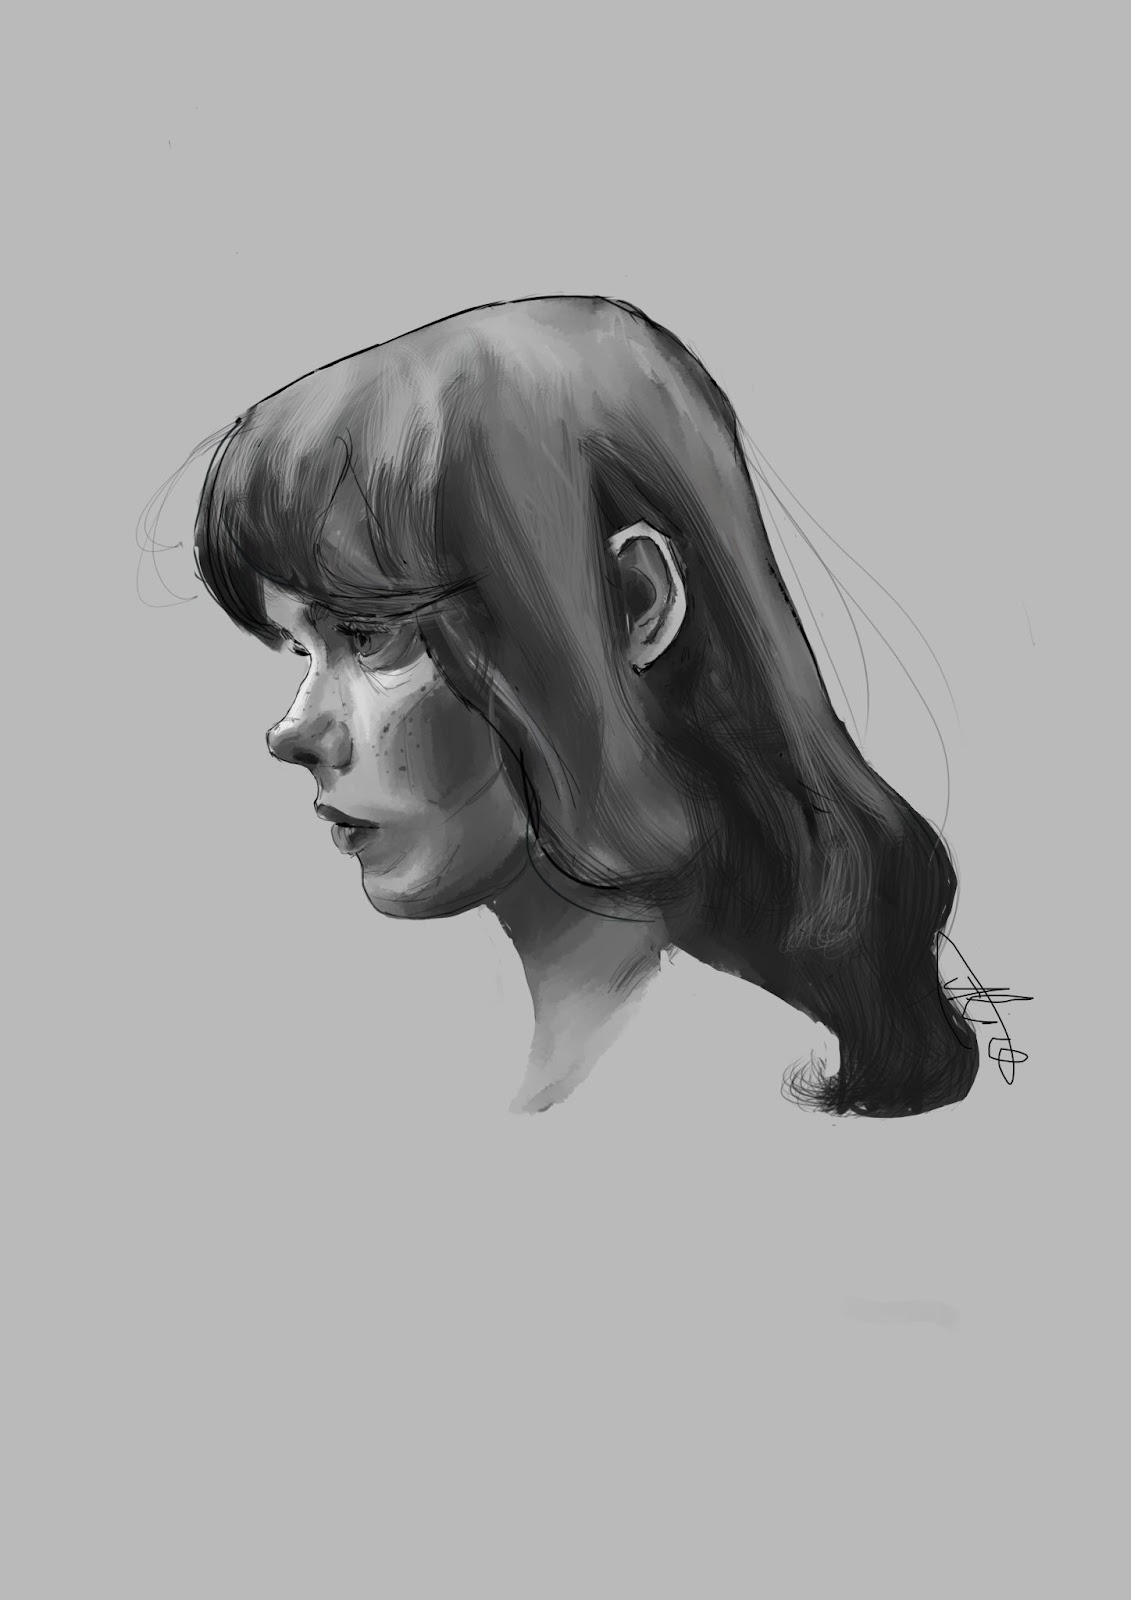
After establishing the foundation and achieving a satisfactory sketch, I reinforce the essential features and refine lines for clarity. Adding variation to facial lines enhances the graphic quality. In this case, I've chosen to emphasise specific areas, such as under the eyes and on the cheeks for both the girl and the man.
Solid colours
The second stage is the solid colours. Once the sketch is finished, I analyse the most important blocks of colour in the two essential parts of the portrait: the face and the hair. You can use Photoshop's eyedropper to take the colours directly from the reference image, but it's more interesting to try and find them yourself in Photoshop's colour cube. So I use the main colour as a base, then superimpose the other colour variations (generally, I use the lightest and darkest shades).
Mixing and texturing
This part is probably the most important if you want to achieve satisfactory lighting results. It involves mixing the colours. To do this, I use Photoshop's finger tool, with a special feature: kyle's colour box (wet brush). It's very effective for mixing colours but if you set the size above 20, it can give too much texture depending on the result you want. I leave it at around 7, which allows you to blend well and not spread the colours too thinly. I use this tool to blend the blocks of colour that I've applied before.
After mixing the colours sufficiently, I add texture, particularly to the hair. To do this, I use textured brushes. For these images, I used several shades of grey: light, medium and dark. Then, I apply them with reference to the images, to understand how the light is applied.
Details
In the final step, I focus on adding specific details like the girl's freckles and the man's moustache, ears, and other features. Additionally, I fine-tune the lighting and shadows to enhance the overall visual impact, emphasising key elements and creating contrasts.