Designing Immersive Environments Utilising ZBrush, Substance 3D and Unreal Engine
Andrea Zanchetta, a student at Skyup Academy, presents his project "Aria," showcasing his passion for the VFX and video game industry. Discover Andrea's meticulous implementation process and the challenges he conquered to achieve a harmonious balance between quality and performance.
Andrea Zanchetta, a student at Skyup Academy, and graduate in set design from the Academy of Fine Arts in Verona, has a passion for the VFX and video game industry which translates in his work. In this article, we delve into Andrea's project, "Aria," exploring their meticulous implementation process and the challenges he conquered to achieve the delicate balance between quality and performance.
Since I was a child, I have been passionate about movies and video games. The environmentssurrounding the characters have always fascinated me, especially the natural and post-apocalyptic ones. They were able to convey emotions that would captivate me, and I would always imagine what it would be like to be immersed in them.
vertical video for social media
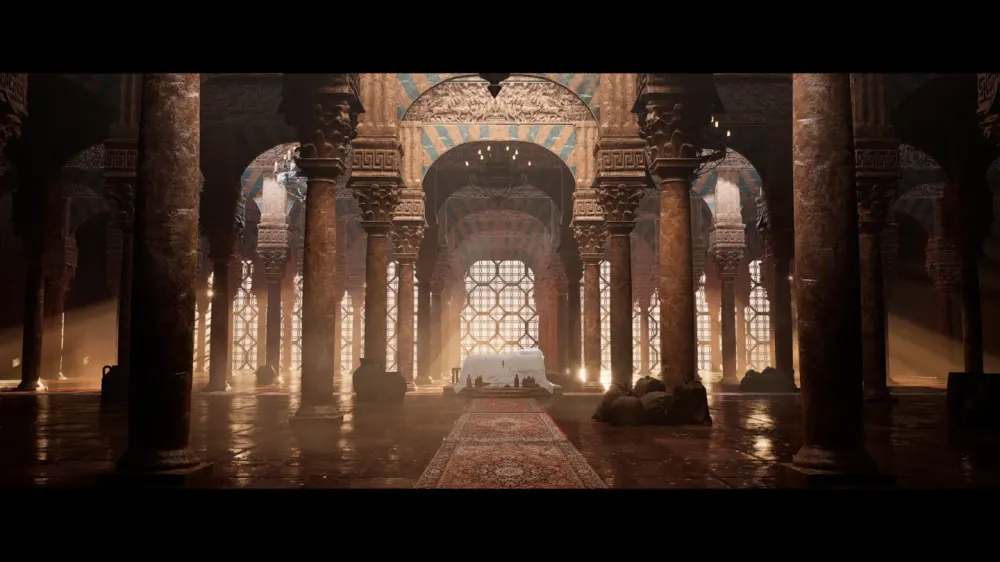
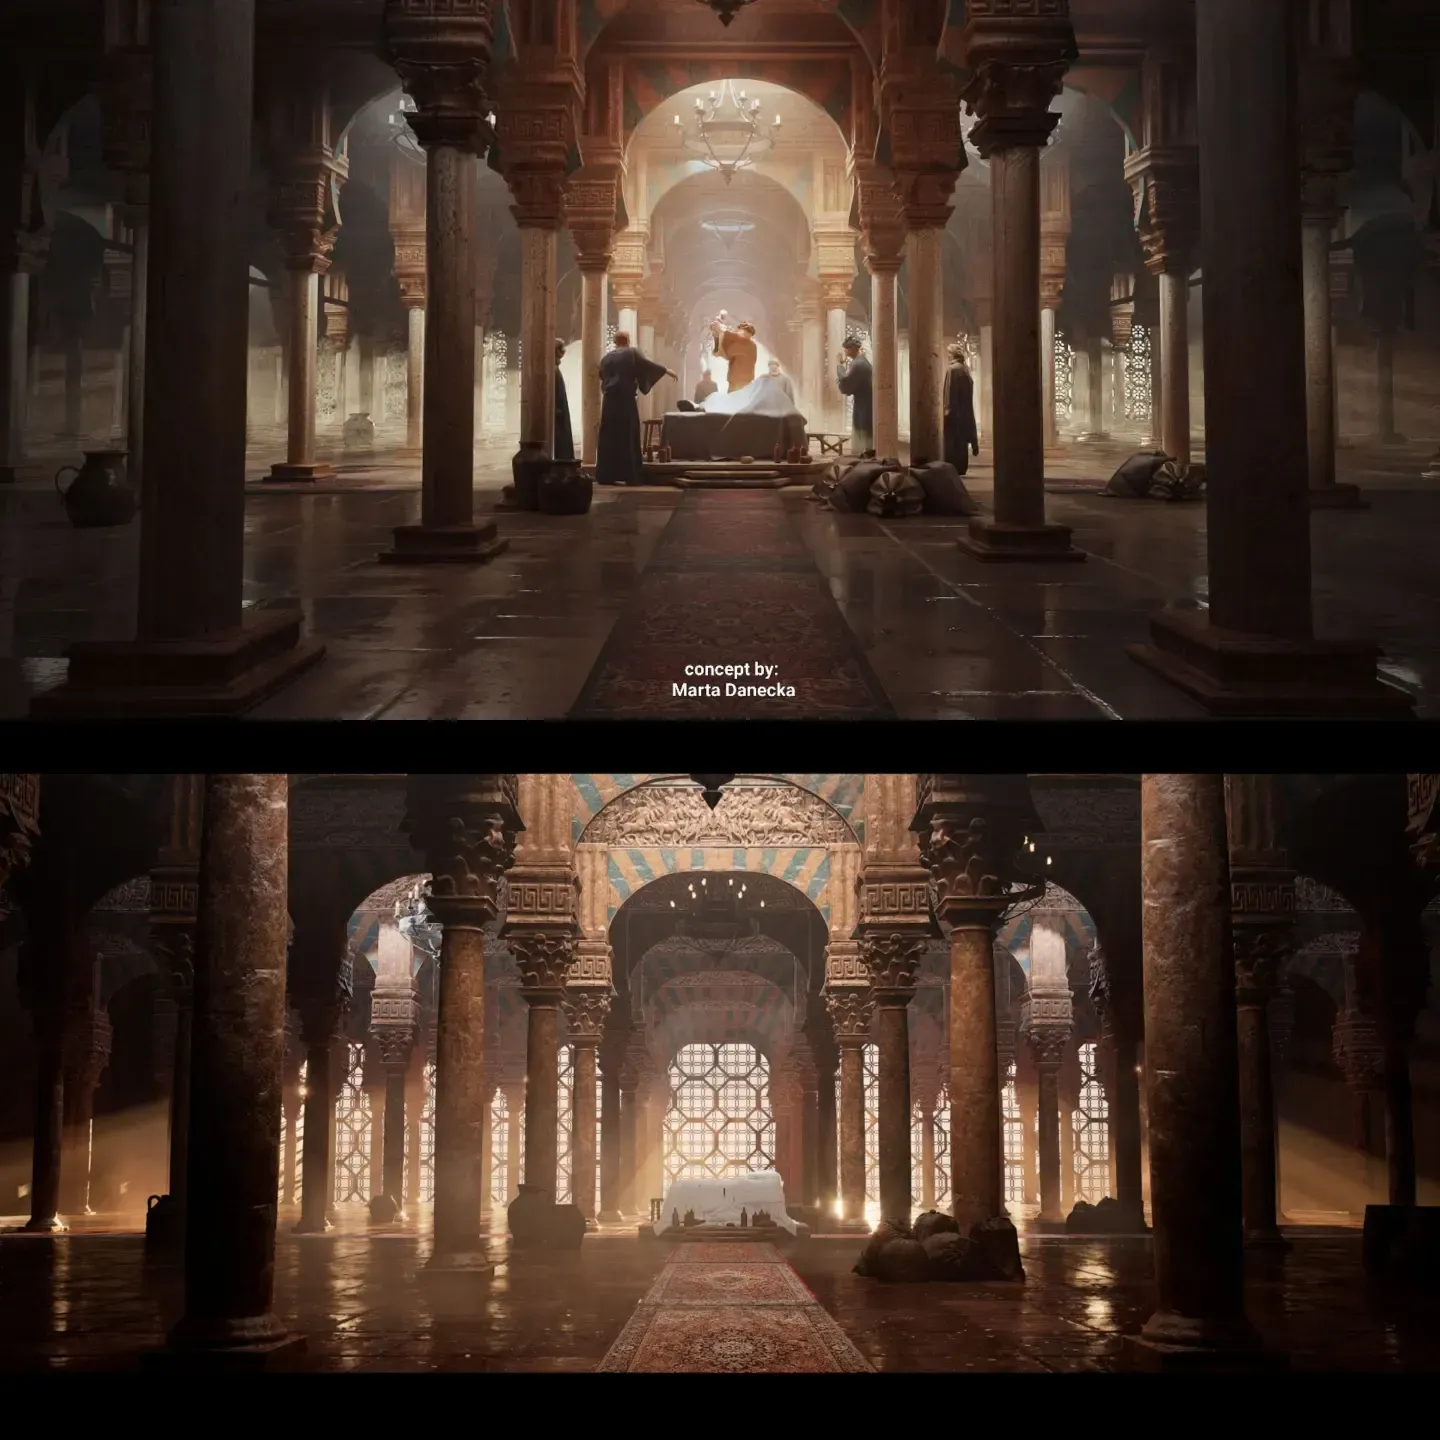
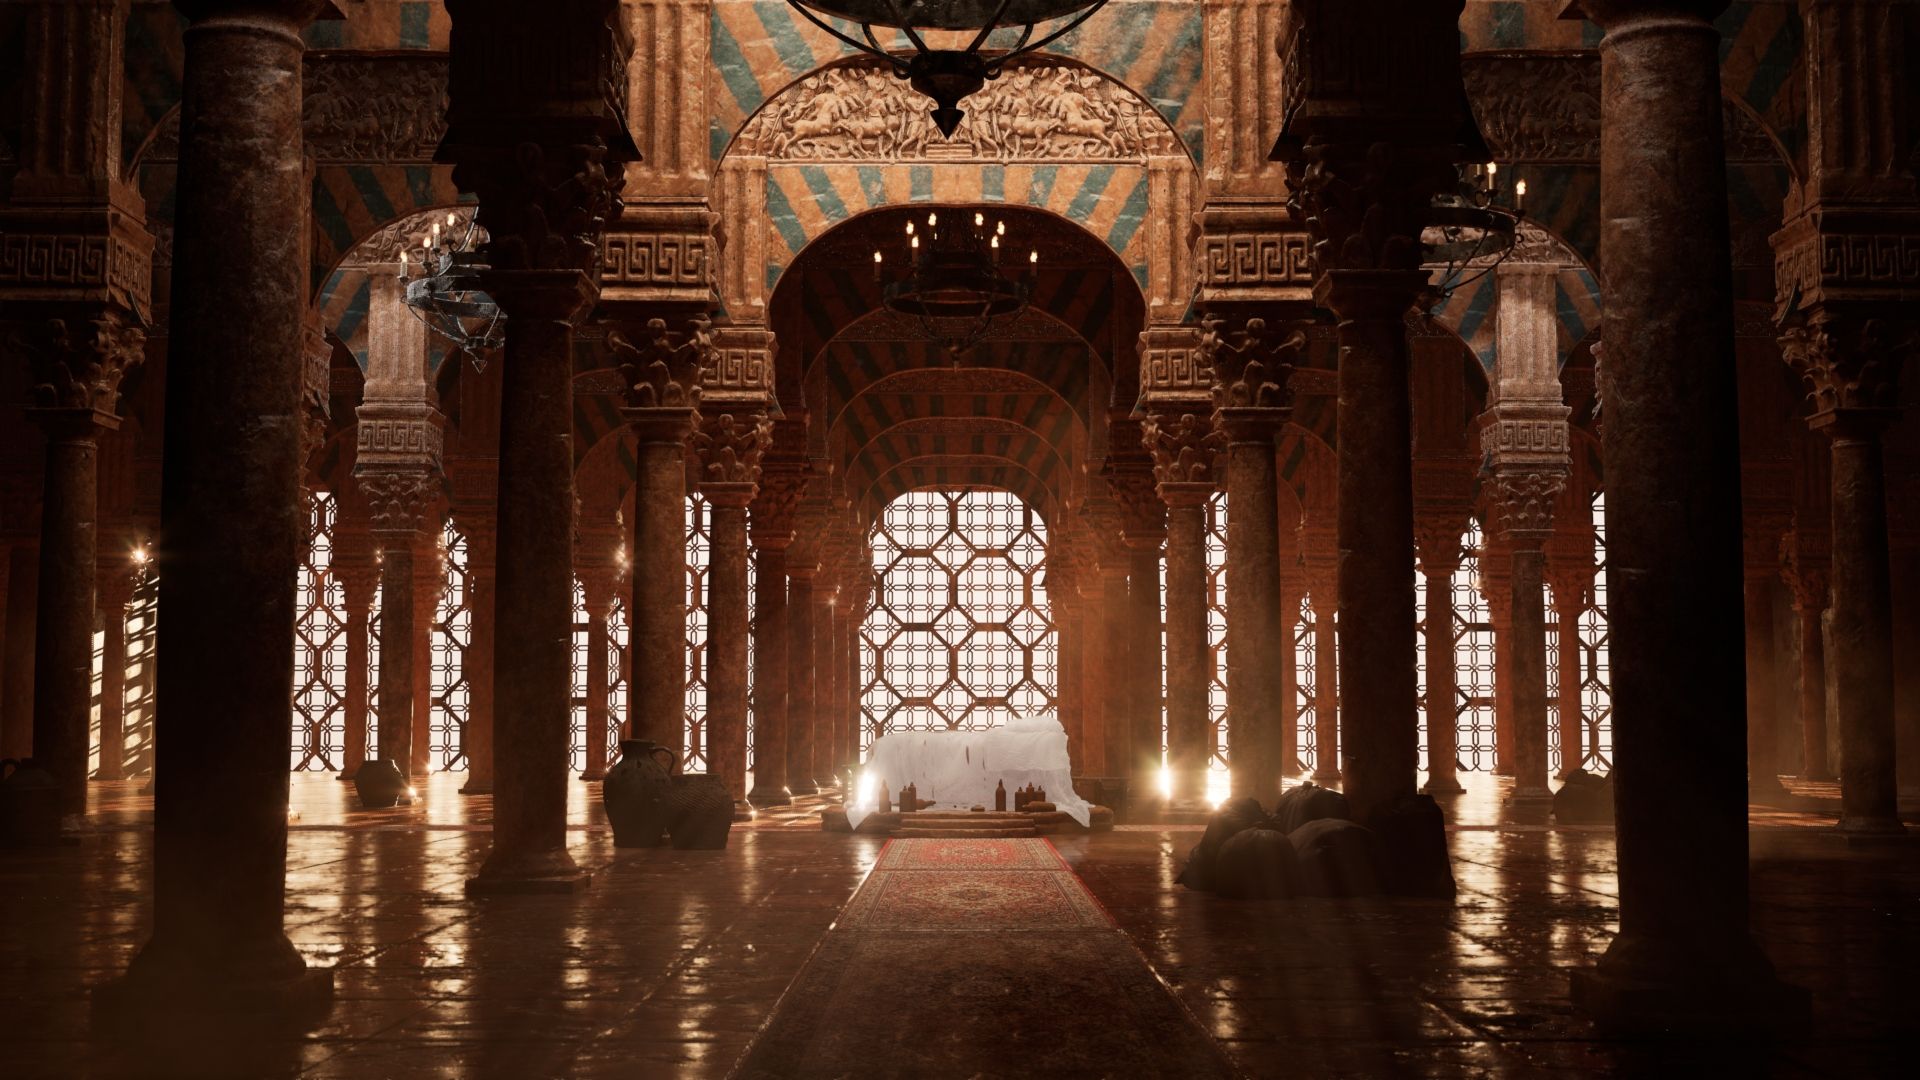
During the environment module in Unreal Engine, I was assigned the concept of Marta Daneka's temple and given one week to create it from scratch. Although it was the opposite of my usual style, I embraced the challenge and gave my best to deliver the most realistic and impactful result.
I decided to name my project"Aria" because despite its desert and arid mood, it provides ample breathing space to the viewer, evoking a sense of freedom and, indeed, air.
Implementation
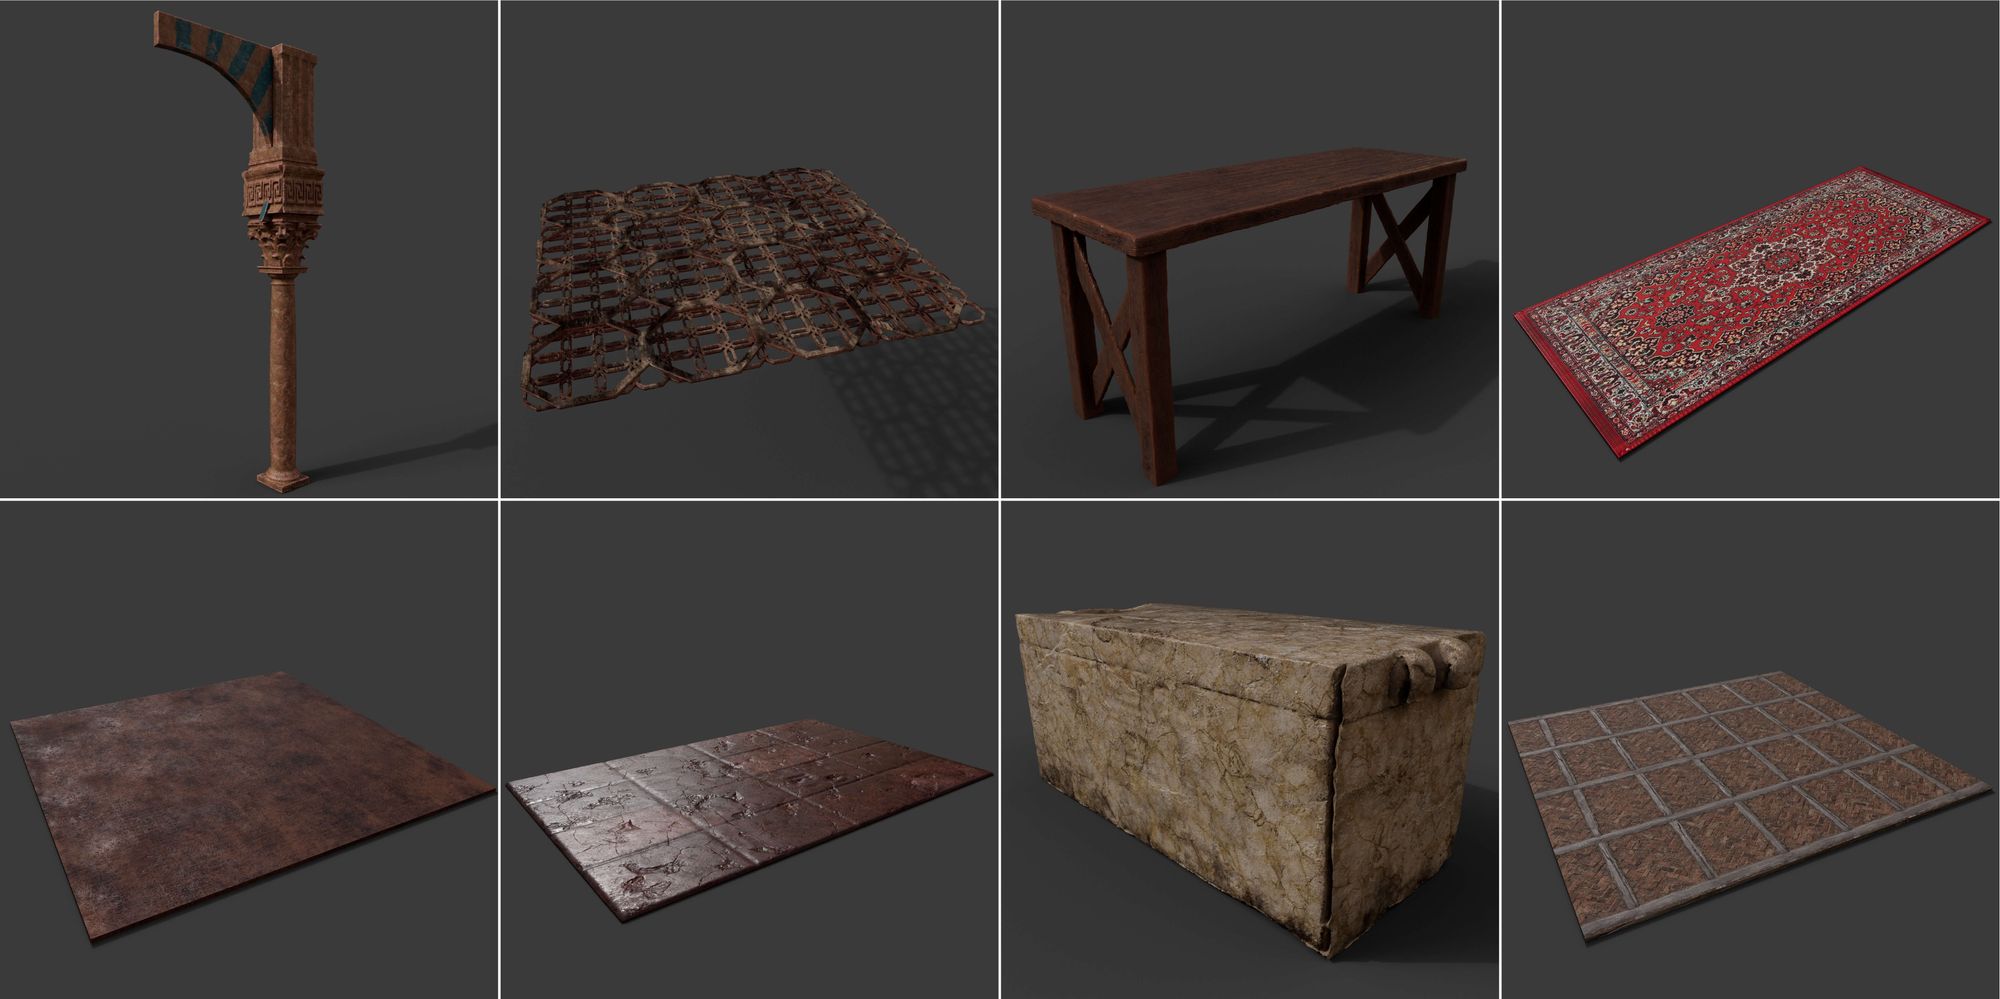
Apart from a few assets downloaded from Quixel, I decided to model and texture everything myself. Sometimes starting from scratch and other times using scans as a blocking base.
Modeling and Sculpting
I started with Maya for blocking and then moved to ZBrush to create assets and add geometric details. Afterwards, I decimated them without losing details, created UVs in Maya, and textured them in Substance 3D Painter.
The first part of the work involved searching for the architectural style of the temple in the reference, and then finding its real counterpart or a similar one. Using this method, I discovered the same columns arranged in the same pattern in an Islamic temple, specifically The Great Mosque of Córdoba. Through this research, I obtained floor plans that allowed me to understand how to position the elements and the actual dimensions of my reference.
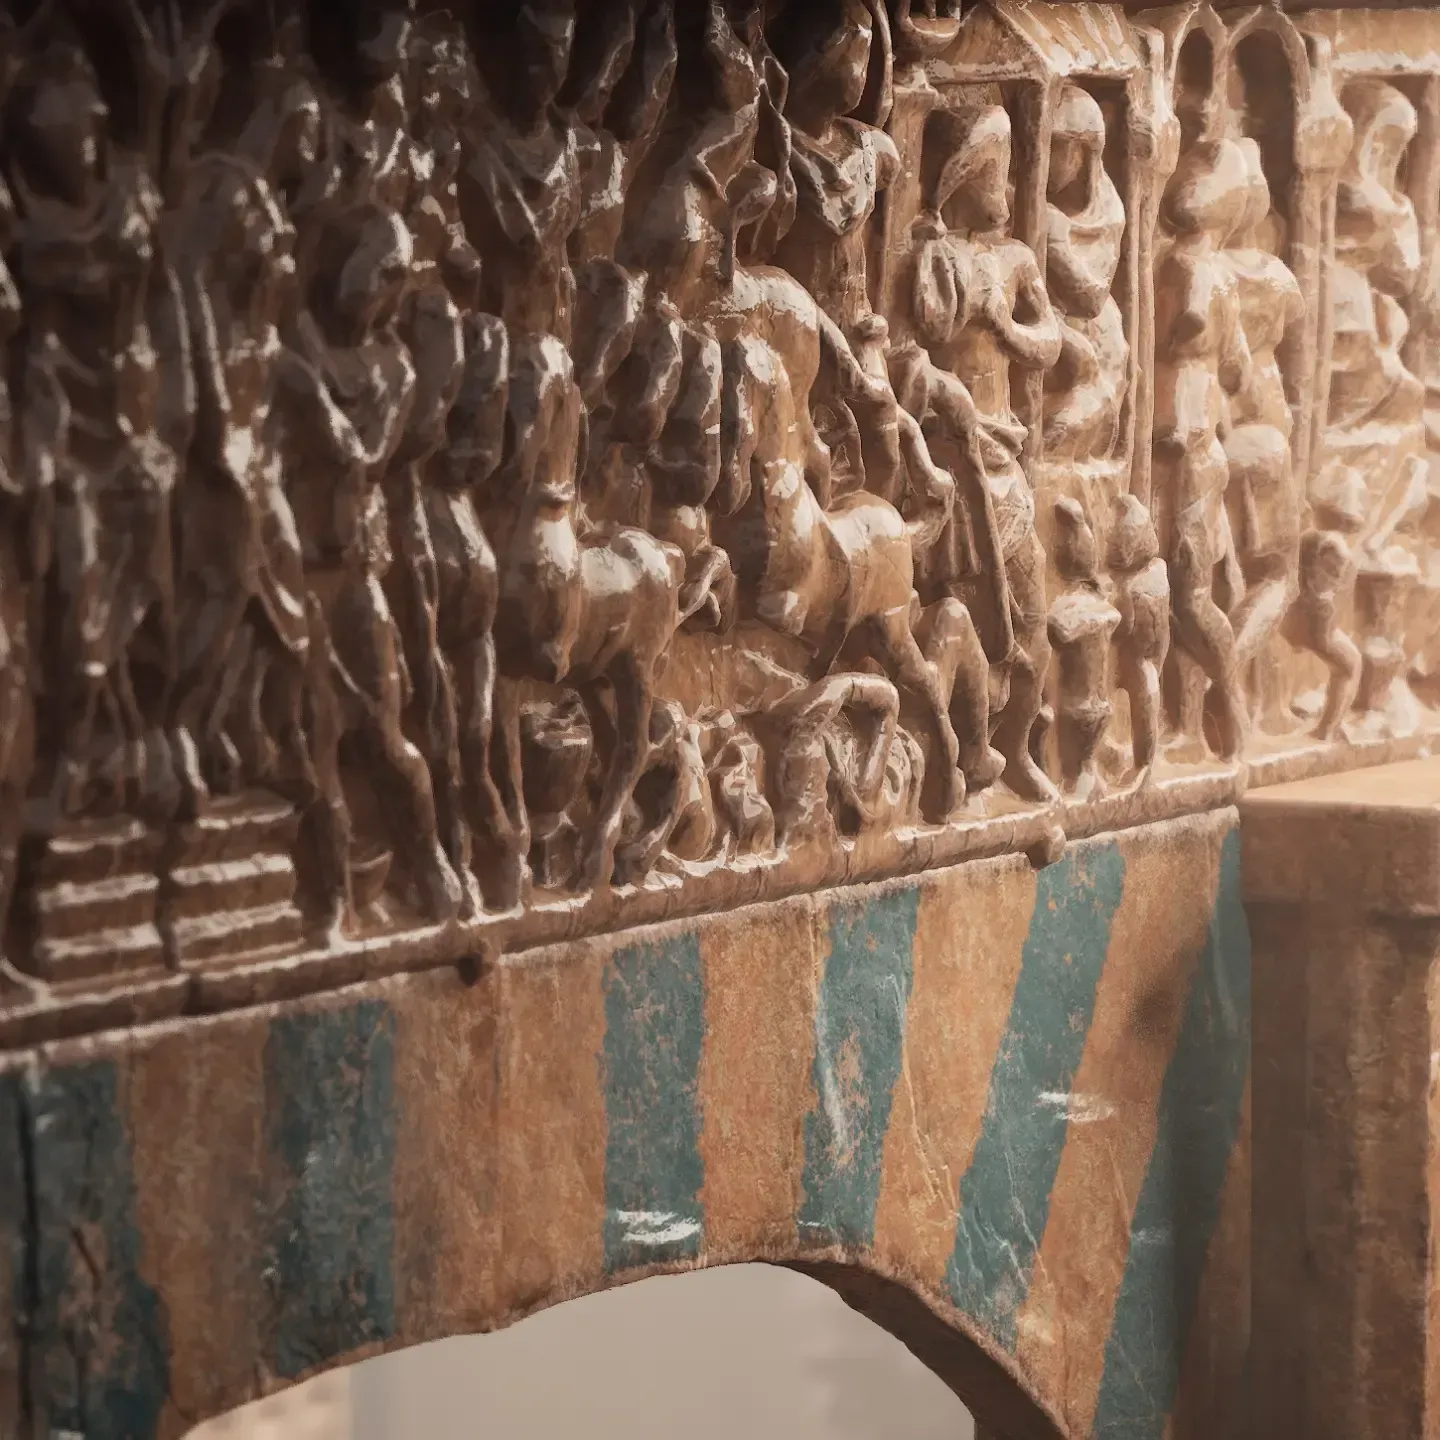
The second part was divided into three phases. Firstly, I conducted a search for architectural scans, such as capitals, columns, and ancient reliefs. Then, I assembled the found scans to create a blocking stage as a starting point. Finally, I proceeded with sculpting, transforming the scans into the necessary assets. In ZBrush, I was able to merge, sculpt, and optimise the scans in terms of vertex count and file size.
Texturing
The third stage of the project focused on texturing in Substance 3D Painter. Due to the automatically generated UVs, which were convenient for speed but highly fragmented, I had to rely exclusively on tri-planar texturing and use baking or procedural maps. I emphasised the value of reliefs, indentations, and imperfections, as they constituted a significant part of the charm of these sculpted assets.
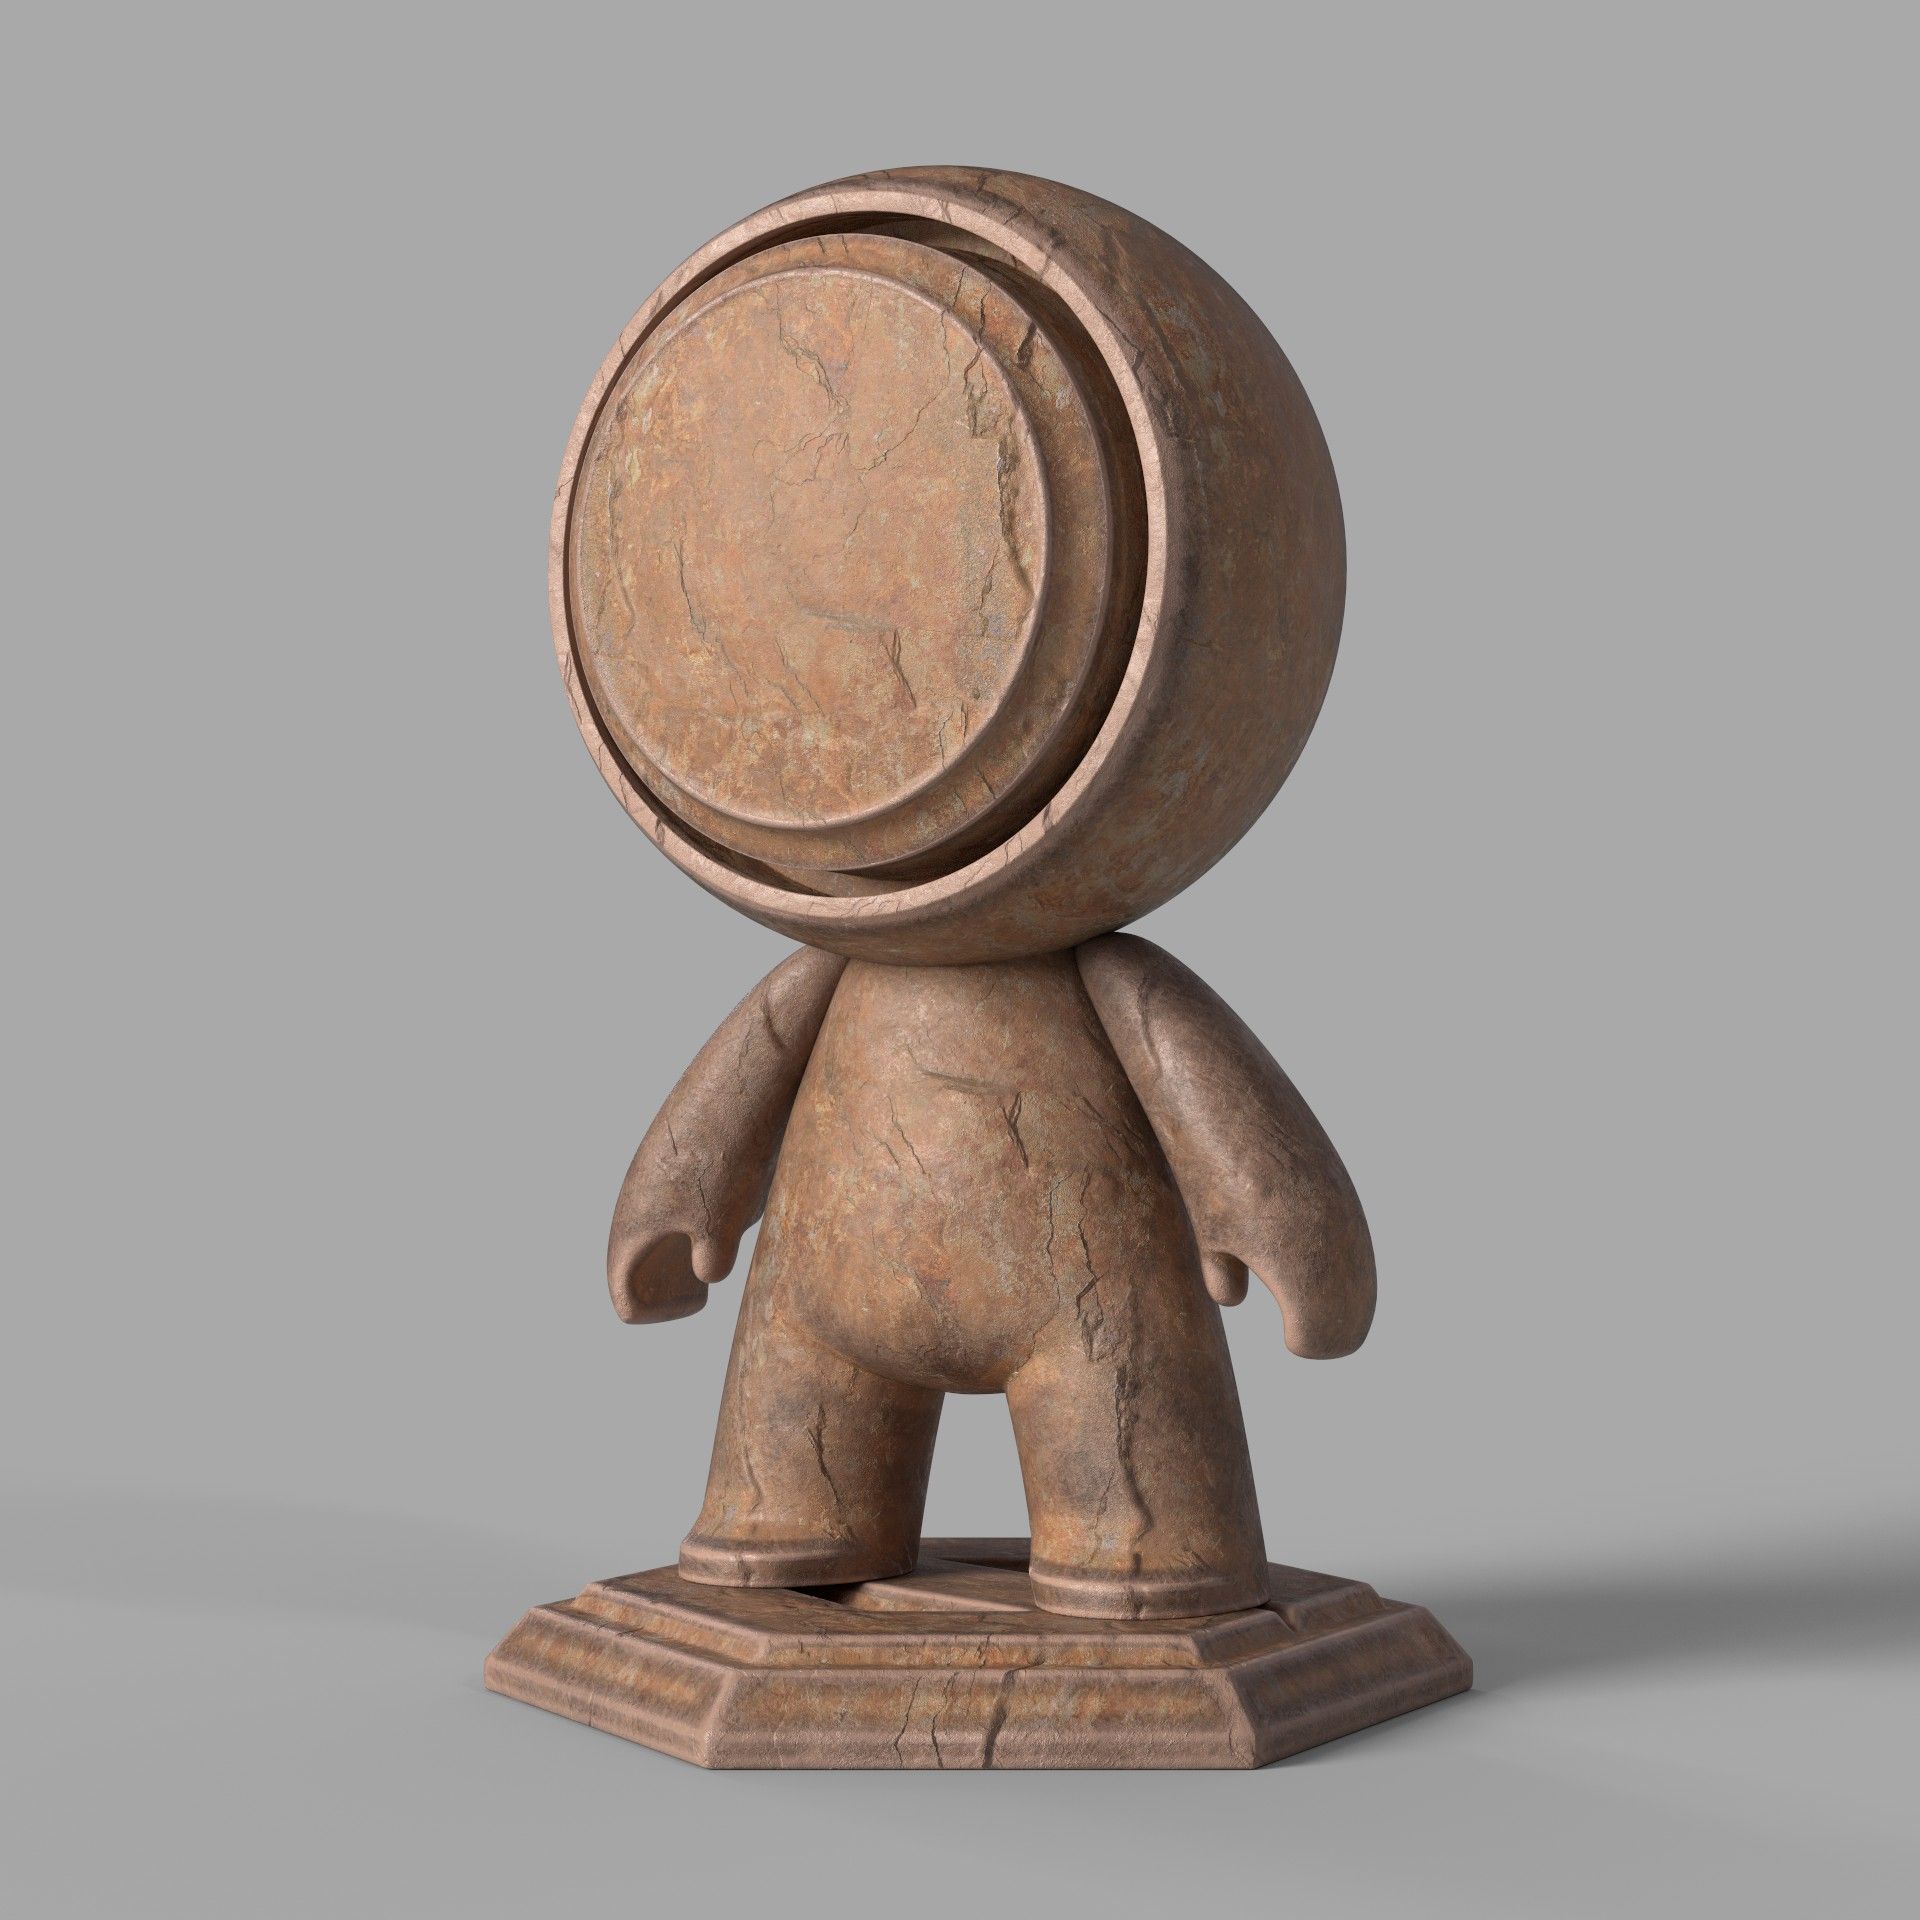
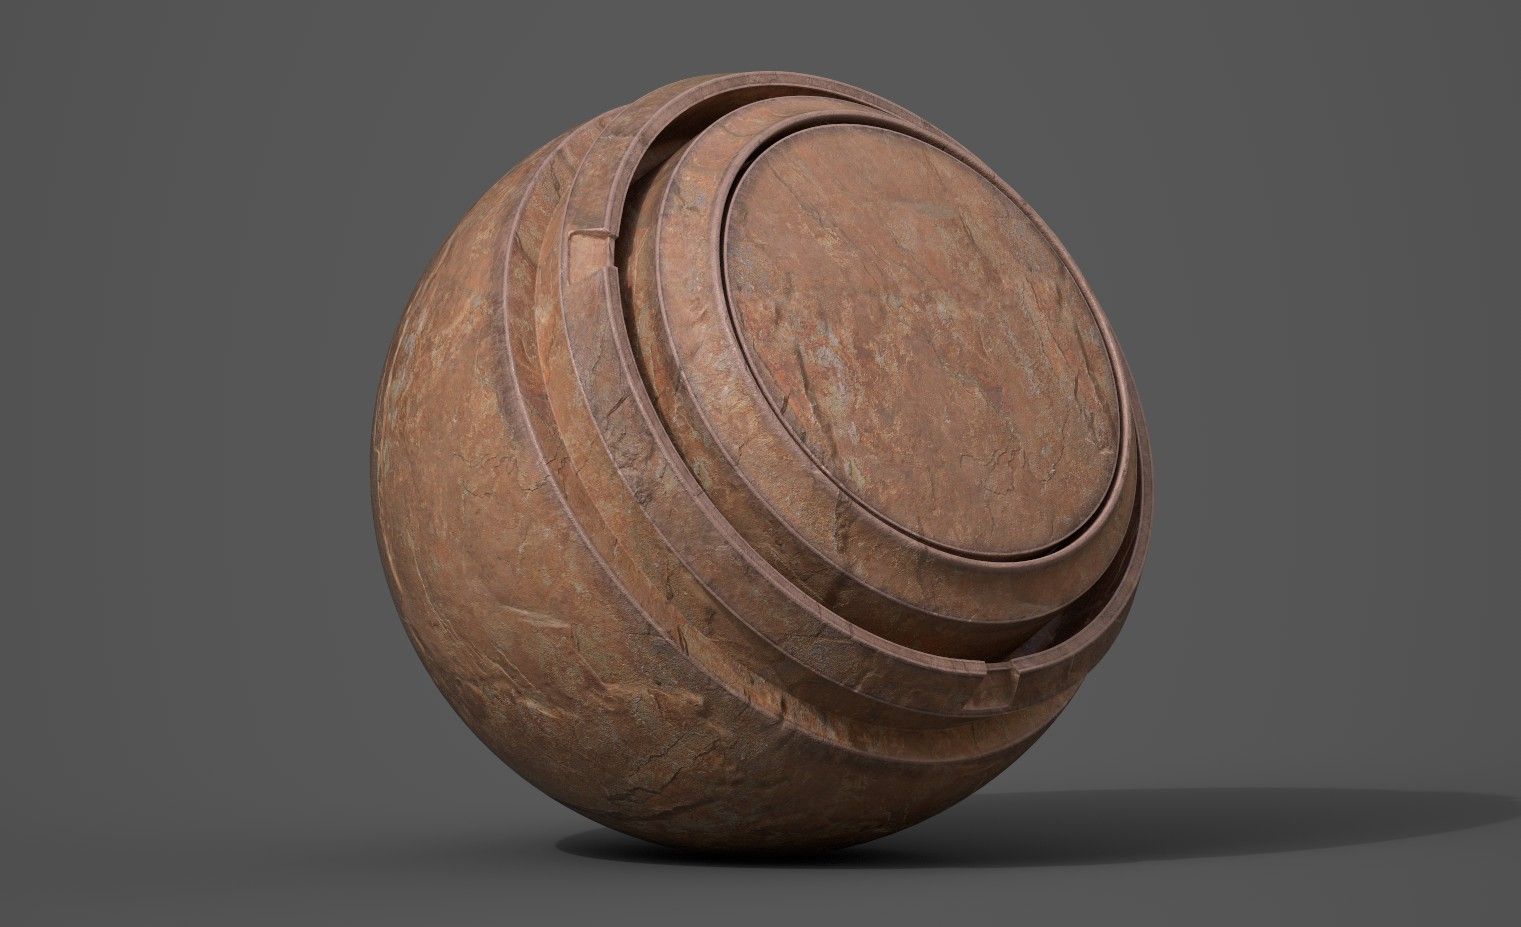
For this purpose, I created a procedural rocky material. The smart material had a base similar to the stone in the reference, and using utility maps in Substance, I generated masks that detected specific curvature values. These masks allowed me to create erosion and outward fading in the raised areas, while also adding dirt layers to the indentations. The intensity of these effects was proportional to the curvature and ambient occlusion values.
To enhance realism, I incorporated procedural layers utilising utility maps and tri-planar projection, introducing variations such as scratches, dust, etc., based on roughness, diffuse, and normal values. The advantage of this approach was that by utilising layers for variations, I could use the same material to texture all elements in a short amount of time while maintaining unique variations.
Examples of how the smart material reacts.
Set dressing and Lighting
The fourth stage of the project took place in Unreal Engine. I started with the set dressing stage, adding decals and lights. The lighting in the reference was not realistic, with a natural source coming from the background and strong light sources from various directions and angles. Therefore, I aimed to recreate them as realistically as possible while staying faithful to the reference.
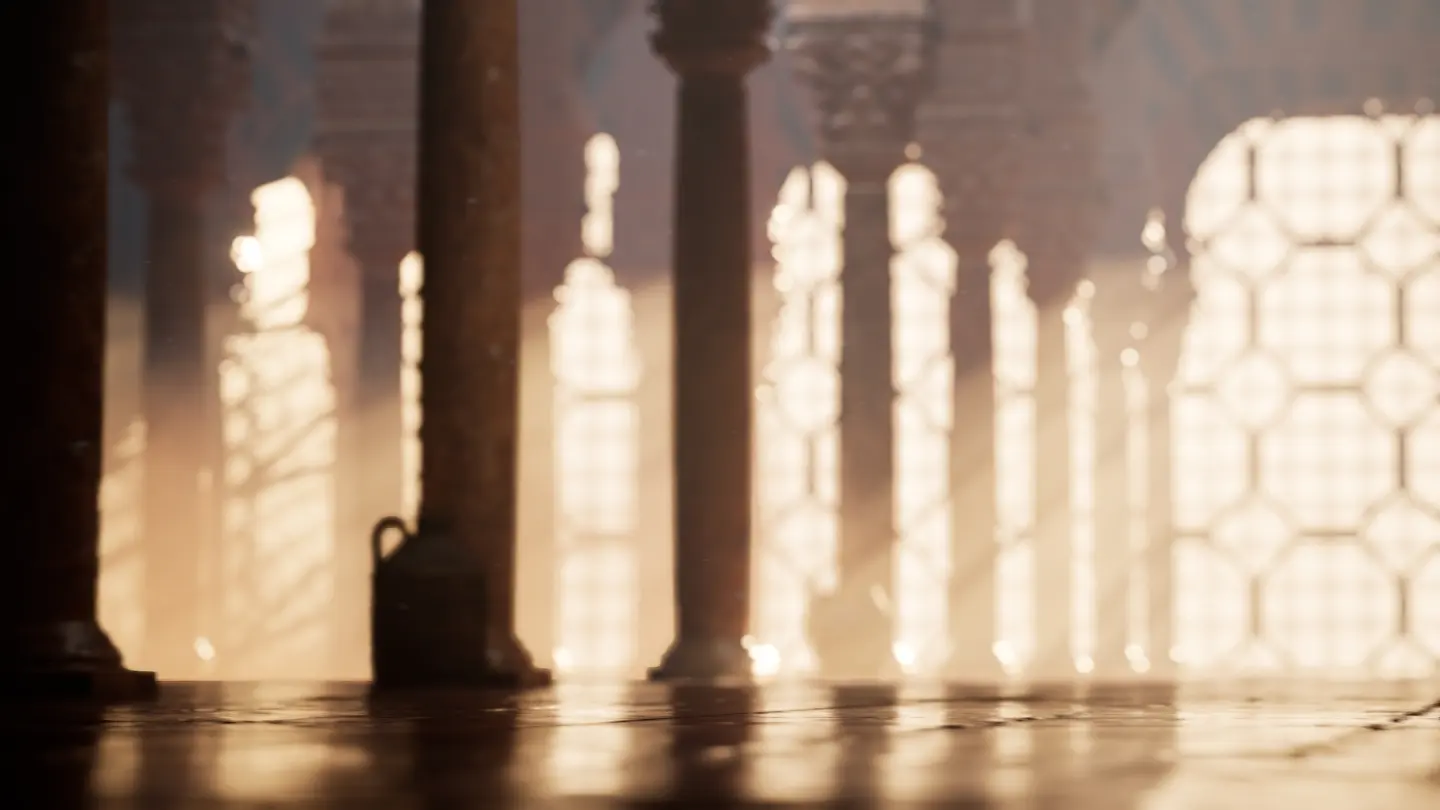
I incorporated a direct light to simulate the primary light and placed ray gods towards the front of the temple. Rect lights were used from the ceiling to illuminate the columns, and skylights were added to enhance indirect lighting inside. An HDRI was used to achieve more realistic reflections. By implementing fog and post-process volume, I created volumetric lighting with light beams passing through the columns. The exposure meter within Unreal Engine helped me detect the light values in the scene and adjust them to match the expected lighting in a similar real-world environment.
Compositing
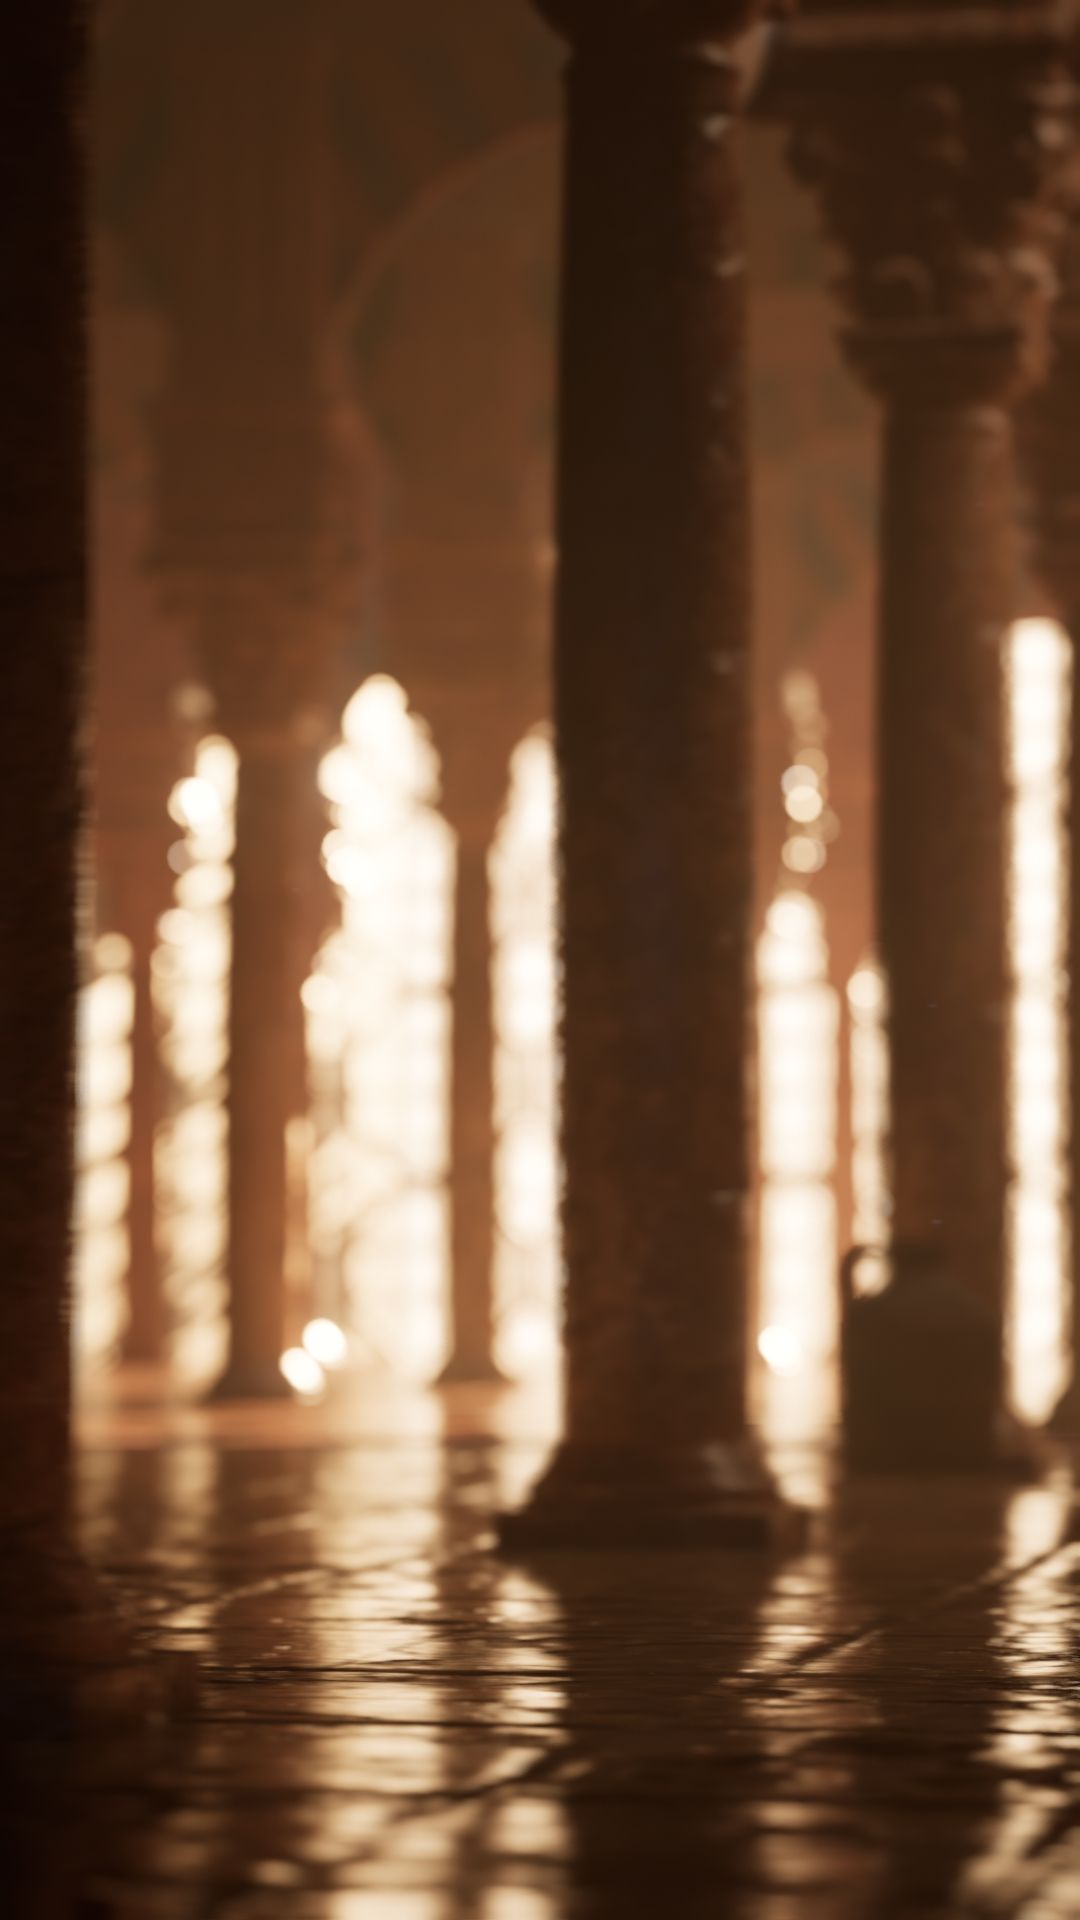
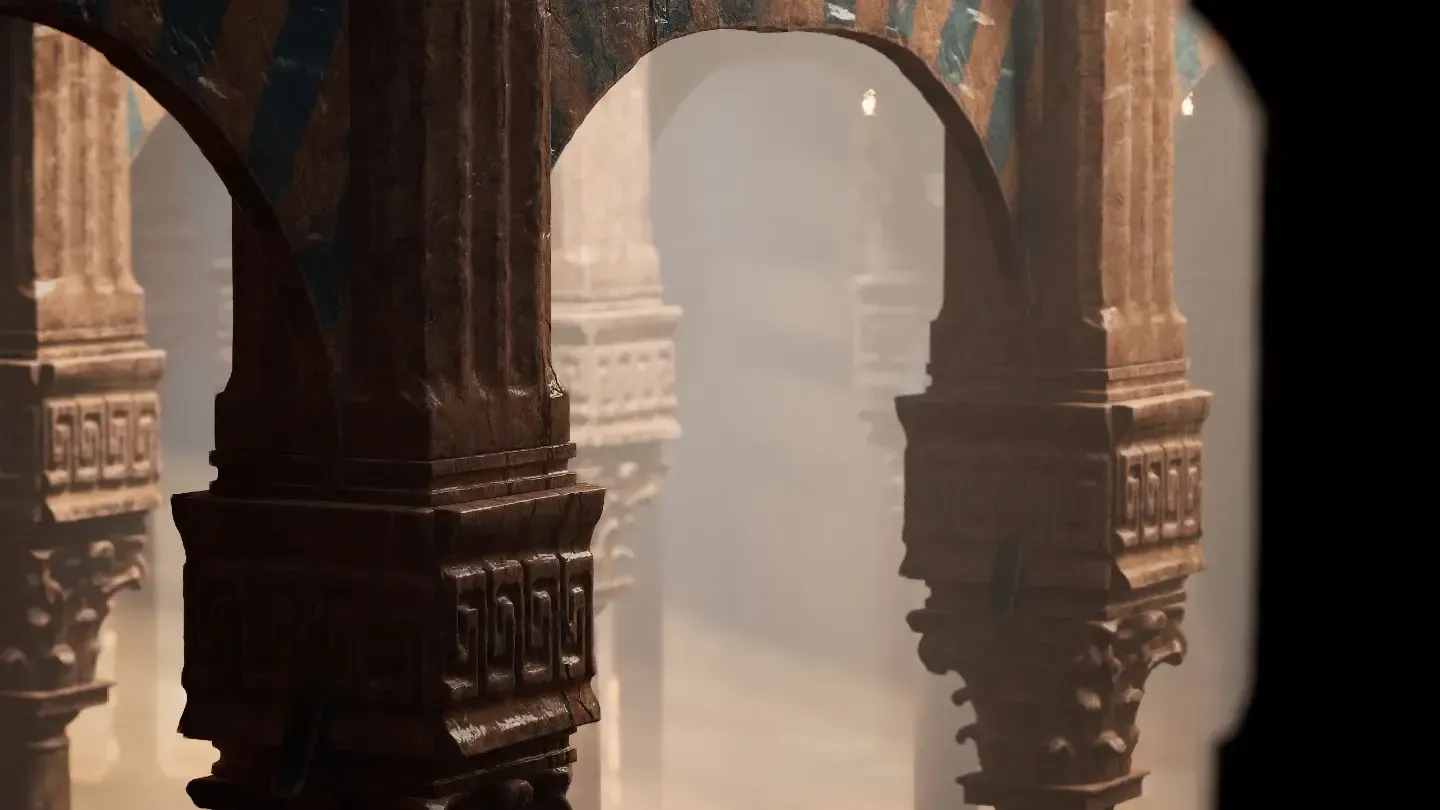
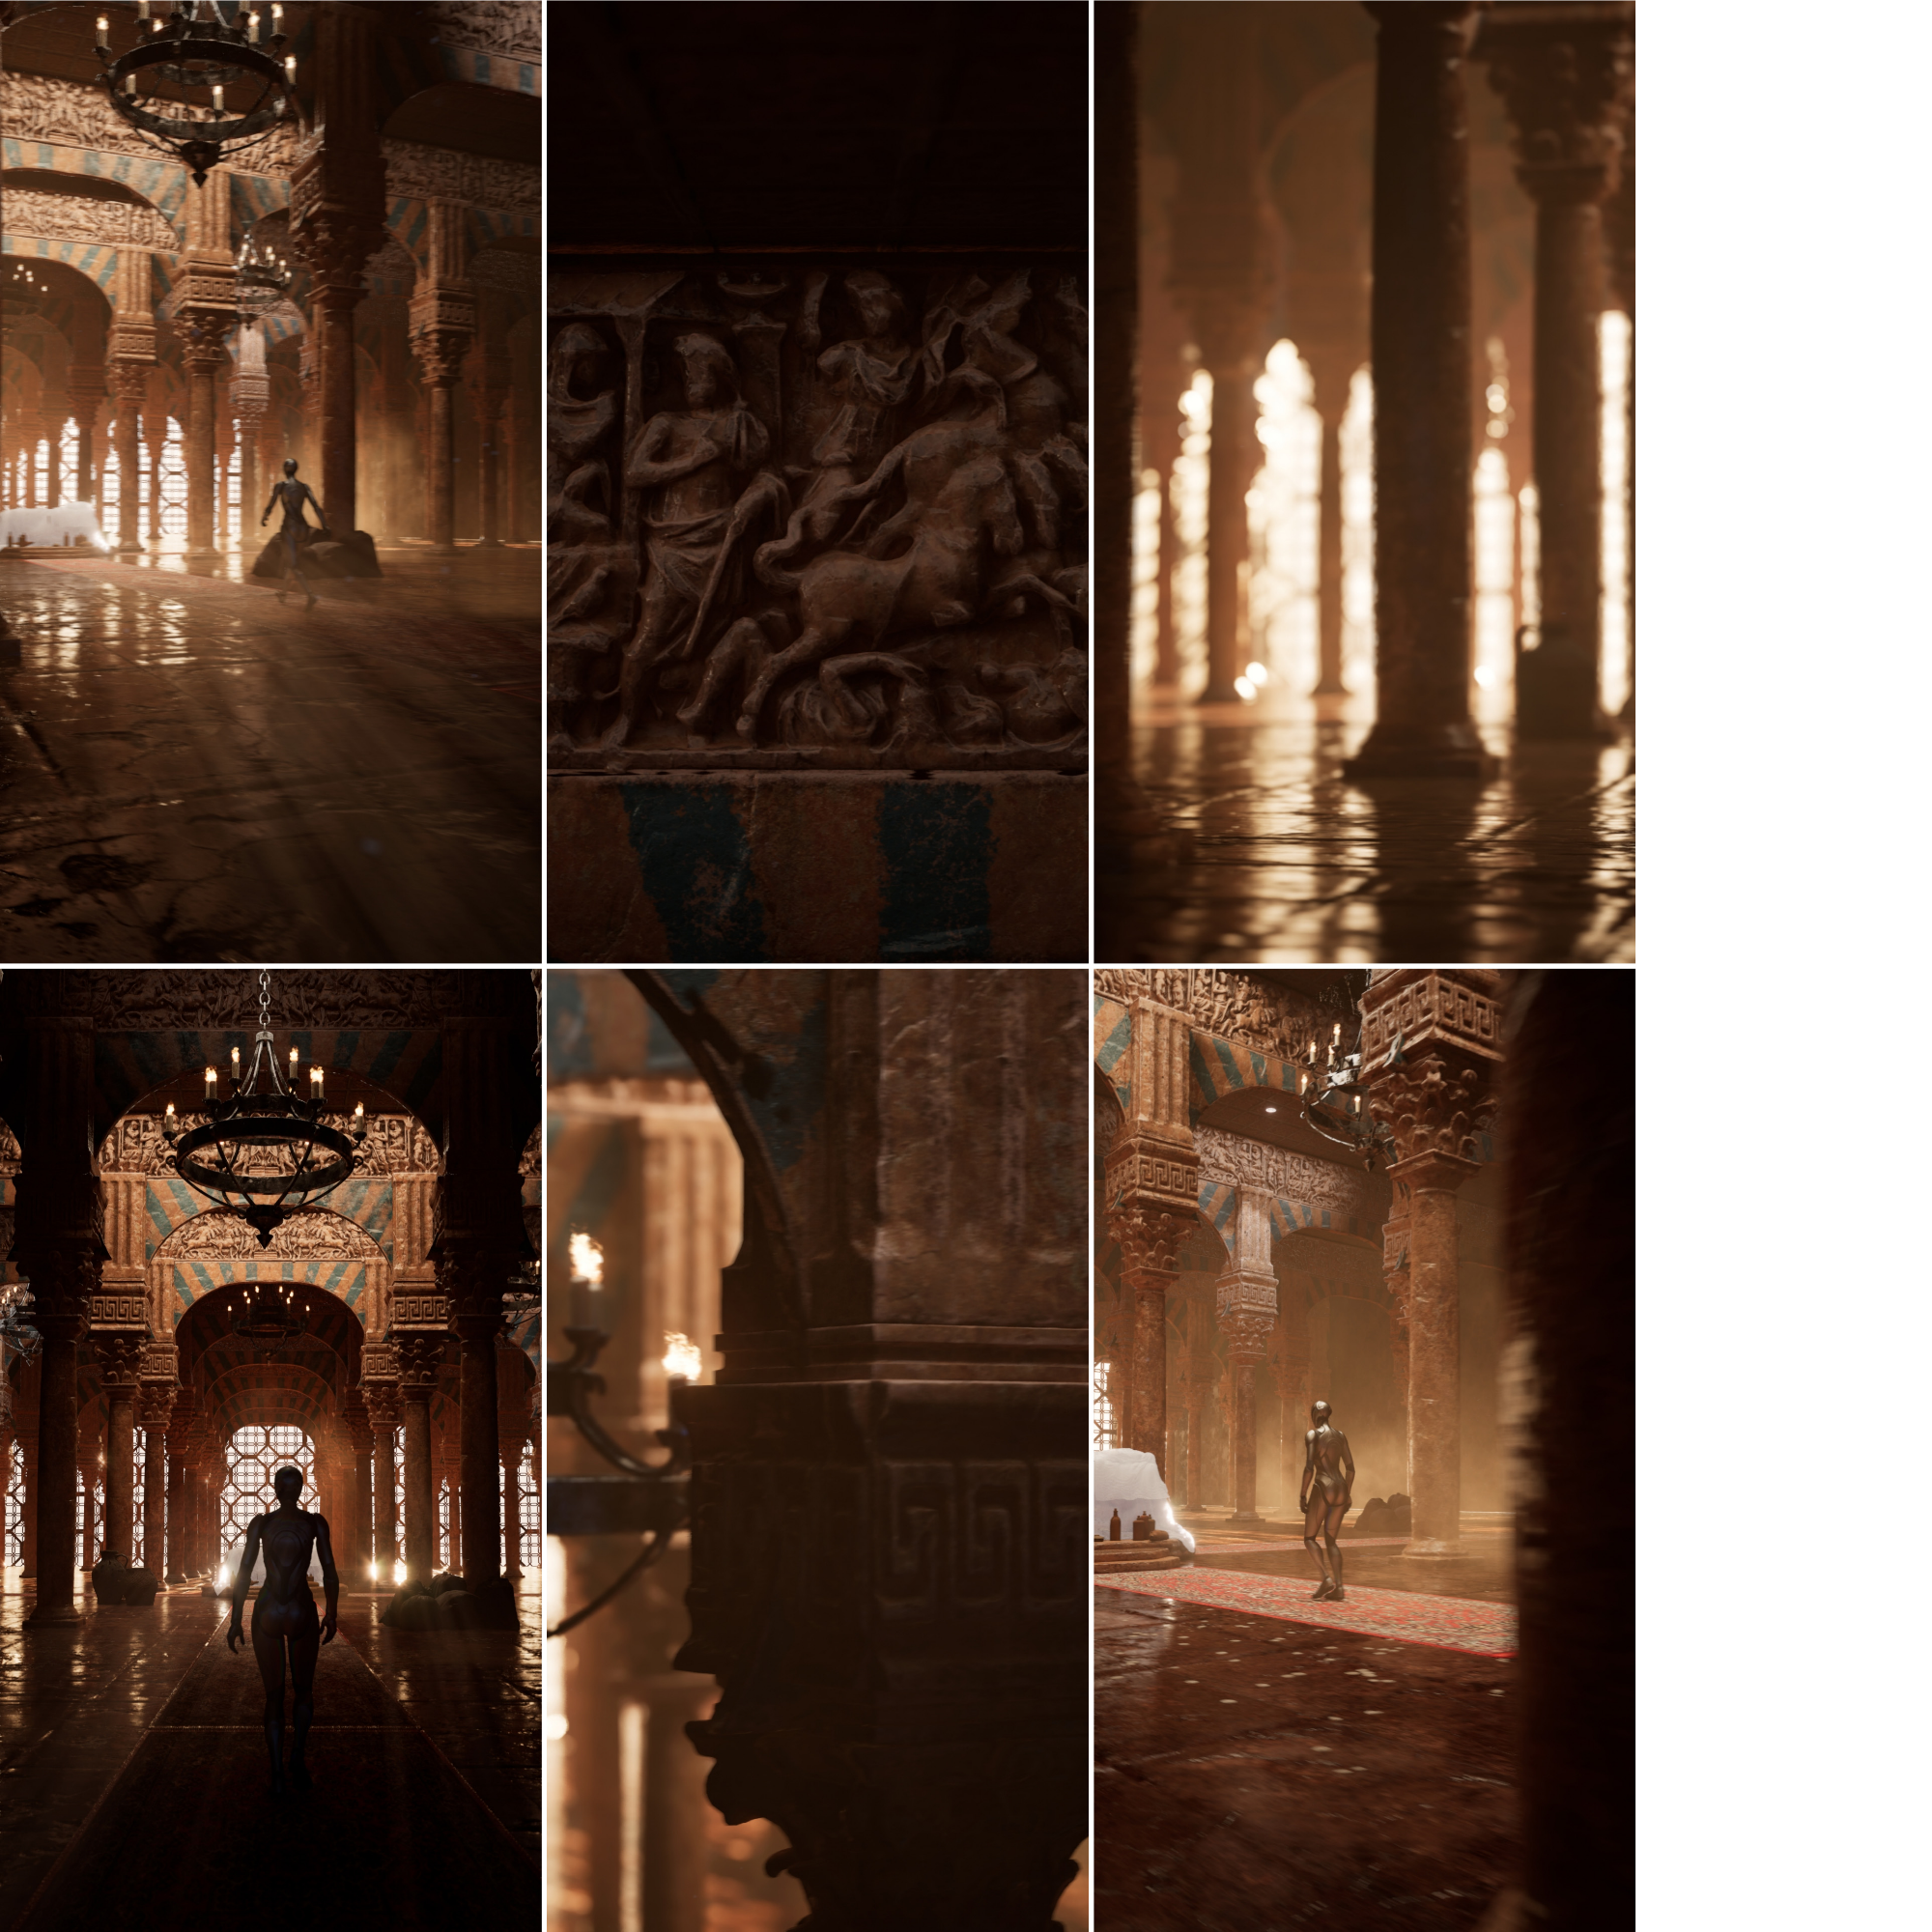
The fifth and final part involved placing cameras in the scene, utilising the native camera guides in Unreal Engine to control the composition of the shots, and setting keyframes for camera animations, focus, and lens effects. I chose cinematographic-style shots and camera movements that highlighted the details, sculpted reliefs, and dimensions of the temple. Some shots immersed the viewer in the overwhelming multitude of columns, while others emphasized the freedom and space between them and in the center. The use of slow volumetric effects and particle dust contributed to a sense of tranquility and emptiness.
Here are some examples of the lighting and camera shots used in the final video.
Optimisation
I wanted to achieve cinematic quality while ensuring playability. Faced with this challenge, I had to utilise my knowledge to achieve the best result without compromising FPS and time. Therefore, I chose not to worry about topology, keeping the mesh high-poly and utilising ZBrush's decimation, Unreal's Nanite, and automatic UVs to save as much time as possible for asset production.
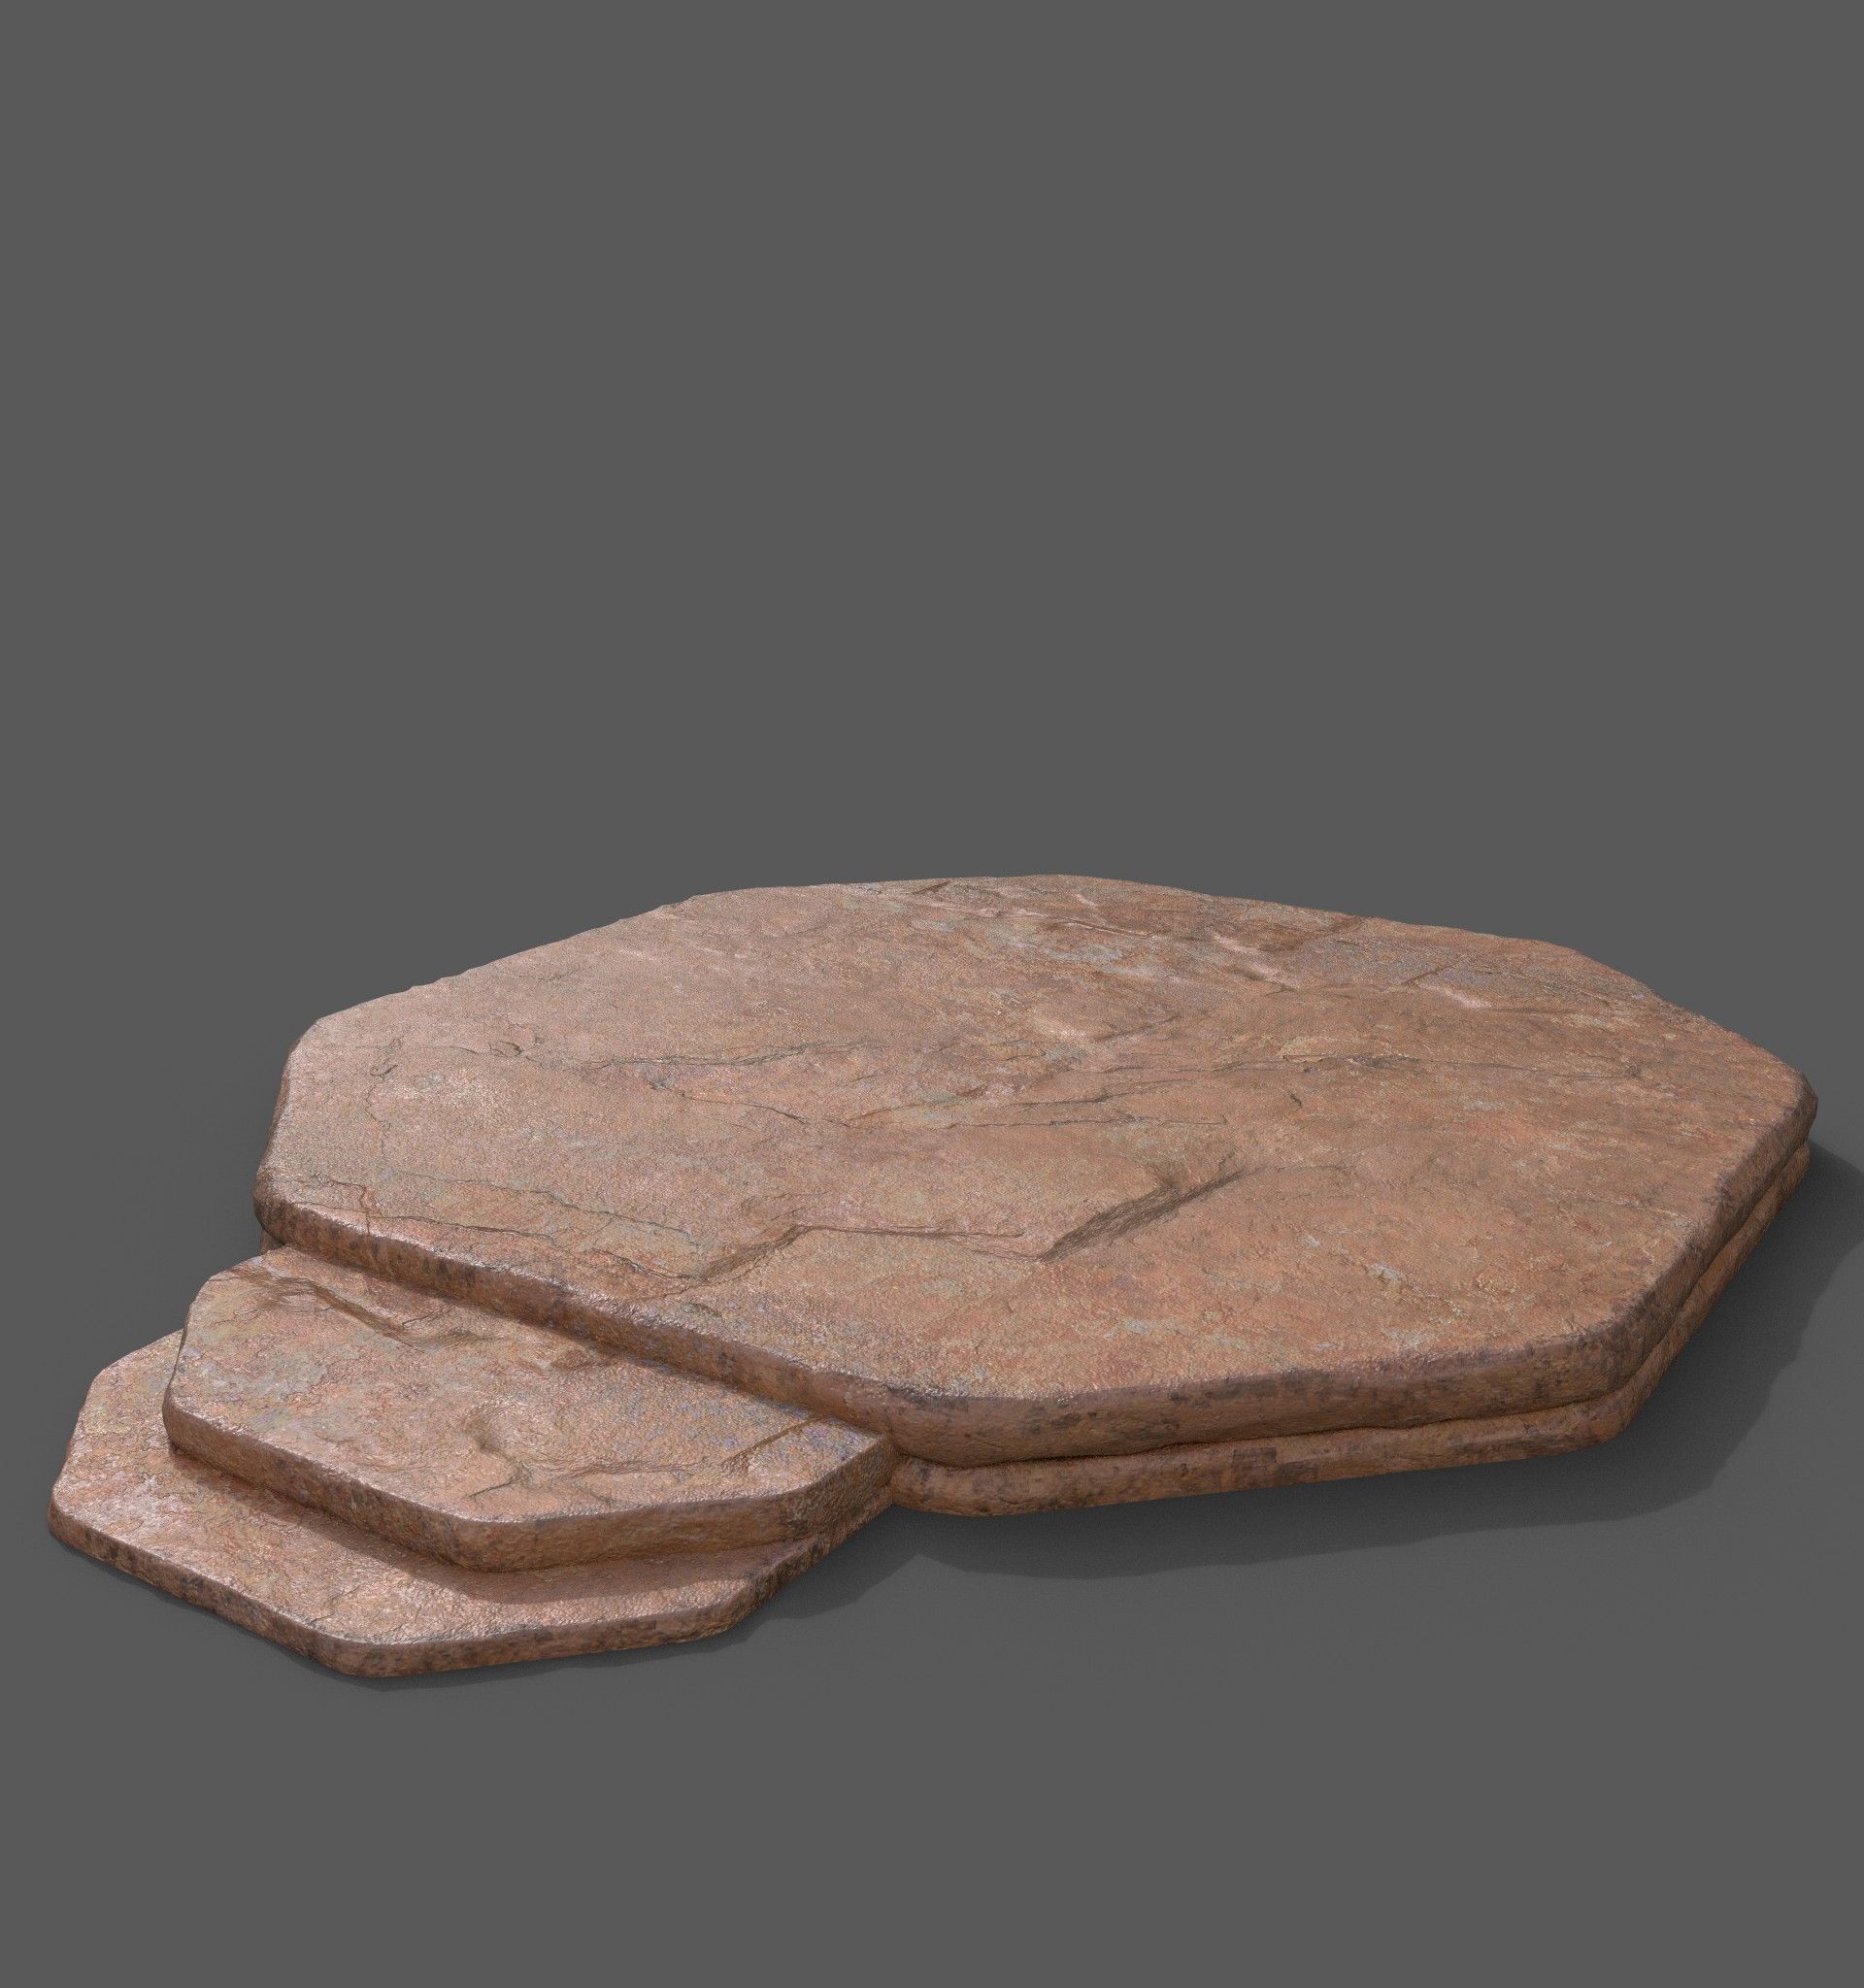
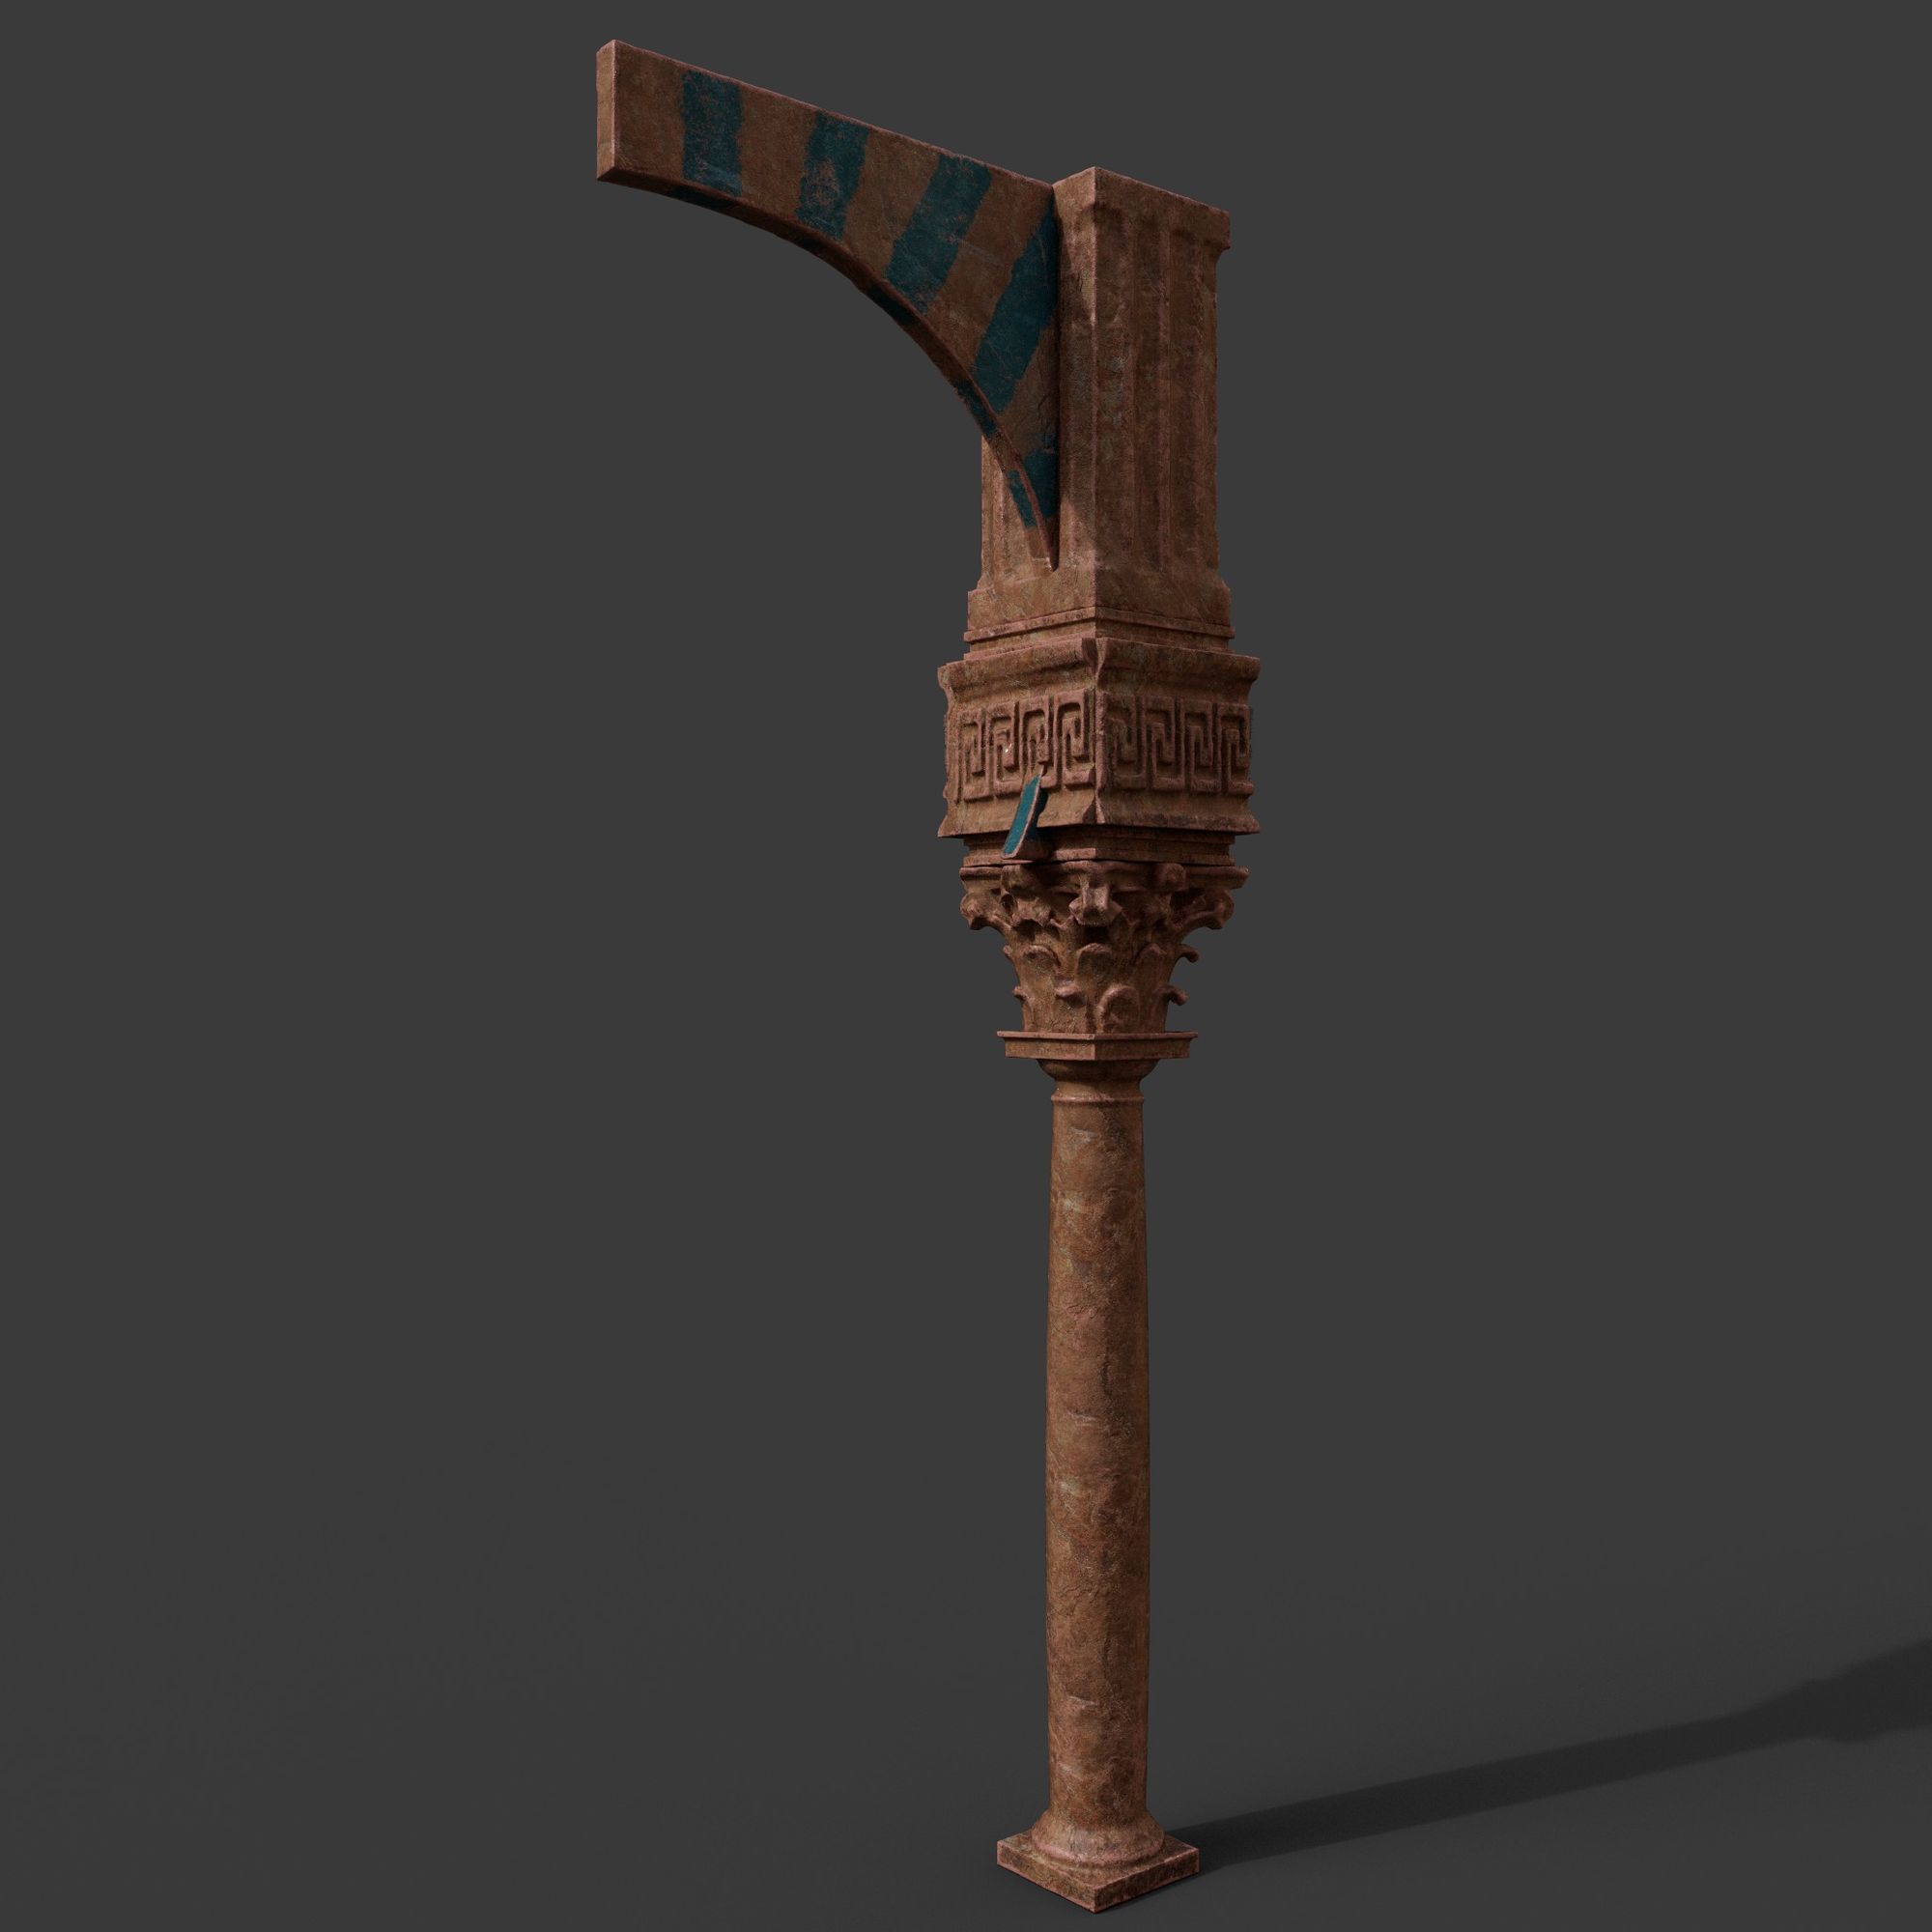
Another challenge was texturing. To avoid having too many different meshes, which would weigh down the project, I decided to create variations solely through texture customisation, using non-tileable decals. With similar materials and mostly fragmented UVs, I created a rock smart material in Substance 3D Painter with a series of layers and masks that allowed me to customize the material based on the object's needs. I paid particular attention to the texture's appearance on the reliefs, generating dirt and worn-out areas based on various procedural masks.
Examples of the final rendering of the assets and their interaction with light in the render.
In the end, I imported everything into Unreal Engine 5.1, where I assembled the scene. Thanks to the modular design and modeling approach, I could easily add elements from Quixel and decals.
I added volumetrics to simulate dust/sand in the air and used Niagara particles for the dust effect. I worked extensively with the Post Process Volume to control depth of field, exposure, and color grading.
With the camera and focal length, I aimed to create the illusion of greater depth and height than reality. For this project, I also wanted to experiment with the Aces OCIO color space within Unreal. Aces OCIO is a color space created and distributed by The Academy Color Encoding System (ACES). OCIO is a complete color management solution geared towards motion picture production, with an emphasis on visual effects and computer animation. I decided to implement it in my project because, personally, I believe it is the best and provides a very cinematic look. Additionally, the fact that Substance supports it for its workspace and that Unreal Engine is one of the few real-time game engines to support it, and that only a few people use it, I decided to give it a try and see how it can improve colours compared to other cinematic software like Maya, etc.
The result is crisper and more vibrant colours with excellent contrasts, all without any performance impact.
some shots from the video
Undoubtedly, the most challenging aspects were organising daily tasks to stay within the assigned timeframe, thinking outside the box to save time and resources, and achieving a balance between quality and performance to ensure smooth running on an Nvidia GTX 1660.
This project has been a fantastic challenge that allowed me to refine and develop skills in various software and their workflows, improve my work management, and strengthen my problem-solving abilities, especially within tight deadlines and independently.
You can reach out to Andrea via his Rookies Profile here.