The Apothecary: World Building in Unreal for Beginners
Liz Chua, a 3D Generalist student at Gnomon School, shares her newfound insights into Unreal Engine in this article, providing aspiring artists with valuable techniques and advice to create immersive environments in Unreal.
Liz Chua is in her tenth term at Gnomon School of Visual Effects, Games, and Animation and will be graduating with a BFA as a 3D Generalist. Before working on this project, Liz had very minimal experience with Unreal Engine, but fell in love with the software after creating this piece.
In this article, Liz shares valuable insights and techniques for aspiring artists new to Unreal, offering practical advice on avoiding common pitfalls and embracing a successful approach to crafting immersive environments.
The Concept
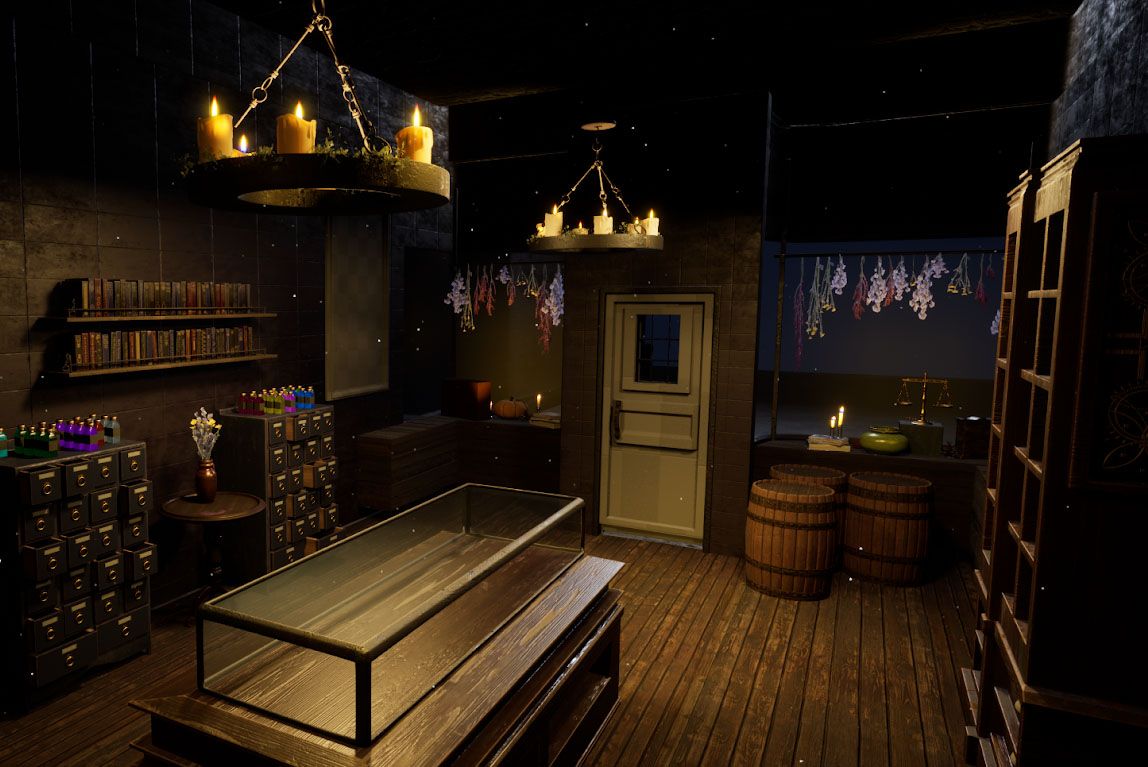
This piece was my final for my “Game Creation 1” course at Gnomon, taught by Anton Napierala. The class is structured so you have an interior environment you are continuously working on throughout the ten weeks of the term as you are learning the basics of Unreal Engine. I learned a lot in this class and am extremely grateful for Anton's guidance and critique throughout the process.
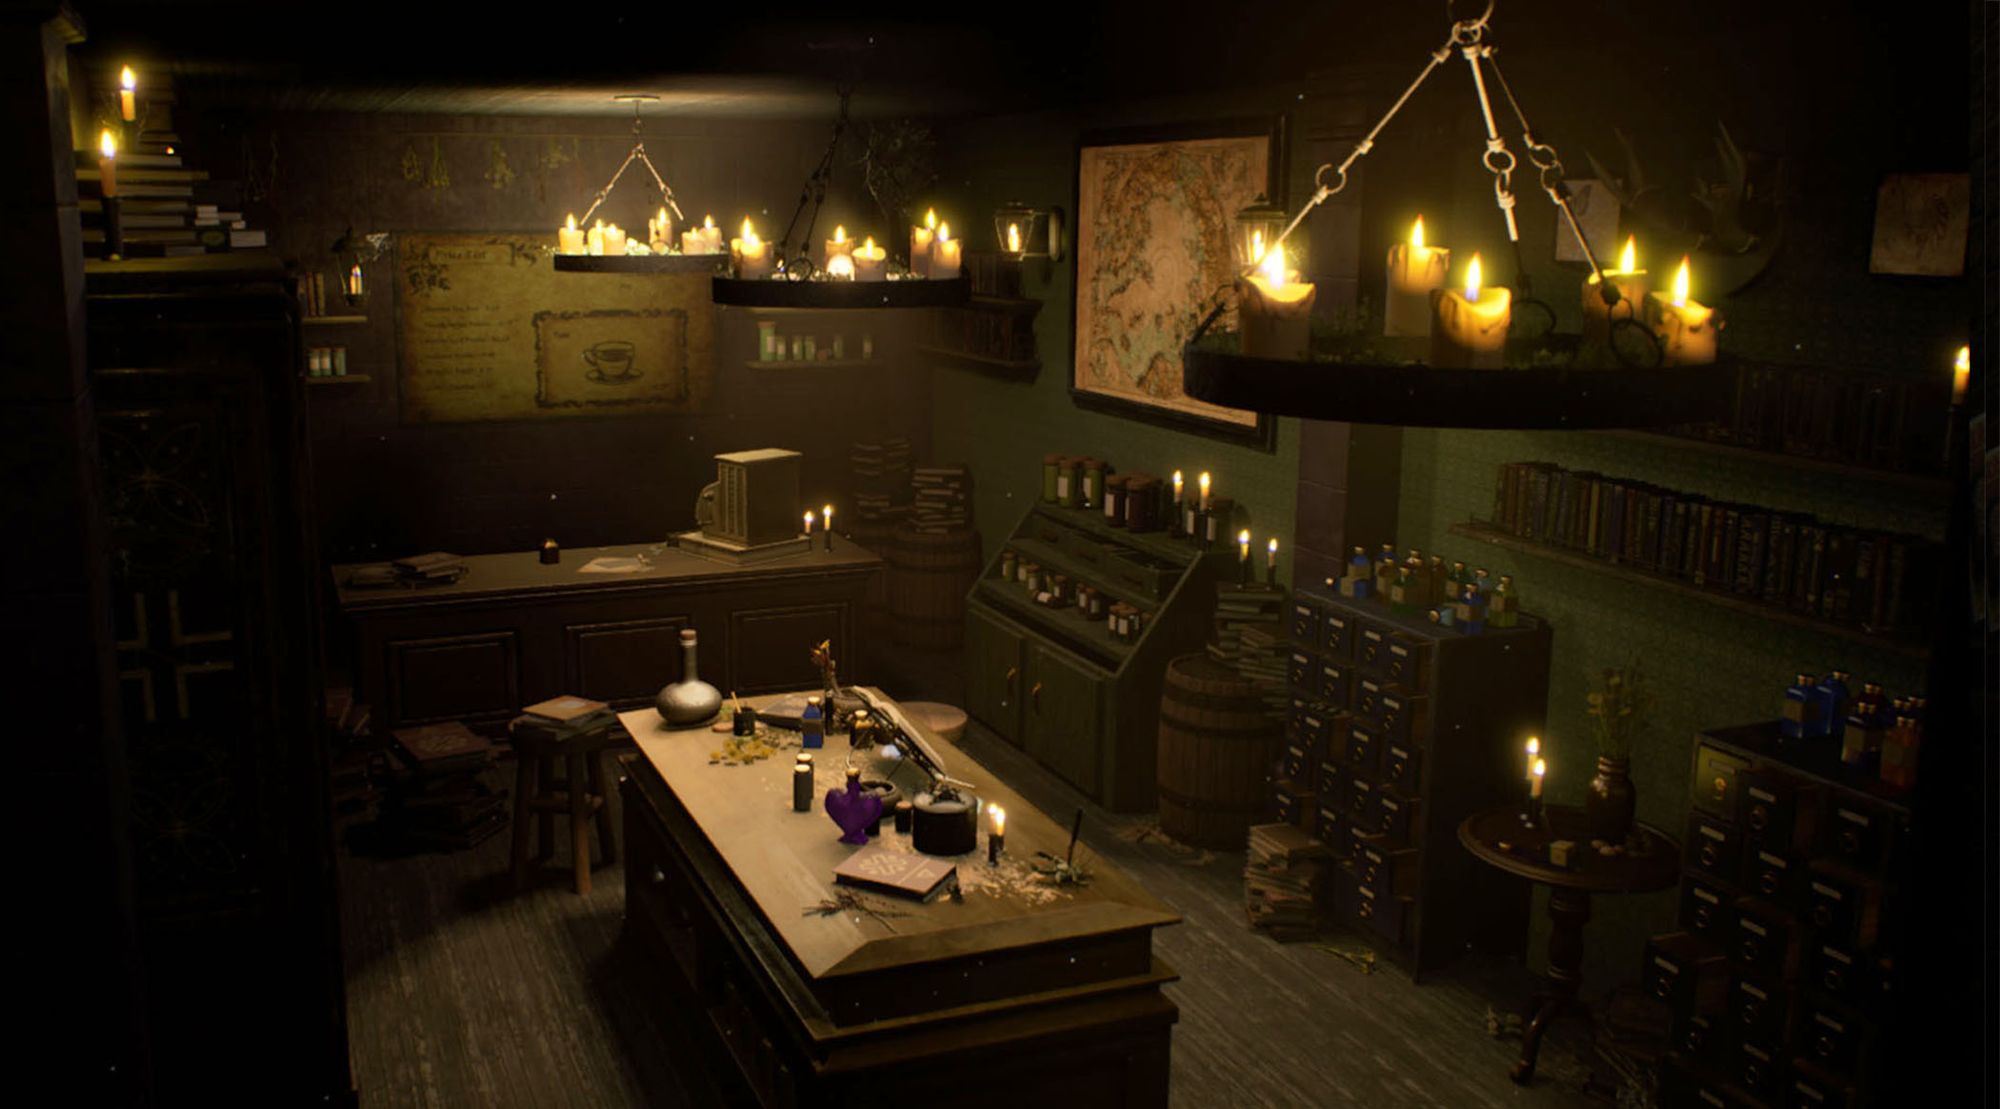
My first roadblock for this project was struggling to find a concept I was passionate about creating. I was scrolling through concepts looking for inspiration when I stumbled across an illustration online of an Apothecary storefront by artist Megan Wyreweden. I instantly knew I wanted to create the interior and began collecting my references.
Concept Apothecary Exterior
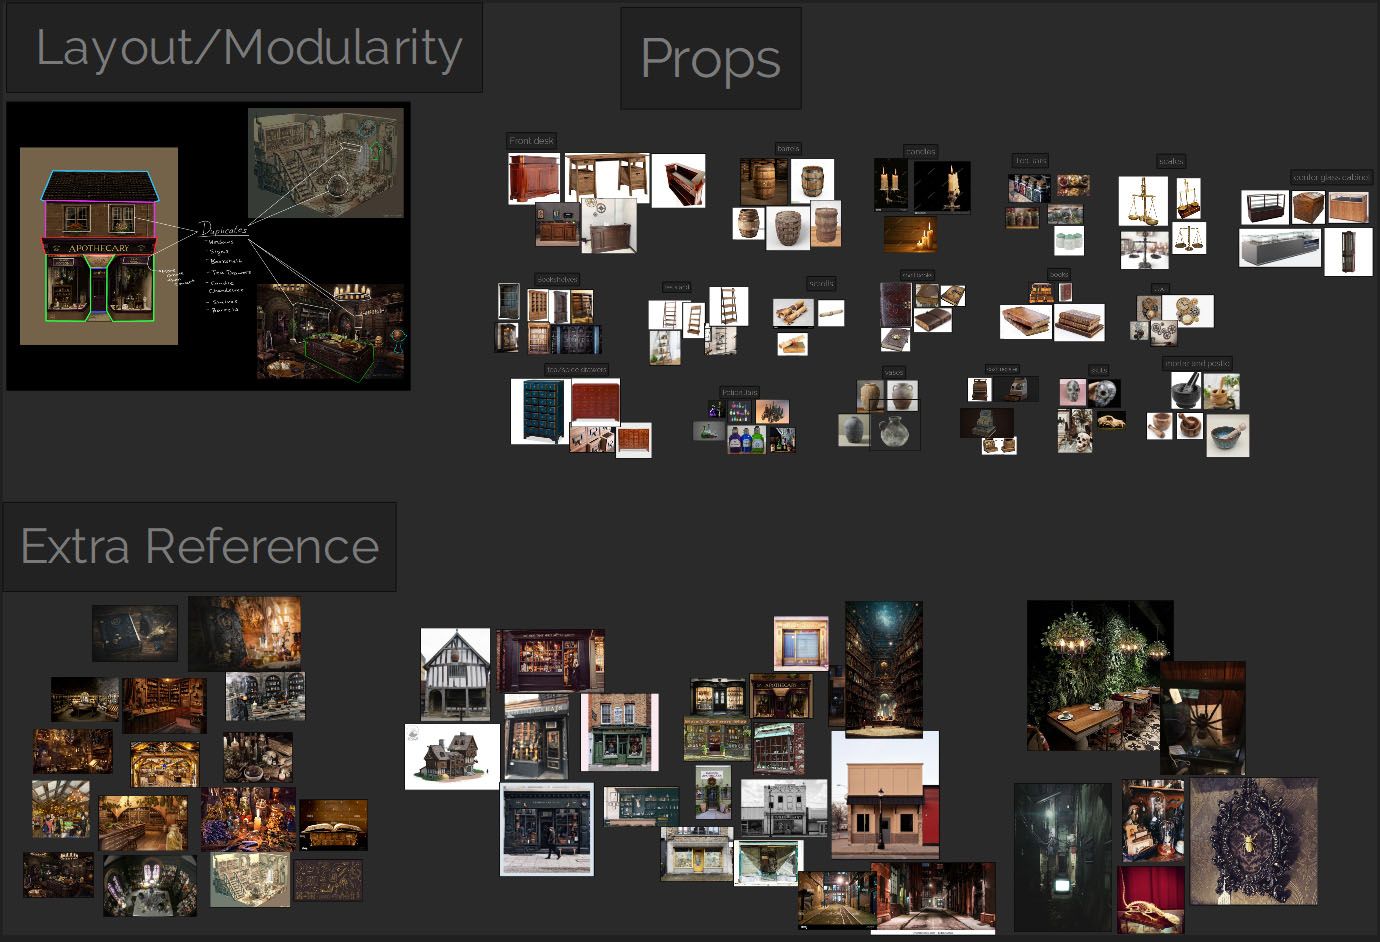
My first step starting any project is to create a reference board using PureRef. I tend to look for photos or concepts that are similar to the idea I have in my mind – whether that be lighting, assets, layout, or FX that I want to add to my final piece. Once those are in place I can begin to call out some key assets I want to include in the scene and make notes of the props I need to model.
The Construction
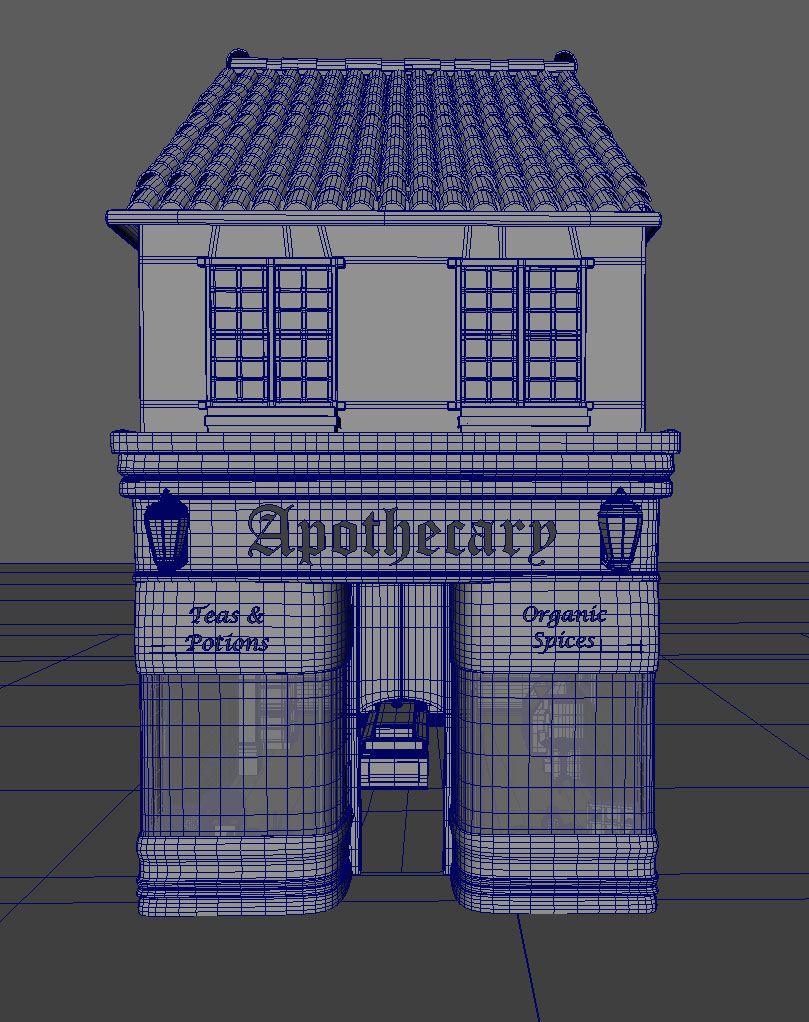
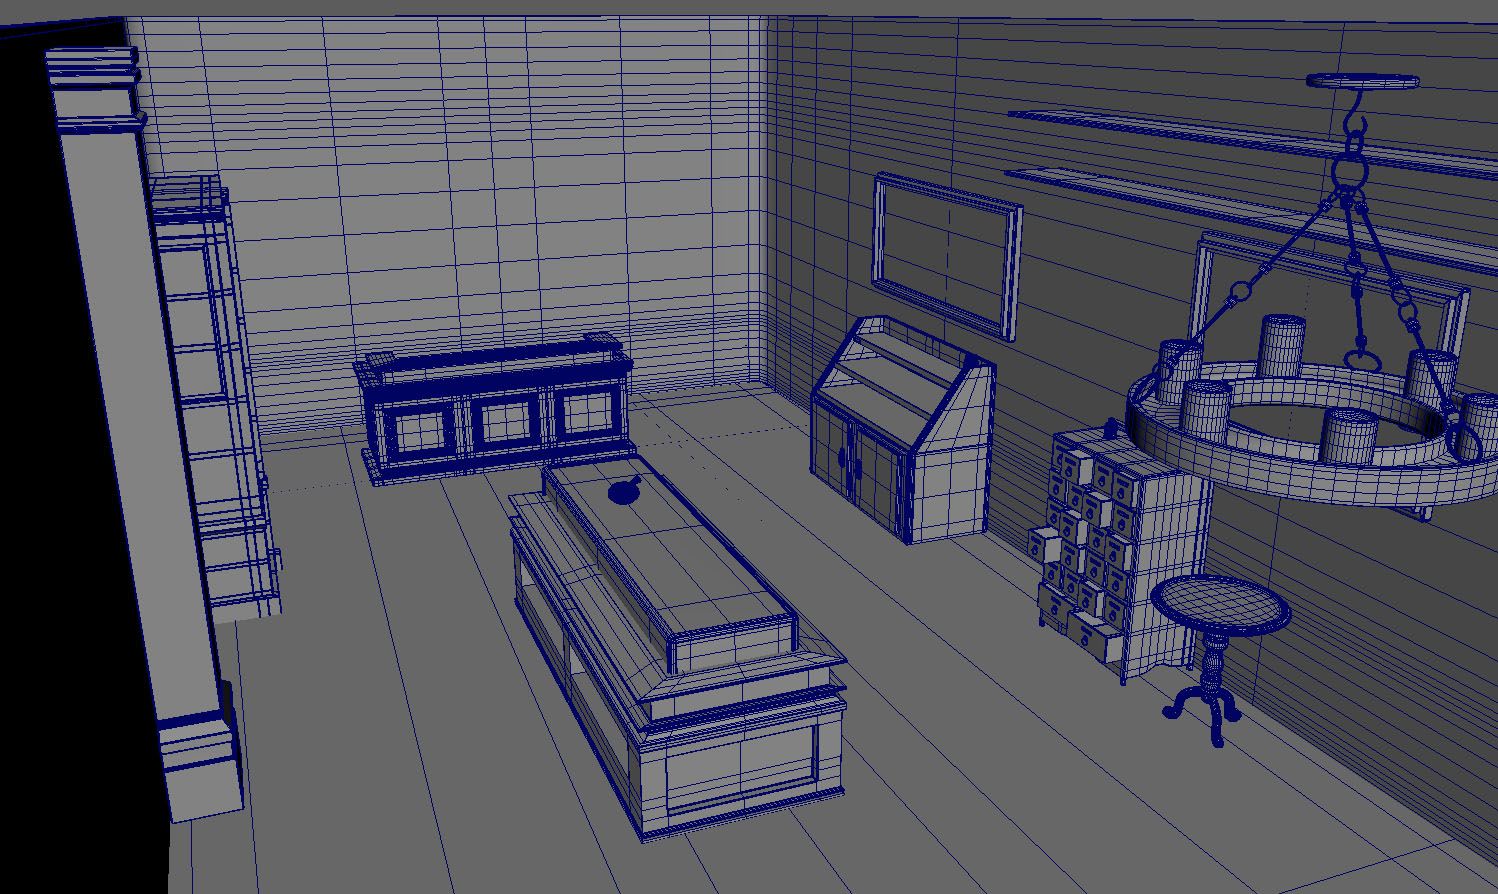
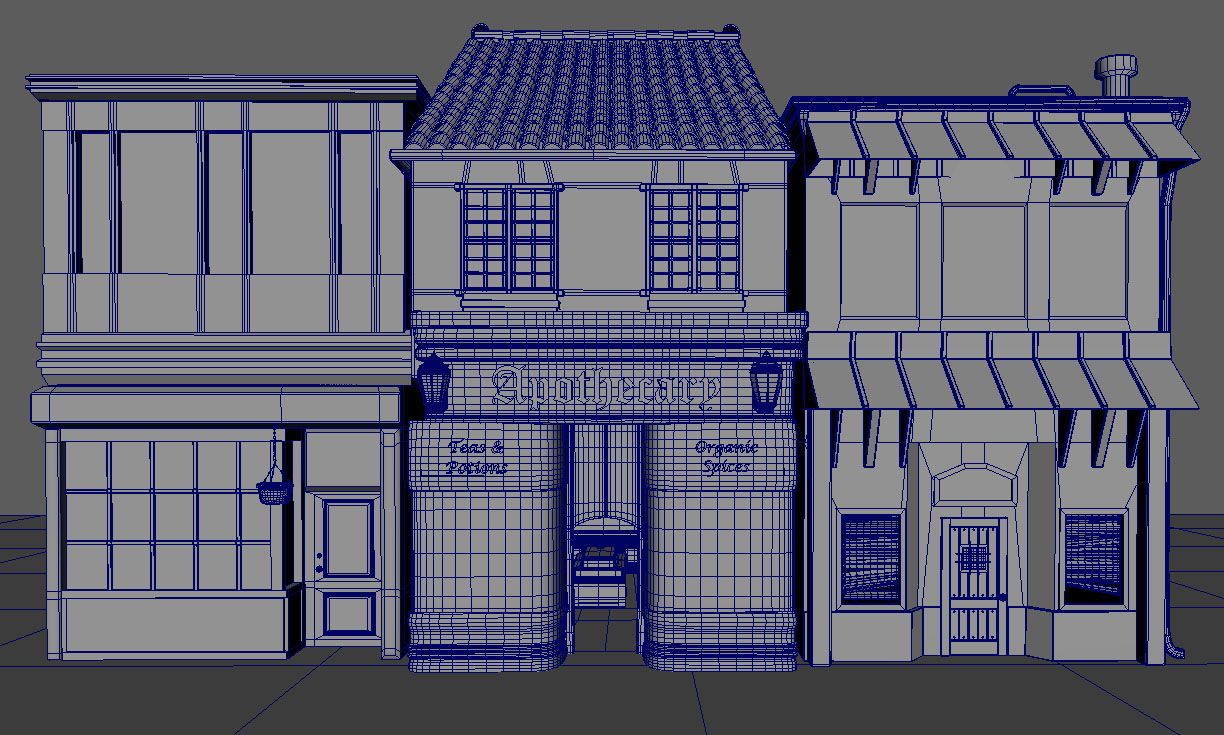
My next step was to create a block-out for the storefront and the interior in Maya. I modeled out the foundation of the shop fully and then moved onto the big furniture pieces I knew I wanted to include. I then made a list of all the modular assets that could be duplicated or reused in different areas of the scene and began modeling those out as well.
First Maya Block Out
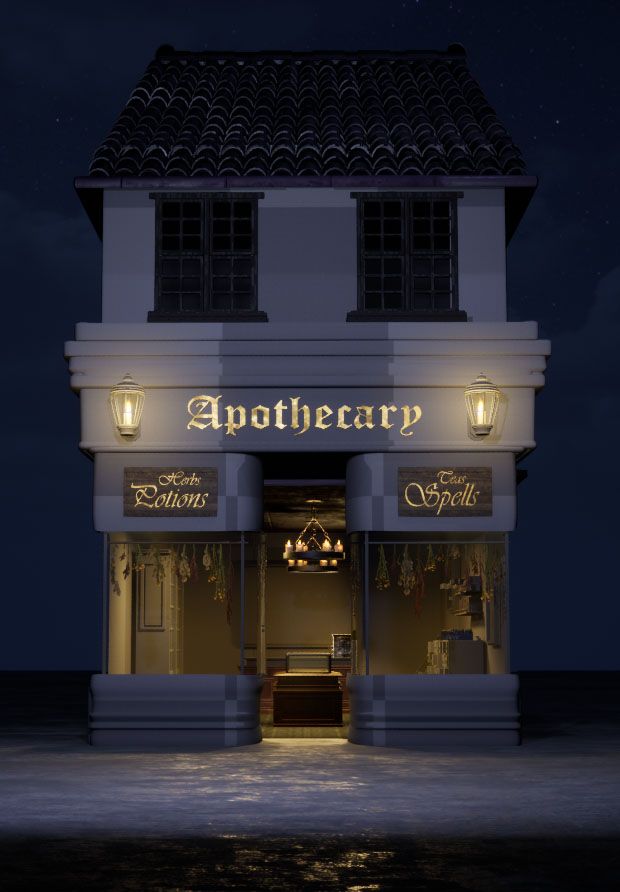
Once I had the majority of my scene blocked out, I decided it was time to get all my assets into Unreal. I knew I wanted the interior of the shop to be lit by candles, so I started by figuring out where the candles would be placed so I could start lighting the scene. Once I had my basic lighting in, I began texturing my assets.
Unreal First Texture Passes
The Creativity
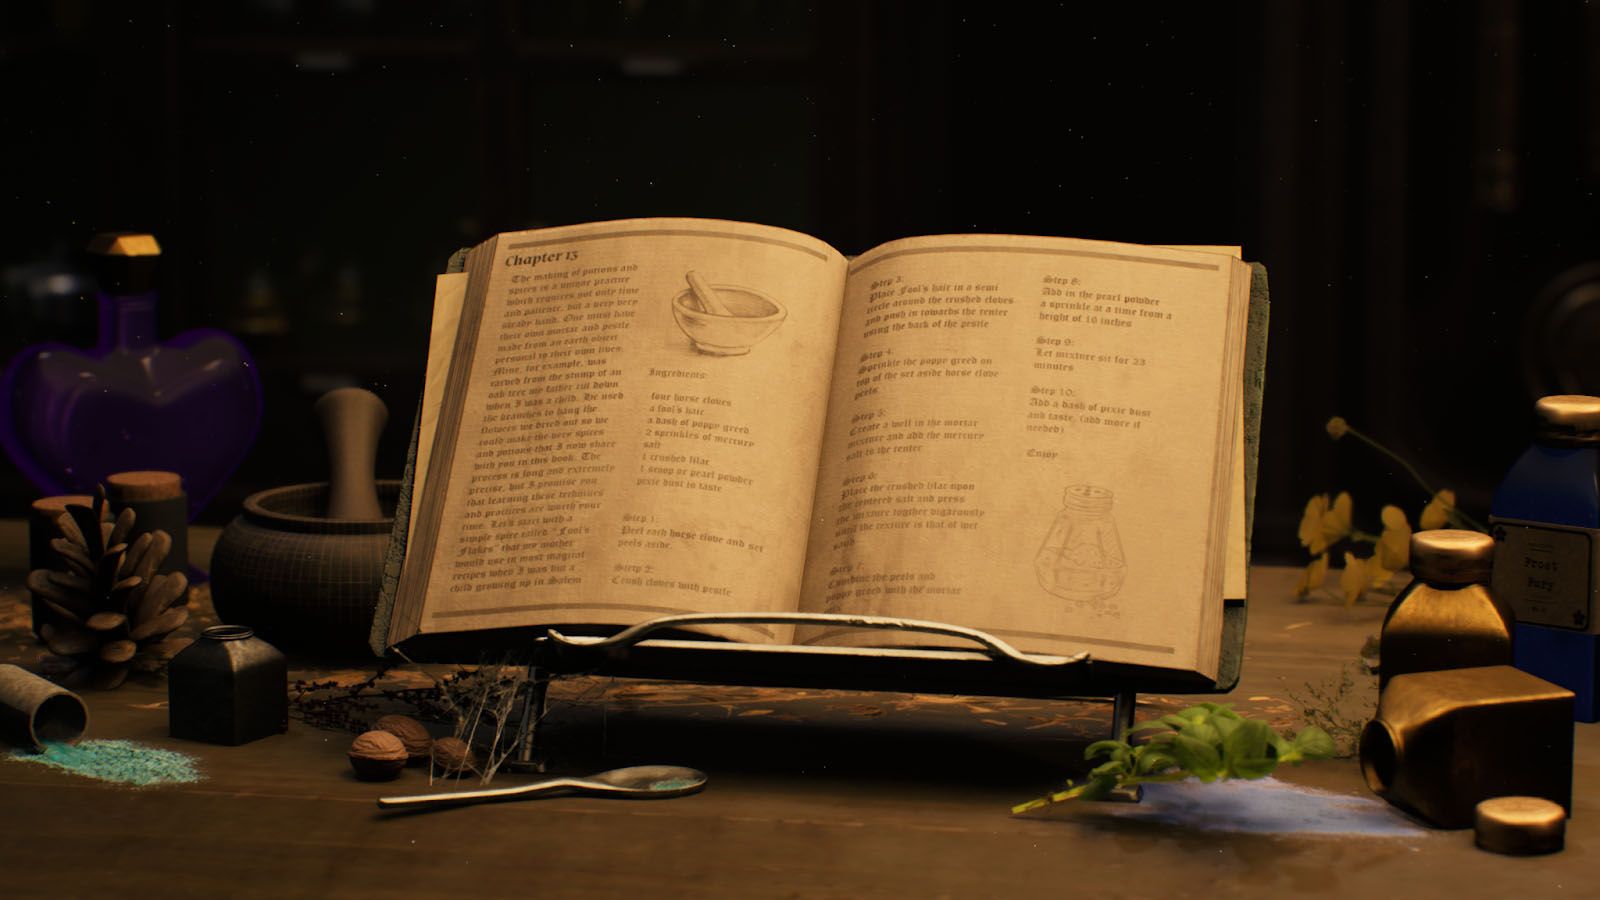
One thing I love most about a project this complex is the ability to create easter eggs for yourself and friends throughout an environment. Whether it be using your friends’ names for book titles and magical potions or writing an extremely detailed fiction recipe in a magic potion book, adding little details to any scene can instantly create another level of care and complexity. In this project for example, I was in need of over 150 different names for the countless variety of labels, potion bottles, tea jars, books, and magical spices I wanted in the scene. I actually put up an Instagram story at one point for my friends to contribute to the behemoth of names I needed to come up with.
Just some of the many many names we came up with
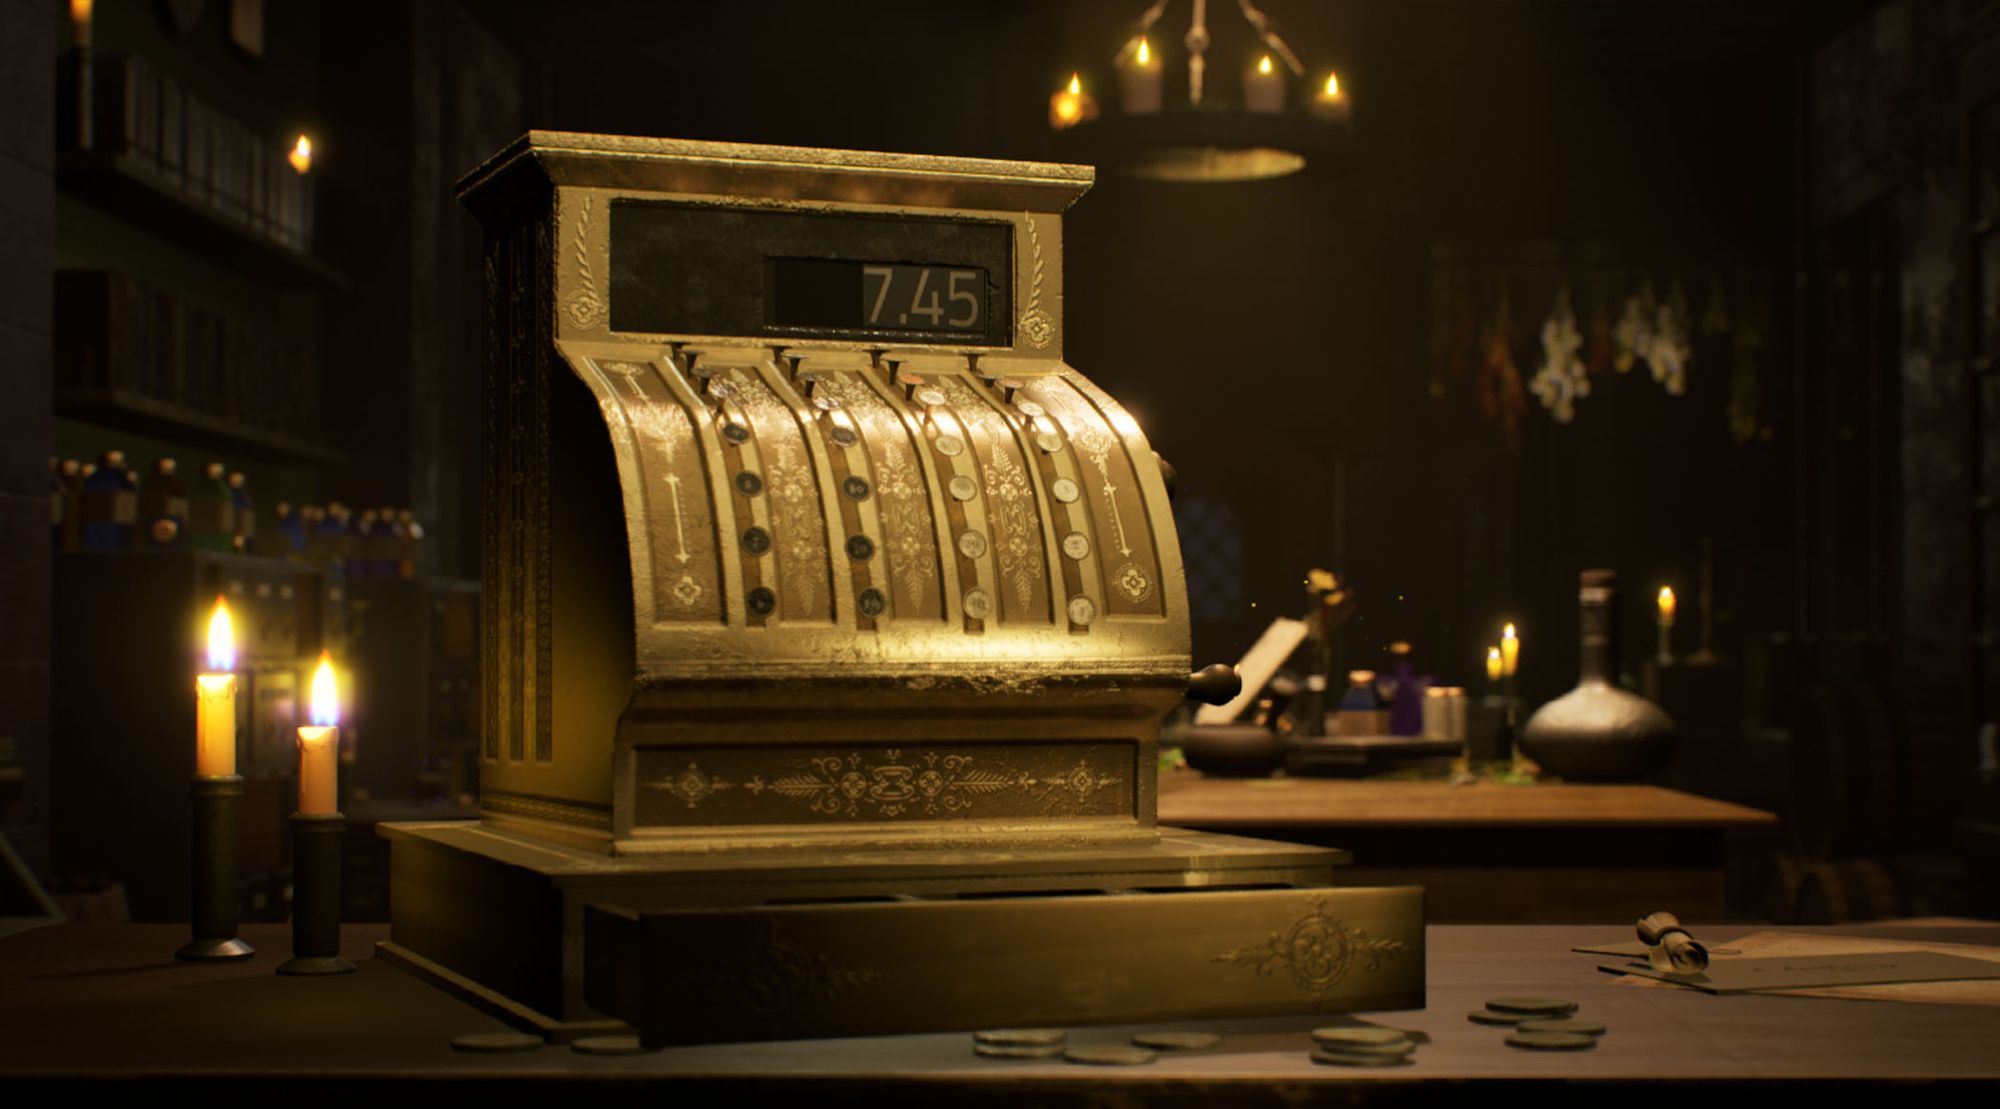
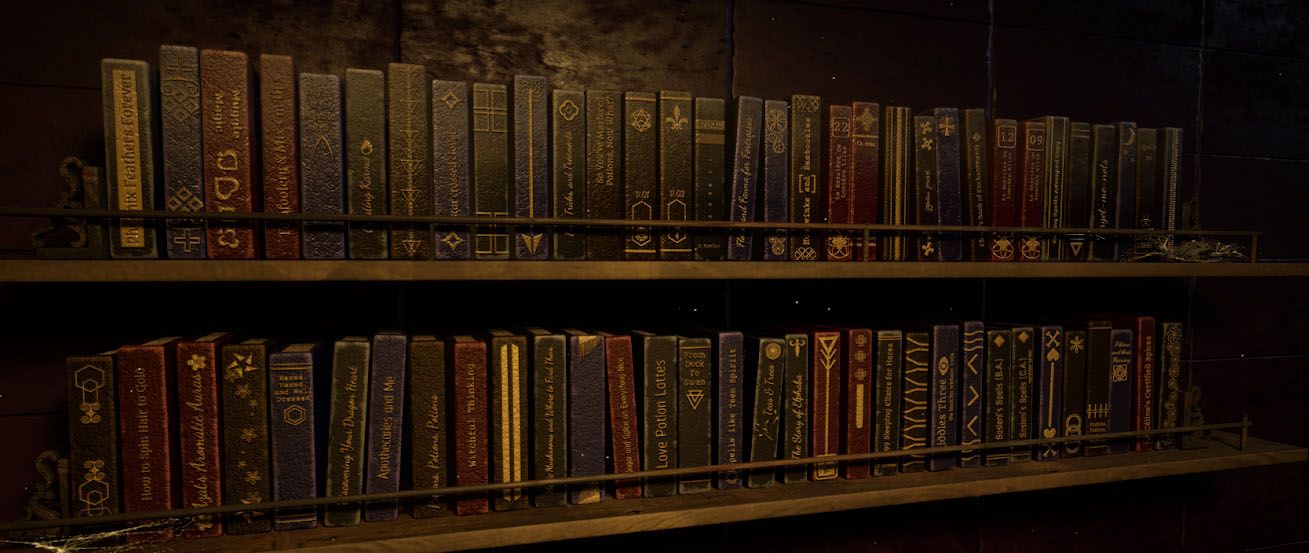
One of the things that helped me most when creating this scene was learning how to creatively cheat the viewer's eye and save yourself time. I knew I needed a LOT of books and potion bottles for this scene. In total the scene ended up having just over 300 books and about 40 different potion bottles, but I only modeled one book and eight potion bottles.
For the books, I used the MASH network in Maya, which allowed me to duplicate one book multiple times at different scales and rotations. Using this method I created two large book stacks, two small book stacks, and two large book rows to put on shelves. I also cheated the viewer's eye by texturing the top of the book stacks on either side to look like a front cover of a book. This way I could flip the textured book stack over to either side and it would give the illusion of an entirely new asset. Overall, I only had to texture six book assets for the 300 books in the scene.
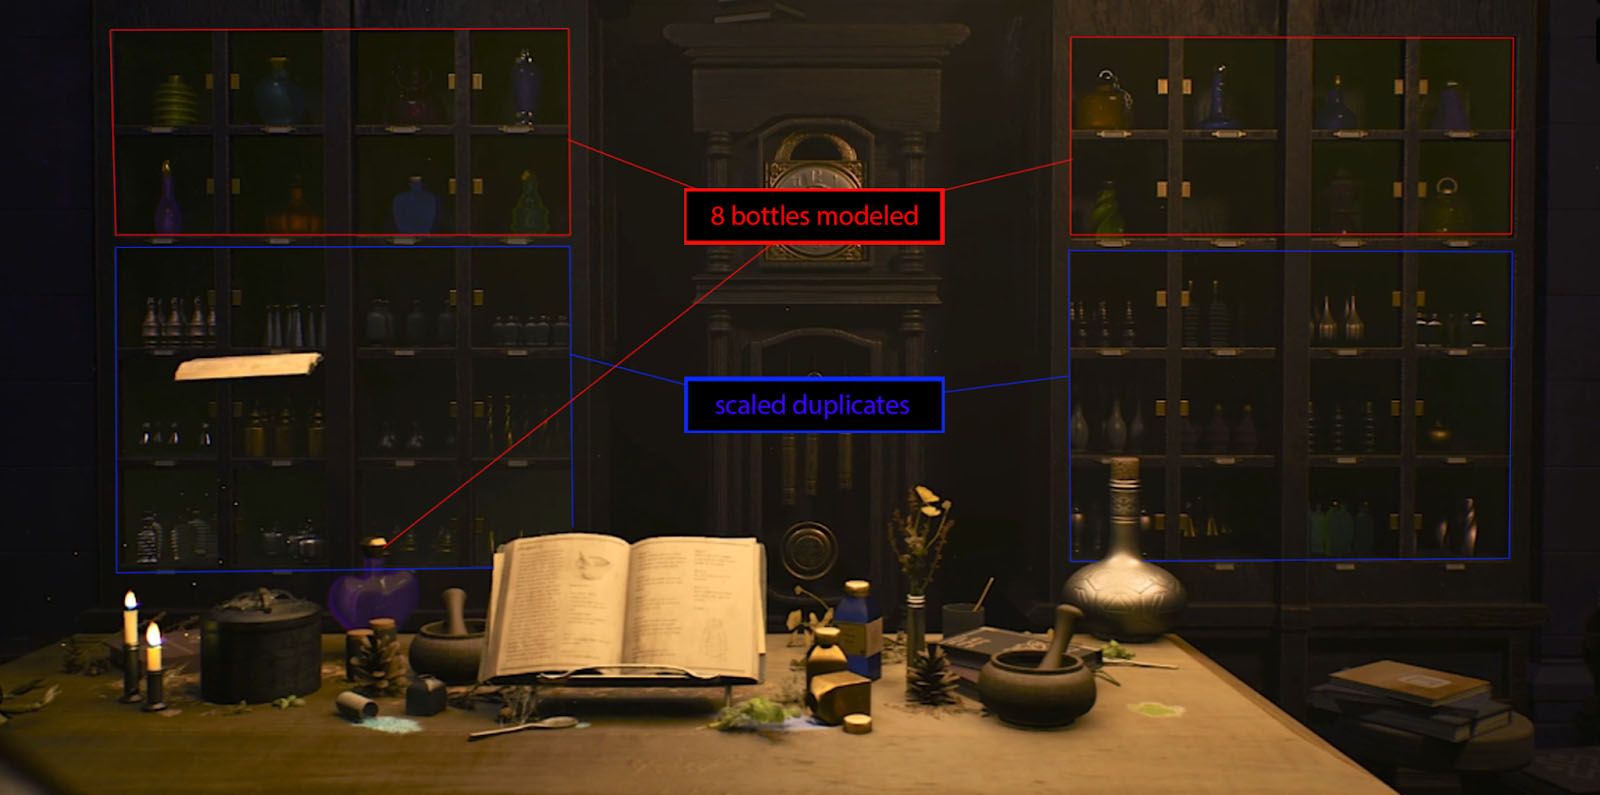
For the potion bottles, I couldn’t risk repeating the same shape too often as I could with the books. I decided to make eight main potion bottle shapes that were larger and more prominent in the scene and then took those eight and played with their scale to create smaller potion groups that were more cluttered to hide the repetitive shape. I gave the smaller duplicated bottles textures that blended into the environment more and the larger bottles were given a saturated potion-like texture that would draw the viewer’s eye in more.
The Challenges
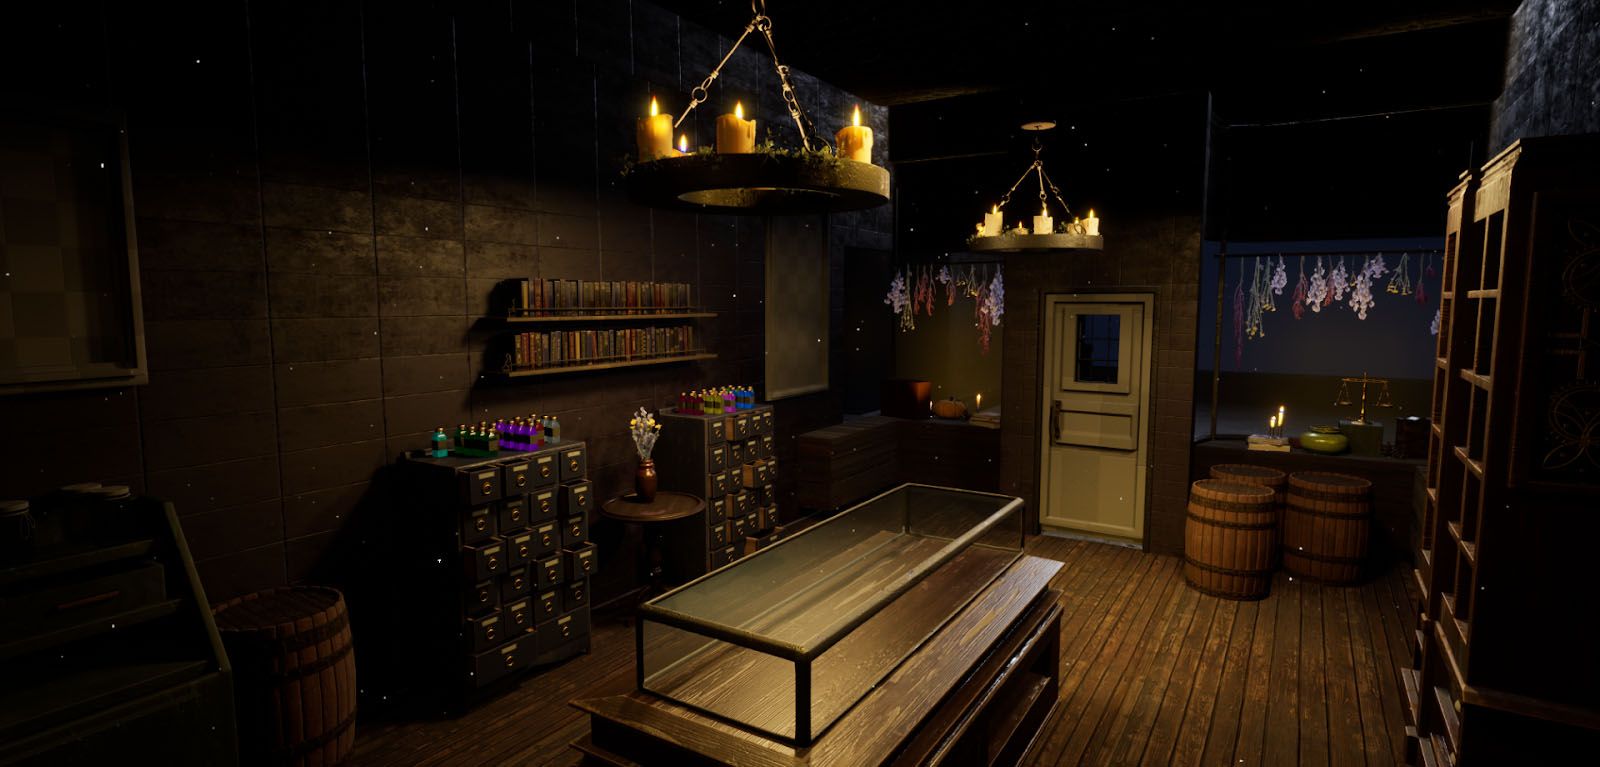
Lighting: I learned a lot about lighting during this project, but one thing that stuck with me was that you don’t need to show off everything in your scene. That was one of the hardest things to apply when creating this piece. When you pour your time and energy into creating details, you want those details to be showcased despite if that actually helps elevate the lighting in the scene or not!
I would definitely try to not light everything and be okay with letting some of the details fall into the darkness. The care you put into your piece will still be there, even if you can’t see it you can feel it.
Set Dressing a Cluttered scene: A critique I was continuously getting from instructors and my peers was that the scene looked too tidy. All the potion bottles were aligned, the floor was pristine, and the books were neatly placed in corners. I kept trying to push that more as I continued with the project, but if I were to go back and keep working on this, I would definitely try to mess the place up a bit more by the use of RGB masking and vertex painting. They are definitely techniques I would have liked to explore more in-depth to help boost the overall break-up in the scene.
One thing that did help make the place feel more cluttered was bringing the walls slightly closer together which made the interior feel more compact and set dressing easier.
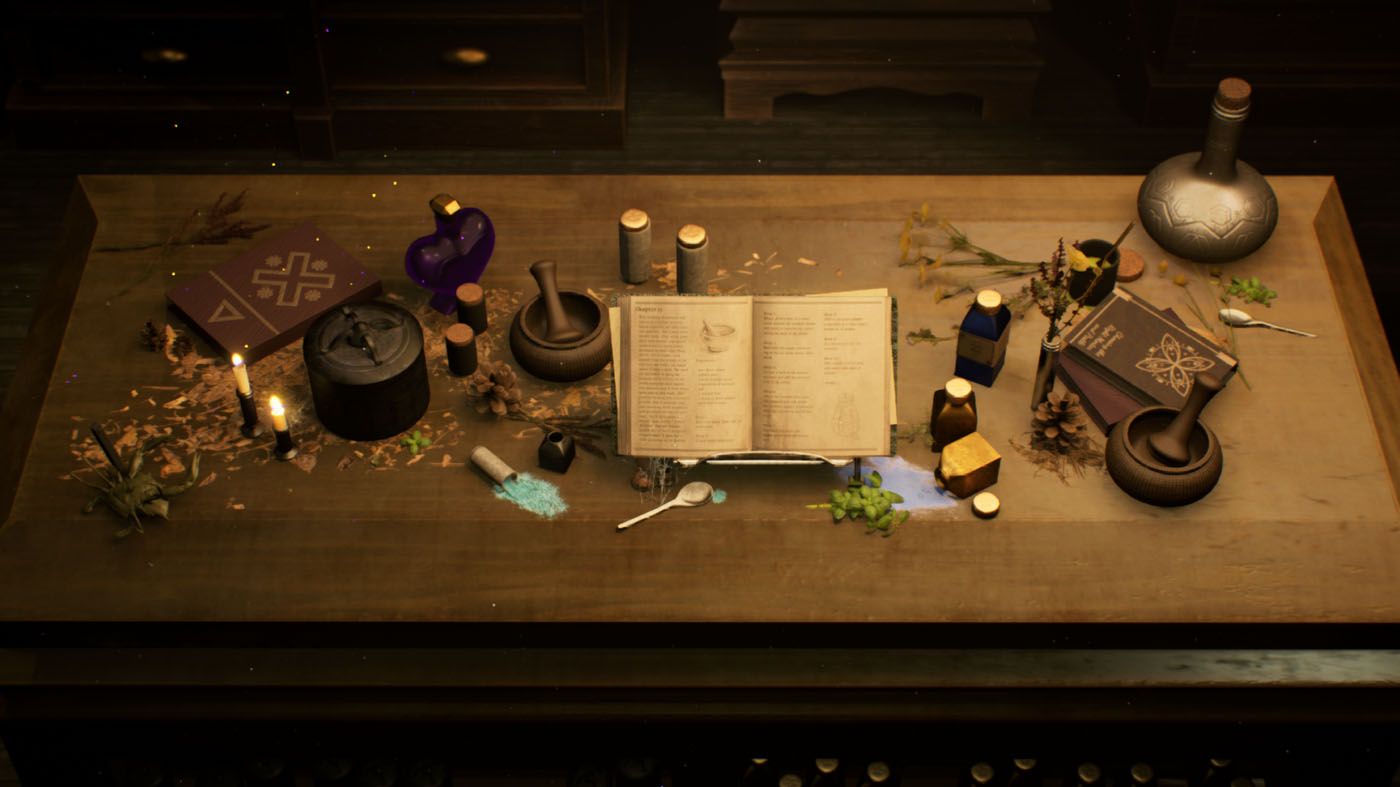
From a neat glass display case to a messing potion making station
Baking: I had not learned the process of baking high-poly game assets to low-poly game assets before this environment and my goodness that would have been a great skill to apply in this piece to get more high poly details and break-up on my models. I was able to learn this skill the term after I had completed this project and will definitely utilise it in the next environment I create.
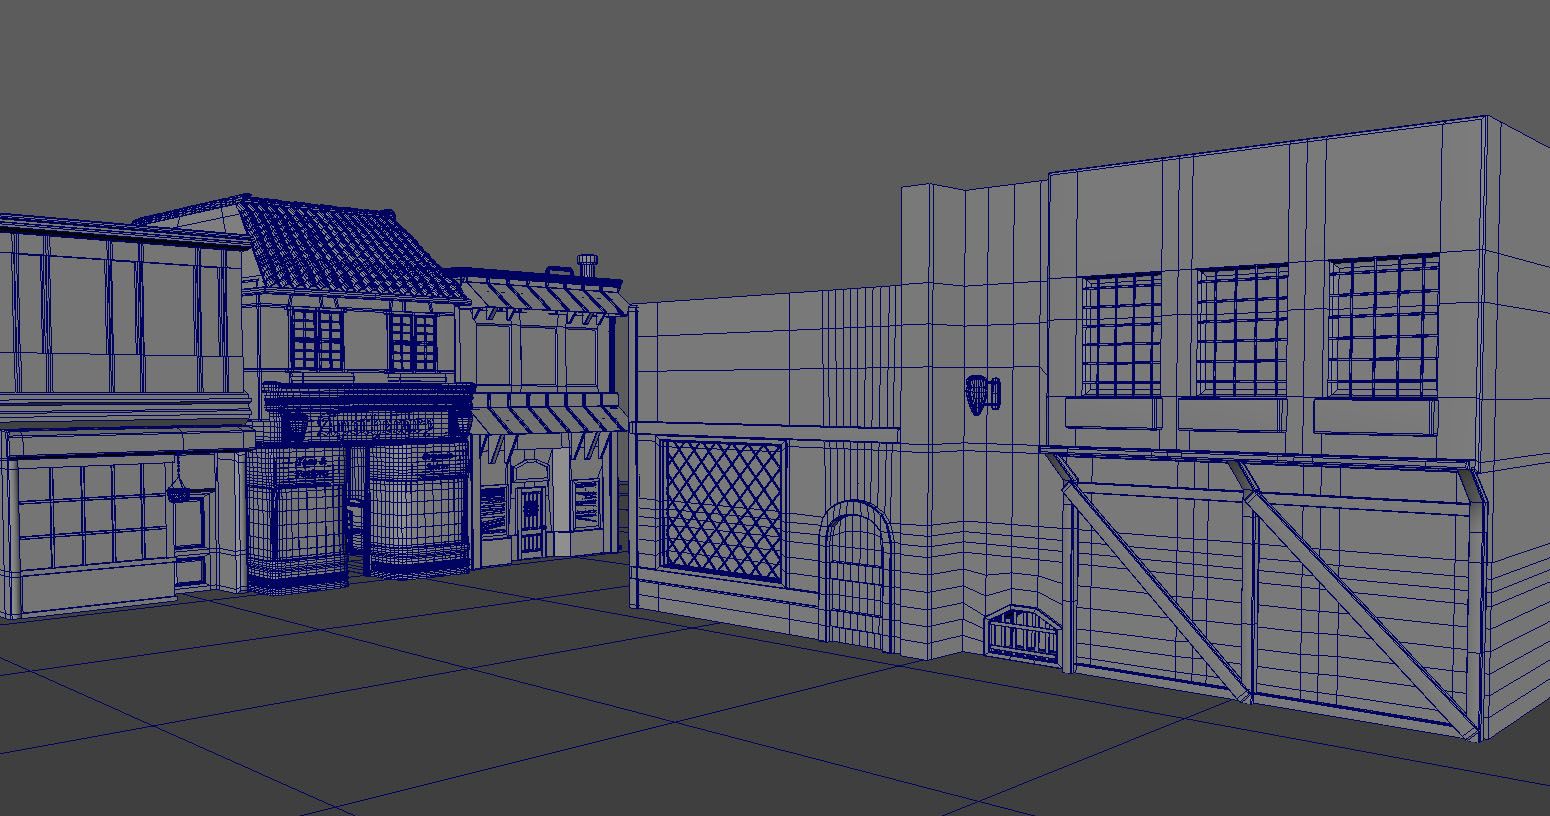
Adding an exterior last minute: The most arduous part of this entire project for me was realising in the eighth week of the ten week project that I wanted to include an entire exterior leading up to the interior of the building.
I’d advise blocking out your shot early on so you can build your environment based on your shot and not build your shots based on your environment.
Maya Block Out of Exterior Environment
The Cinematics
I decided to animate a few assets in the Apothecary to really tie the magical aspect of the environment in. I also decided to include some particle FX using Niagara to give an impression of stylised dust and magical particles coming off some of the objects. Just having these few pieces moving throughout the scene guides the eye from shot to shot while also creating a sense of magic that was missing from the still images.
The Conclusion
This piece was the first piece I created where I really felt the growth I was making as an artist and even though I feel as though I could do much better with what I know now, this piece will always hold a special place in my heart.
I also wanted to extend a huge thank you to my instructors Anton Napierala and Gabriel Cervantes. I learned a lot in this project and am extremely grateful for their guidance and critique throughout the process.
Almost three years ago I made the decision to transfer out of my previous college and seriously pursue a career working in 3D art despite never using a 3D software. The journey to get here has not been easy, but I wouldn’t trade it for anything.
There’s always going to be more to discover for us! Keep pushing yourself to learn!