Hi! My name is Daniela.I’m a junior character artist and today I’m here to talk about my first big project, my Orc Warrior. I will go through all the workflow I used for this project, and the challenges I had in making a realistic creature.
This character I did for my Masters Degree with the help of Juan Manuel Alonso, an amazing artist and mentor. The whole project took me about 5 months.
Workflow
For the organic character :
For the props:
- ZBrush for modeling in high and then Maya for retopology and UVs
- Substance Painter for texturing
- Marvelous Designer for the pants
- XGen for the fur
Overall:
- Marmoset for baking textures
- Maya for look dev, lighting, and rendering in Arnold
- Photoshop for editing
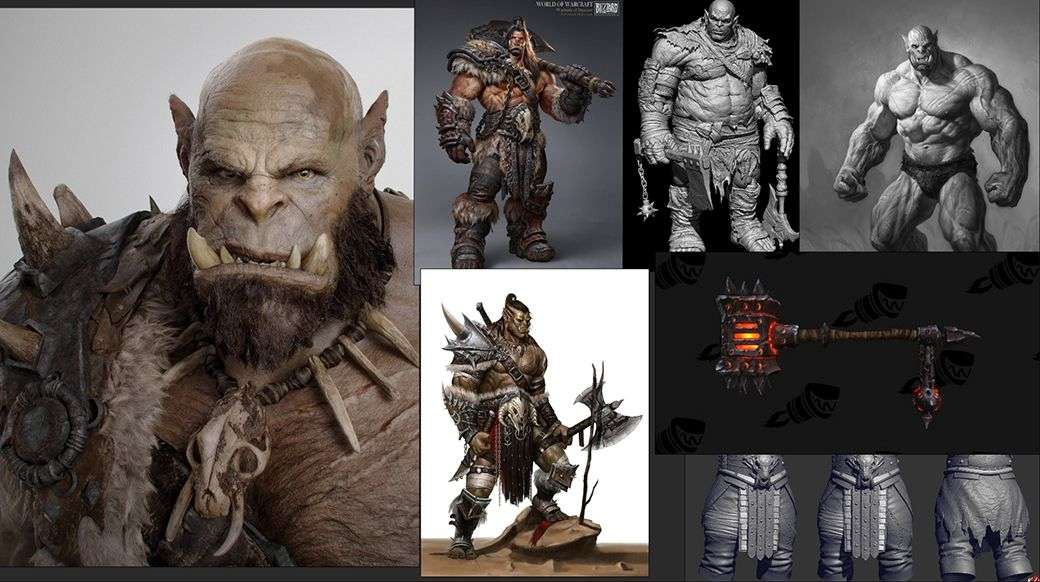
Concept and early start
Choosing the design was the first difficult part in the project, I only knew that I wanted to make an orc, at least one thing was clear. On the internet you'll see a lot of stunning concepts and you'll want to do them all. Try to focus your ideas and be aware of your skills.
For me everything was a challenge, because previously I hadn't done anything like this and my experience with the majority of the software was intermediate. I found designs of orcs from world of warcraft and ILM, and the truth is that being my first professional model I wanted to make it more stunning possible.
And from there the real work began.
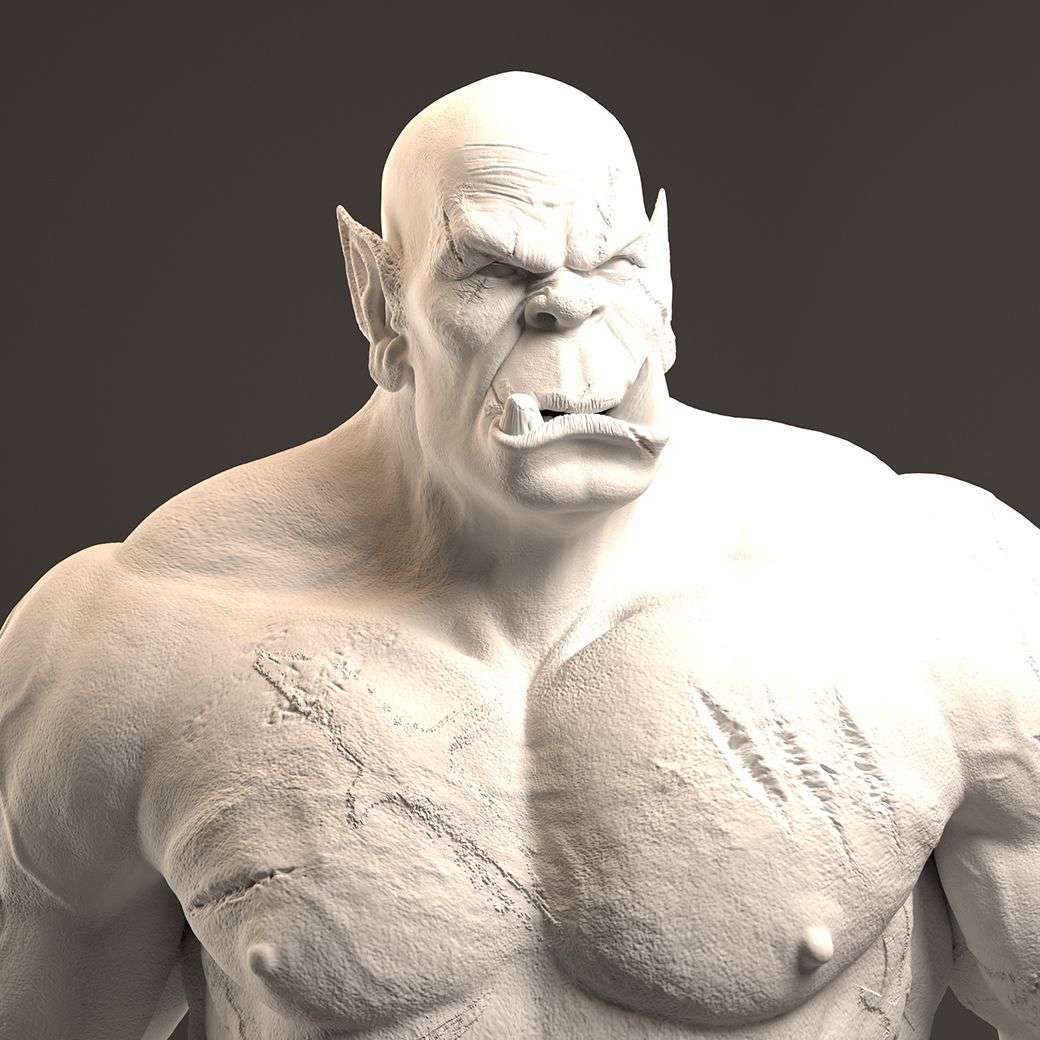
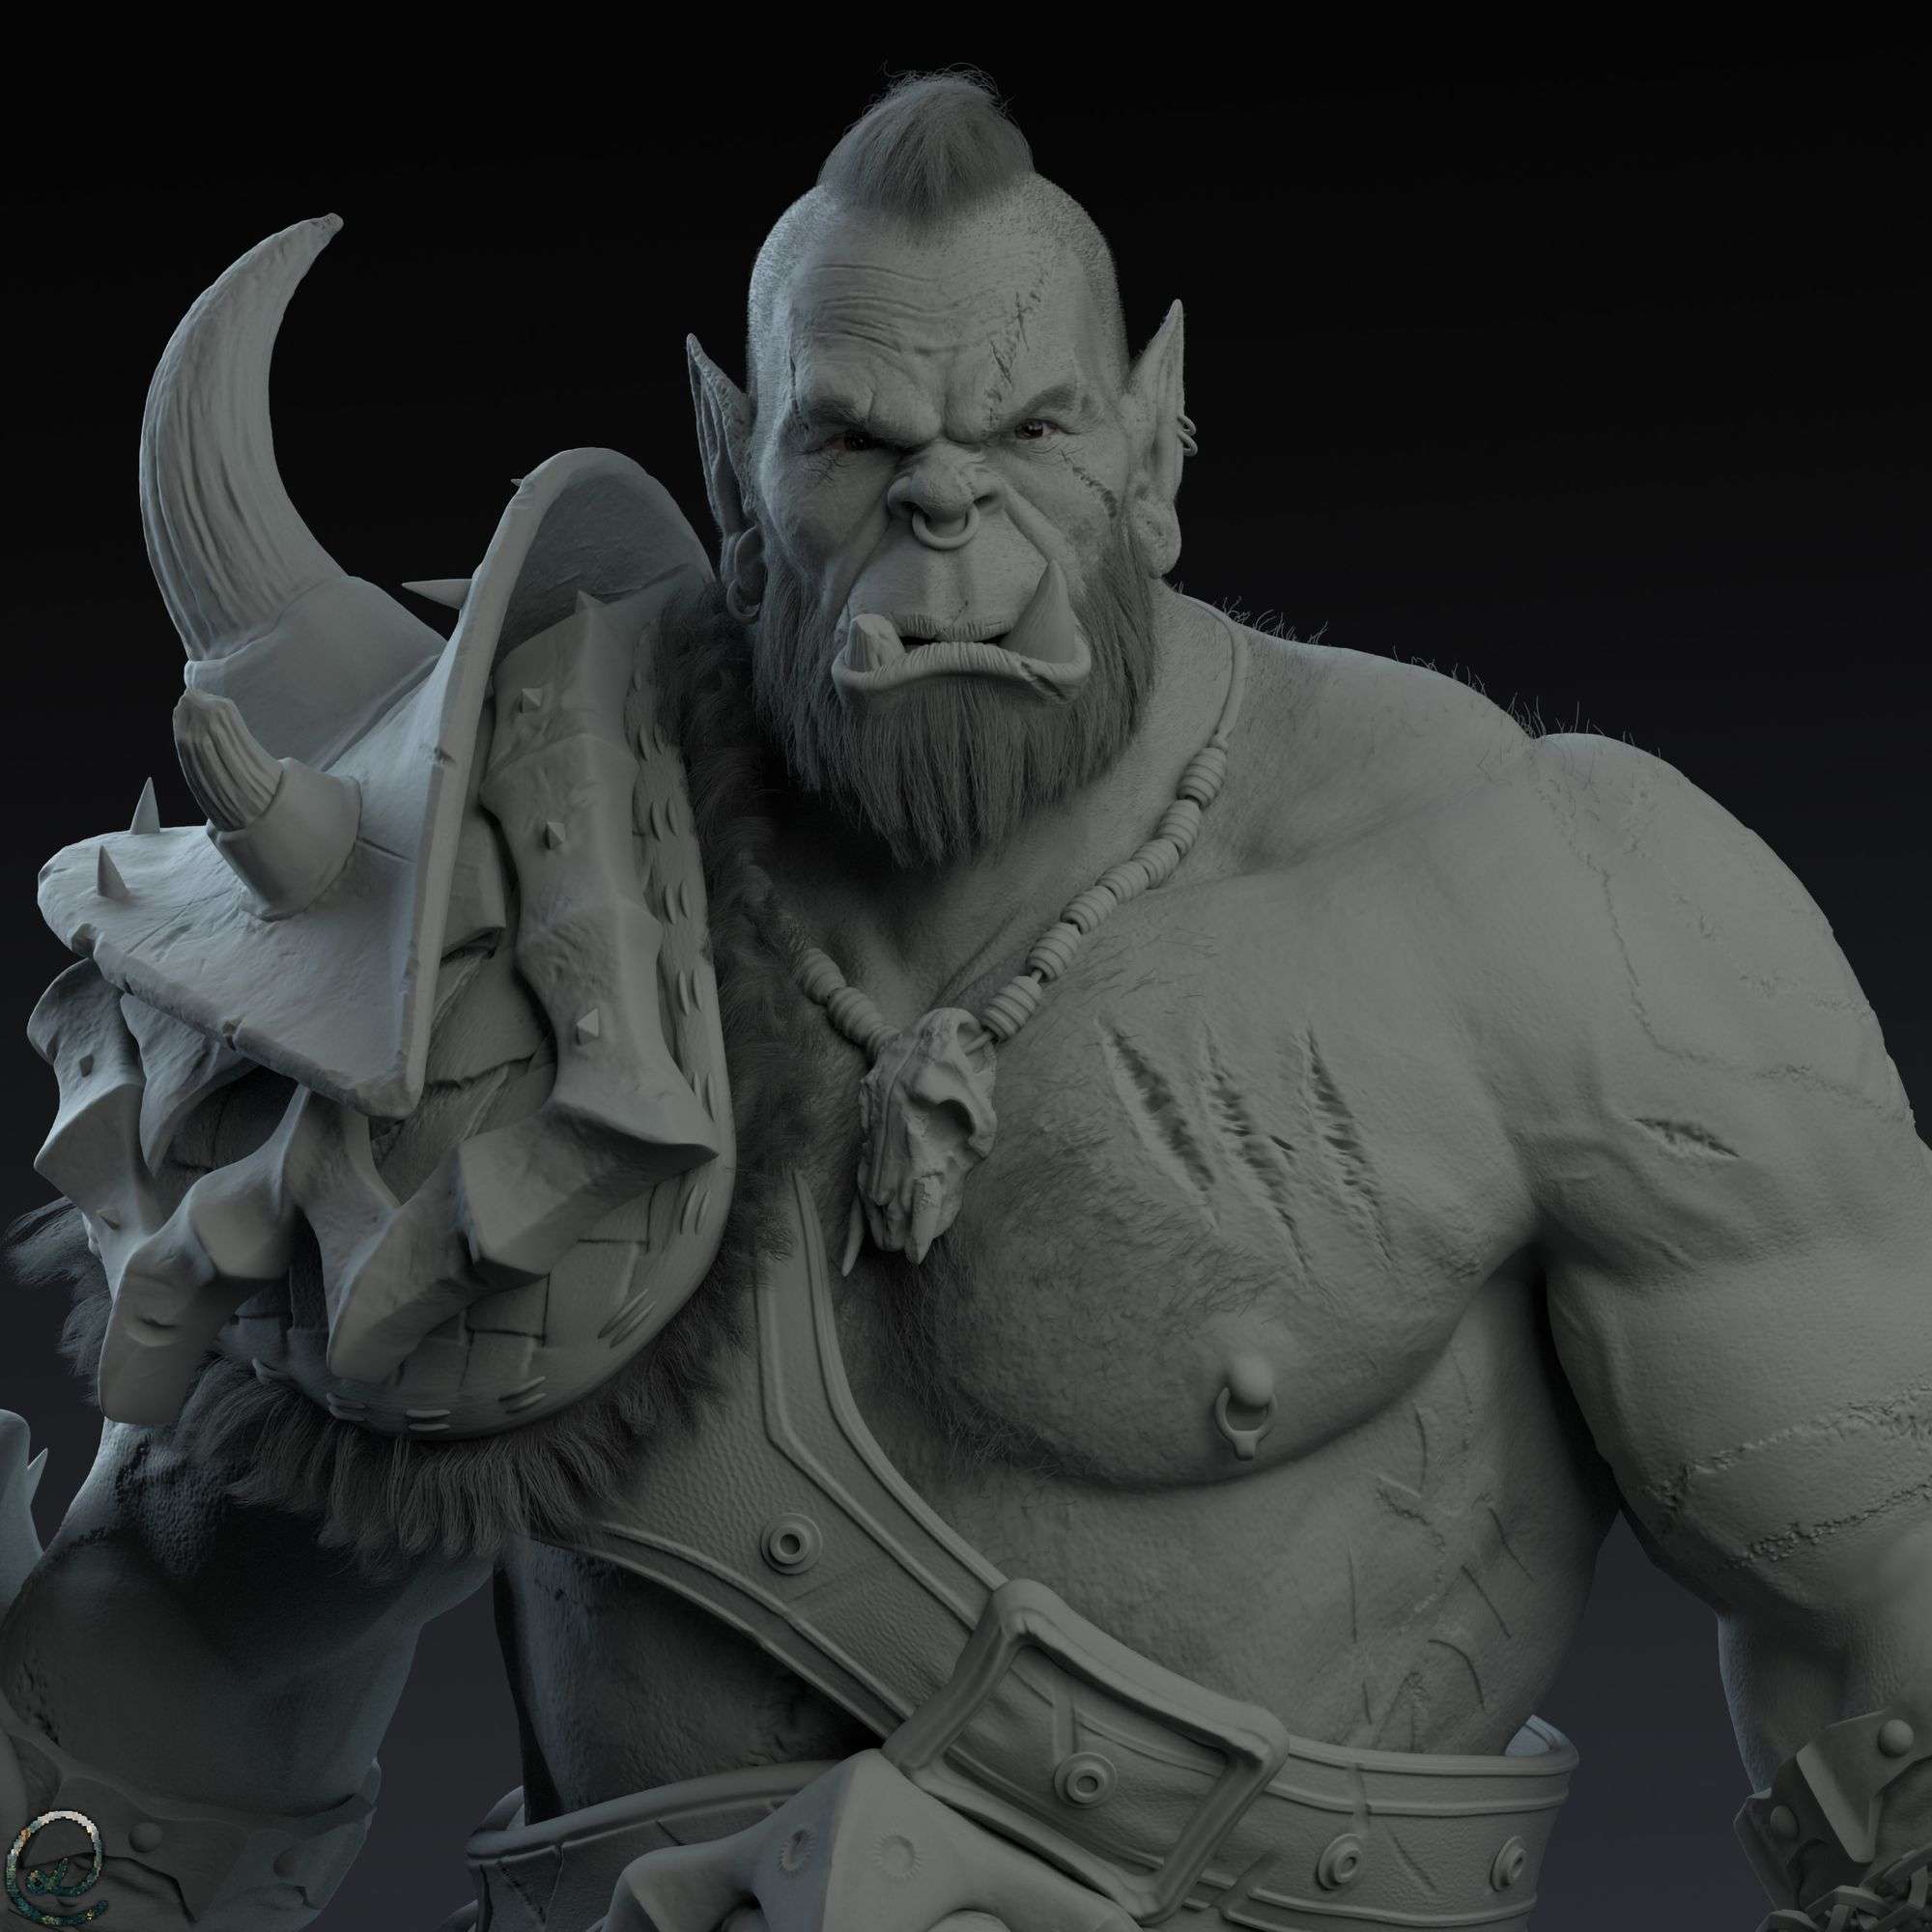
Sculpting the orc
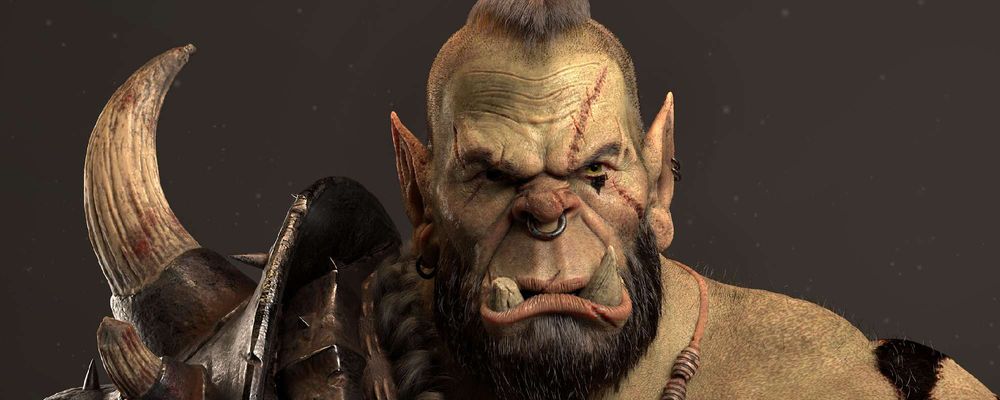
When I already had some references of the new face and body I set a goal, I wanted the quality to be like Orgrim from the Warcraft movies style (don't limit yourself, set the goal the highest the best).
I used Kuadro which is a free image referencing tool that can store pictures that you can organise easily. Its similar to PureRef,very useful. For the anatomy part the Anatomy for 3D Artists was helpful,as a beginner it explains very well the position of the muscles and their aspect,and very visual and easy to understand.
I had to exaggerate every muscle and shape because of the proportions of my model. The main brush used in Zbrush was the clay buildup and the standard.

When the base mesh had the shape I liked, I took it to Maya to do the retopology. The Orc was still symmetrical so I did half of the model and then mirror it. I started the retopology doing it in very low but for the final model had a lot of polys.
I was not going to make a model for video games so it did not matter much the amount of polys.It really depends on how powerful is your pc for the render.

After doing the retopology in Maya I did the UVs. I didn't used UDIMS so the torso is all in one UV space.
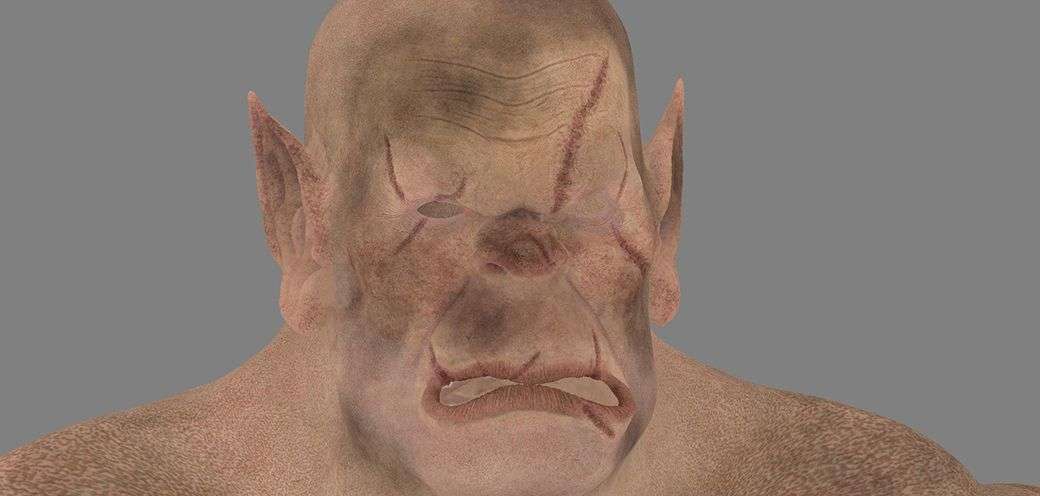
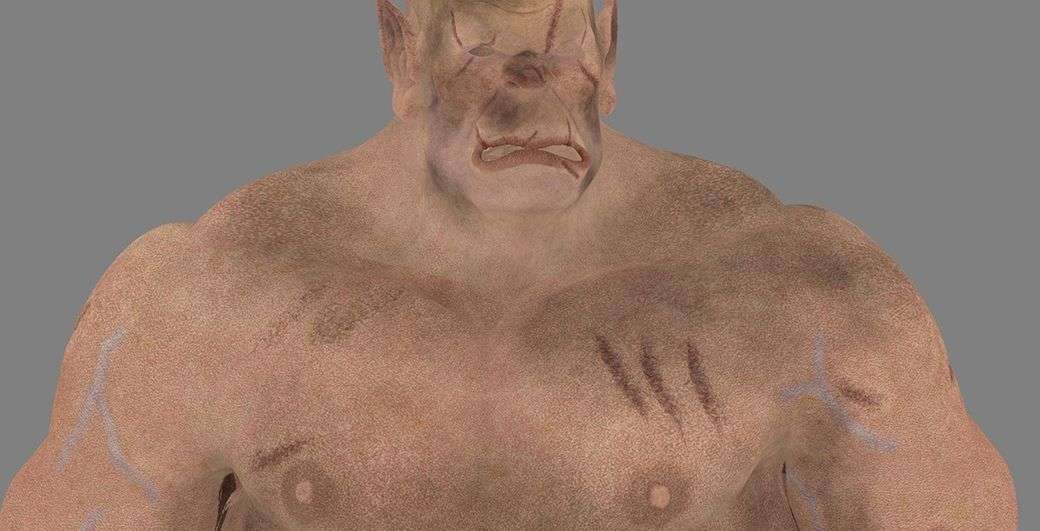
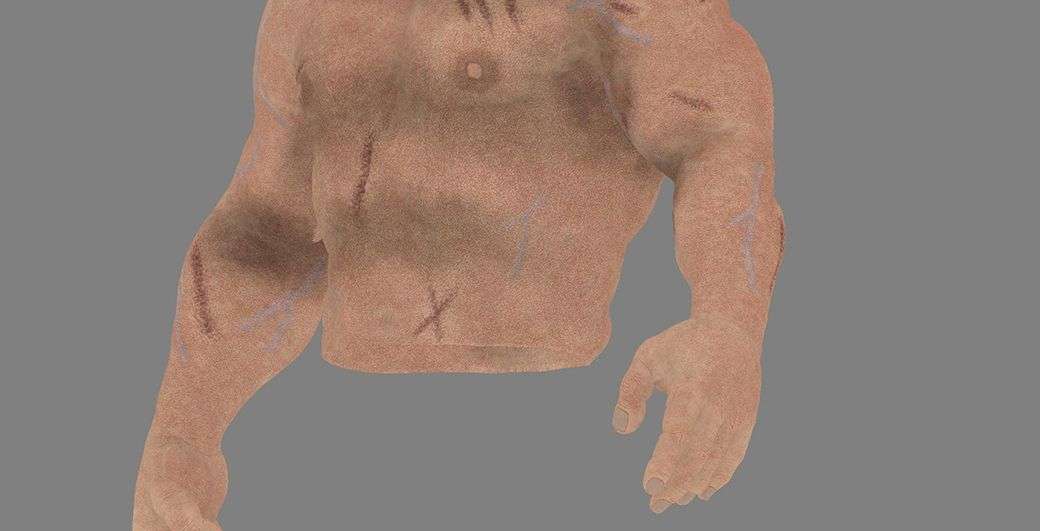
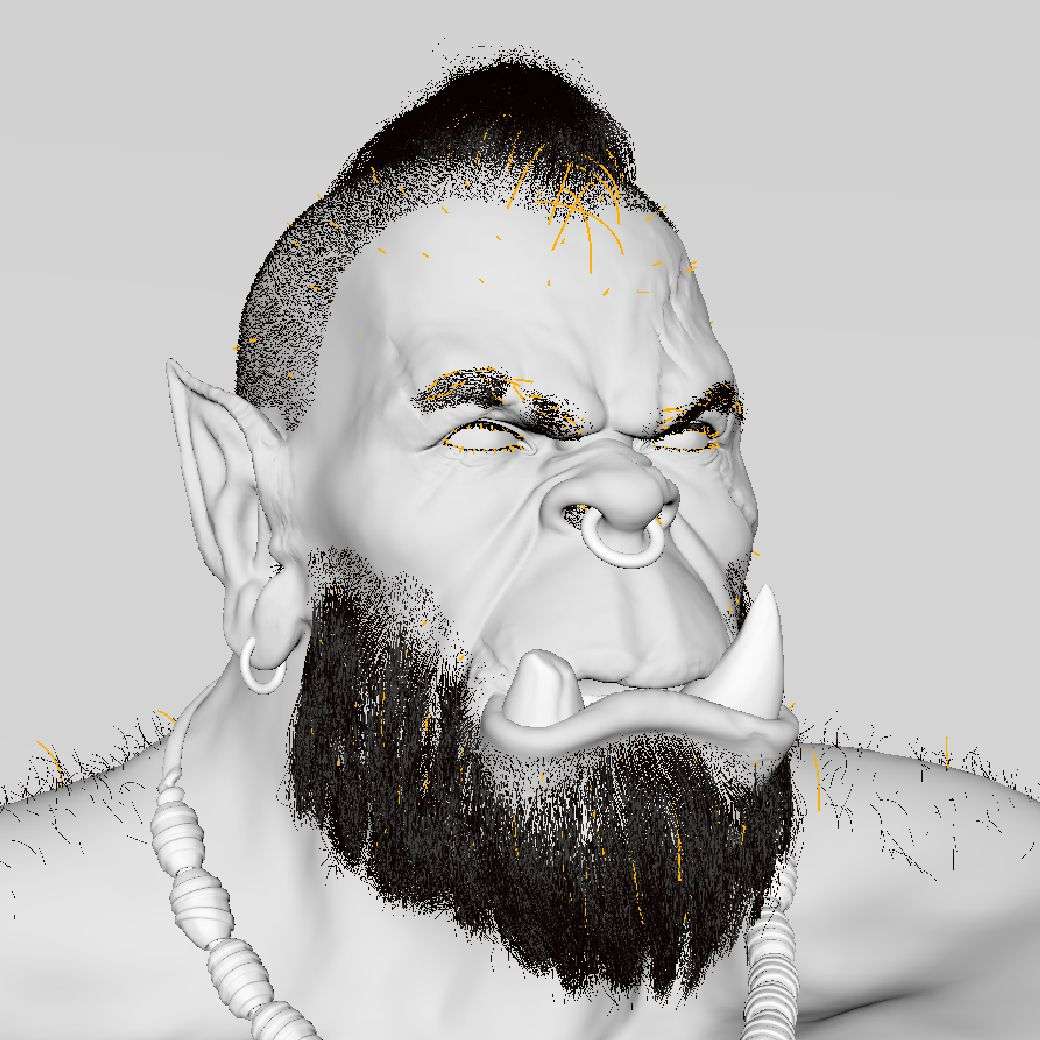
After that I took it back to Zbrush and it was time for my favorite part of the process, giving the details to the body and face.I enjoyed this part because the details give the model personality.
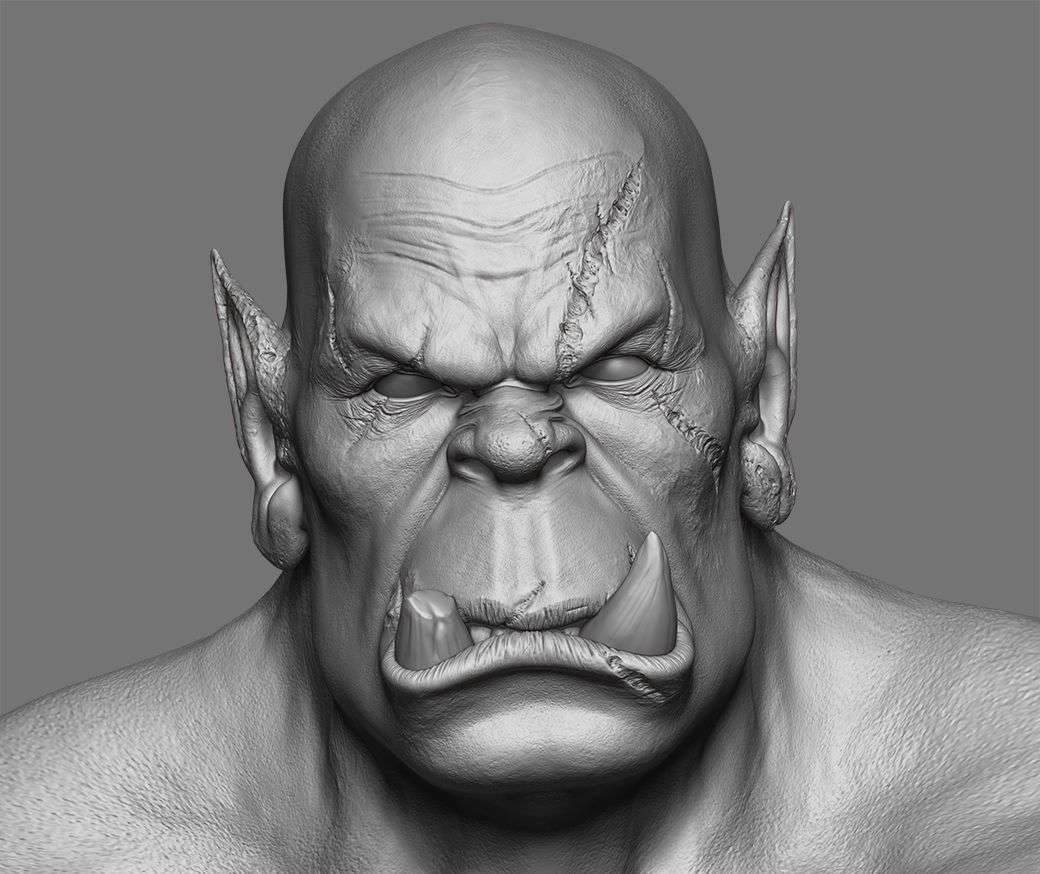
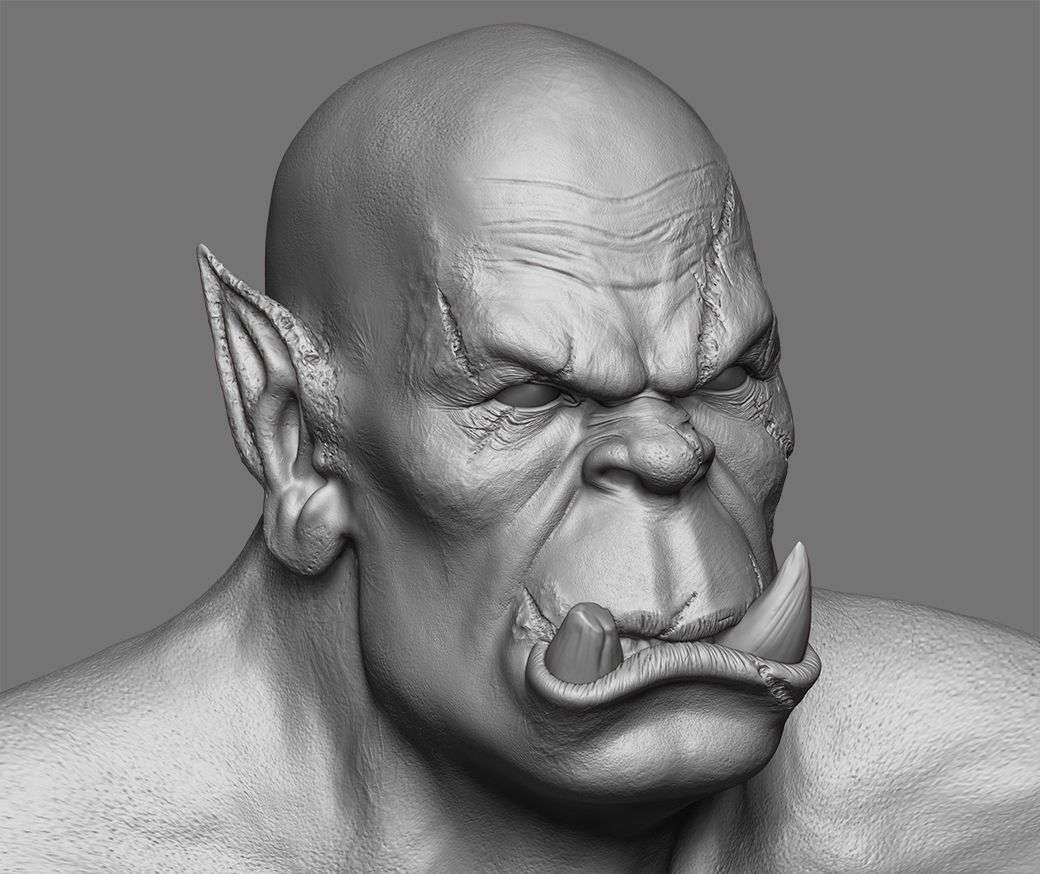
All the pores and scars were made with alphas in zbrush. Again, later I found out how to do it more easily in Mari, but for this model everything was done by hand, it took me a few days.
Everything was done by layers and when I had just sculpted some part of the body and I liked it I took it to Maya and rendered to see how it looked.
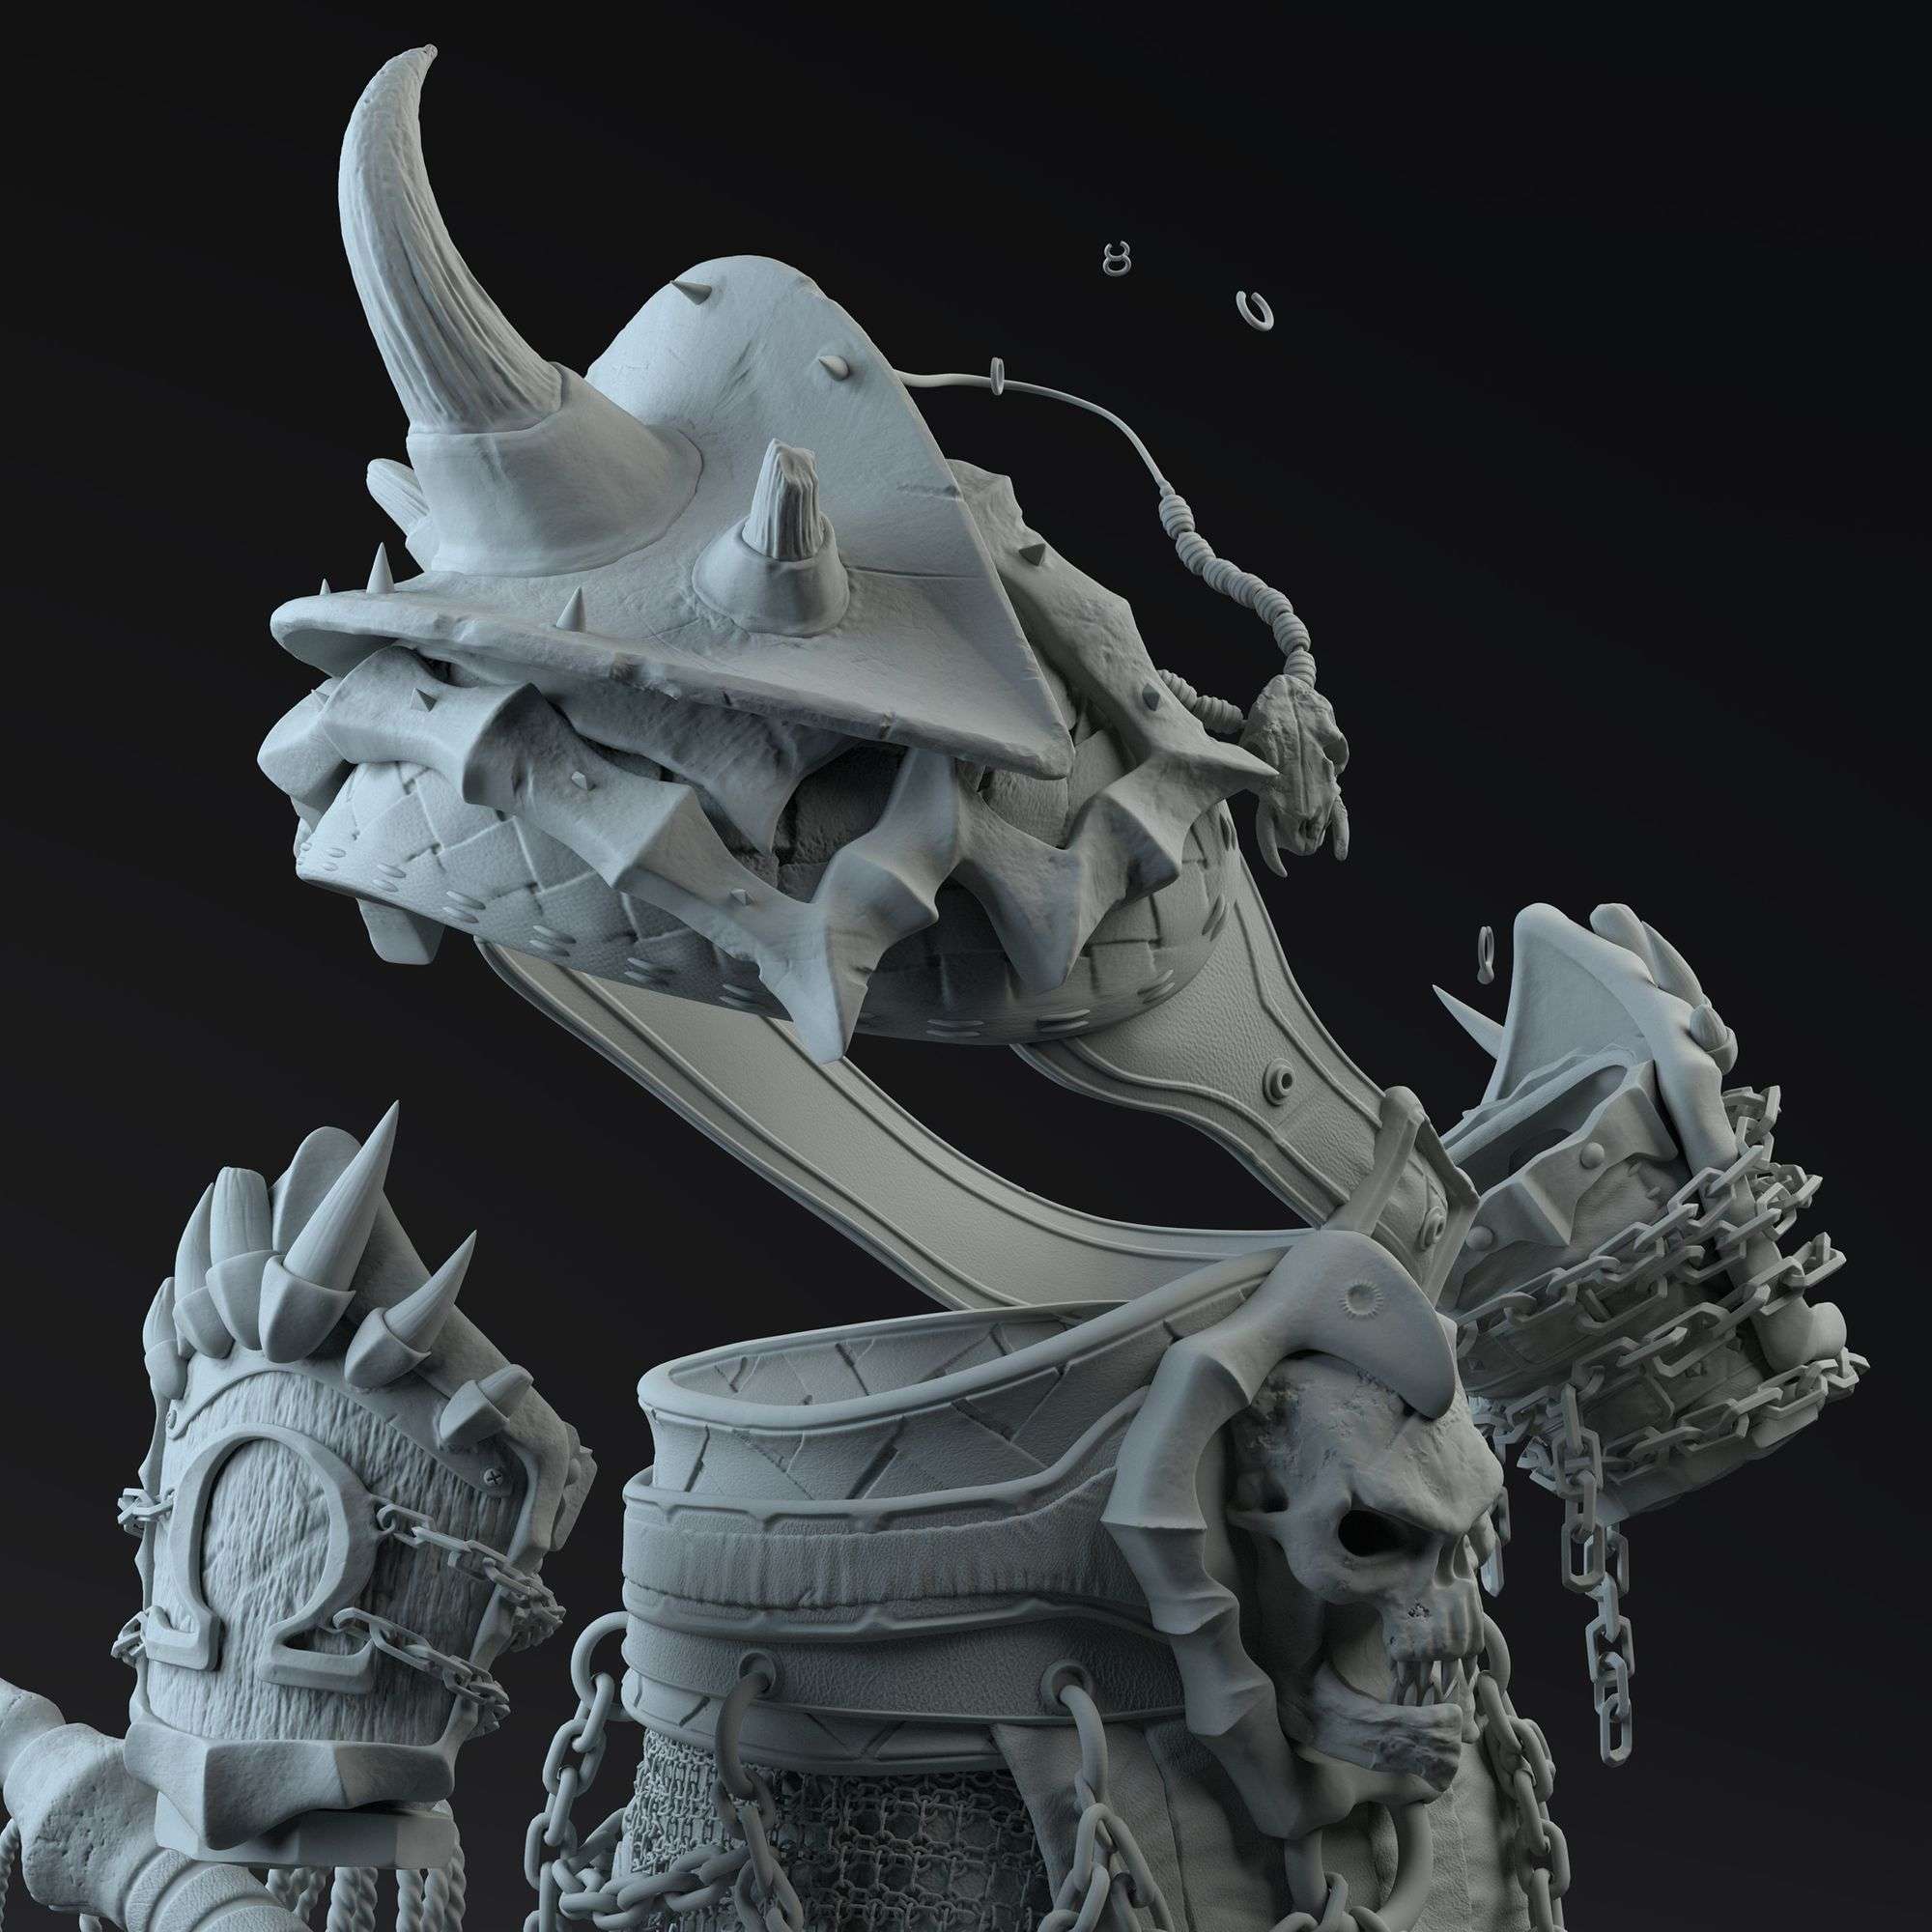
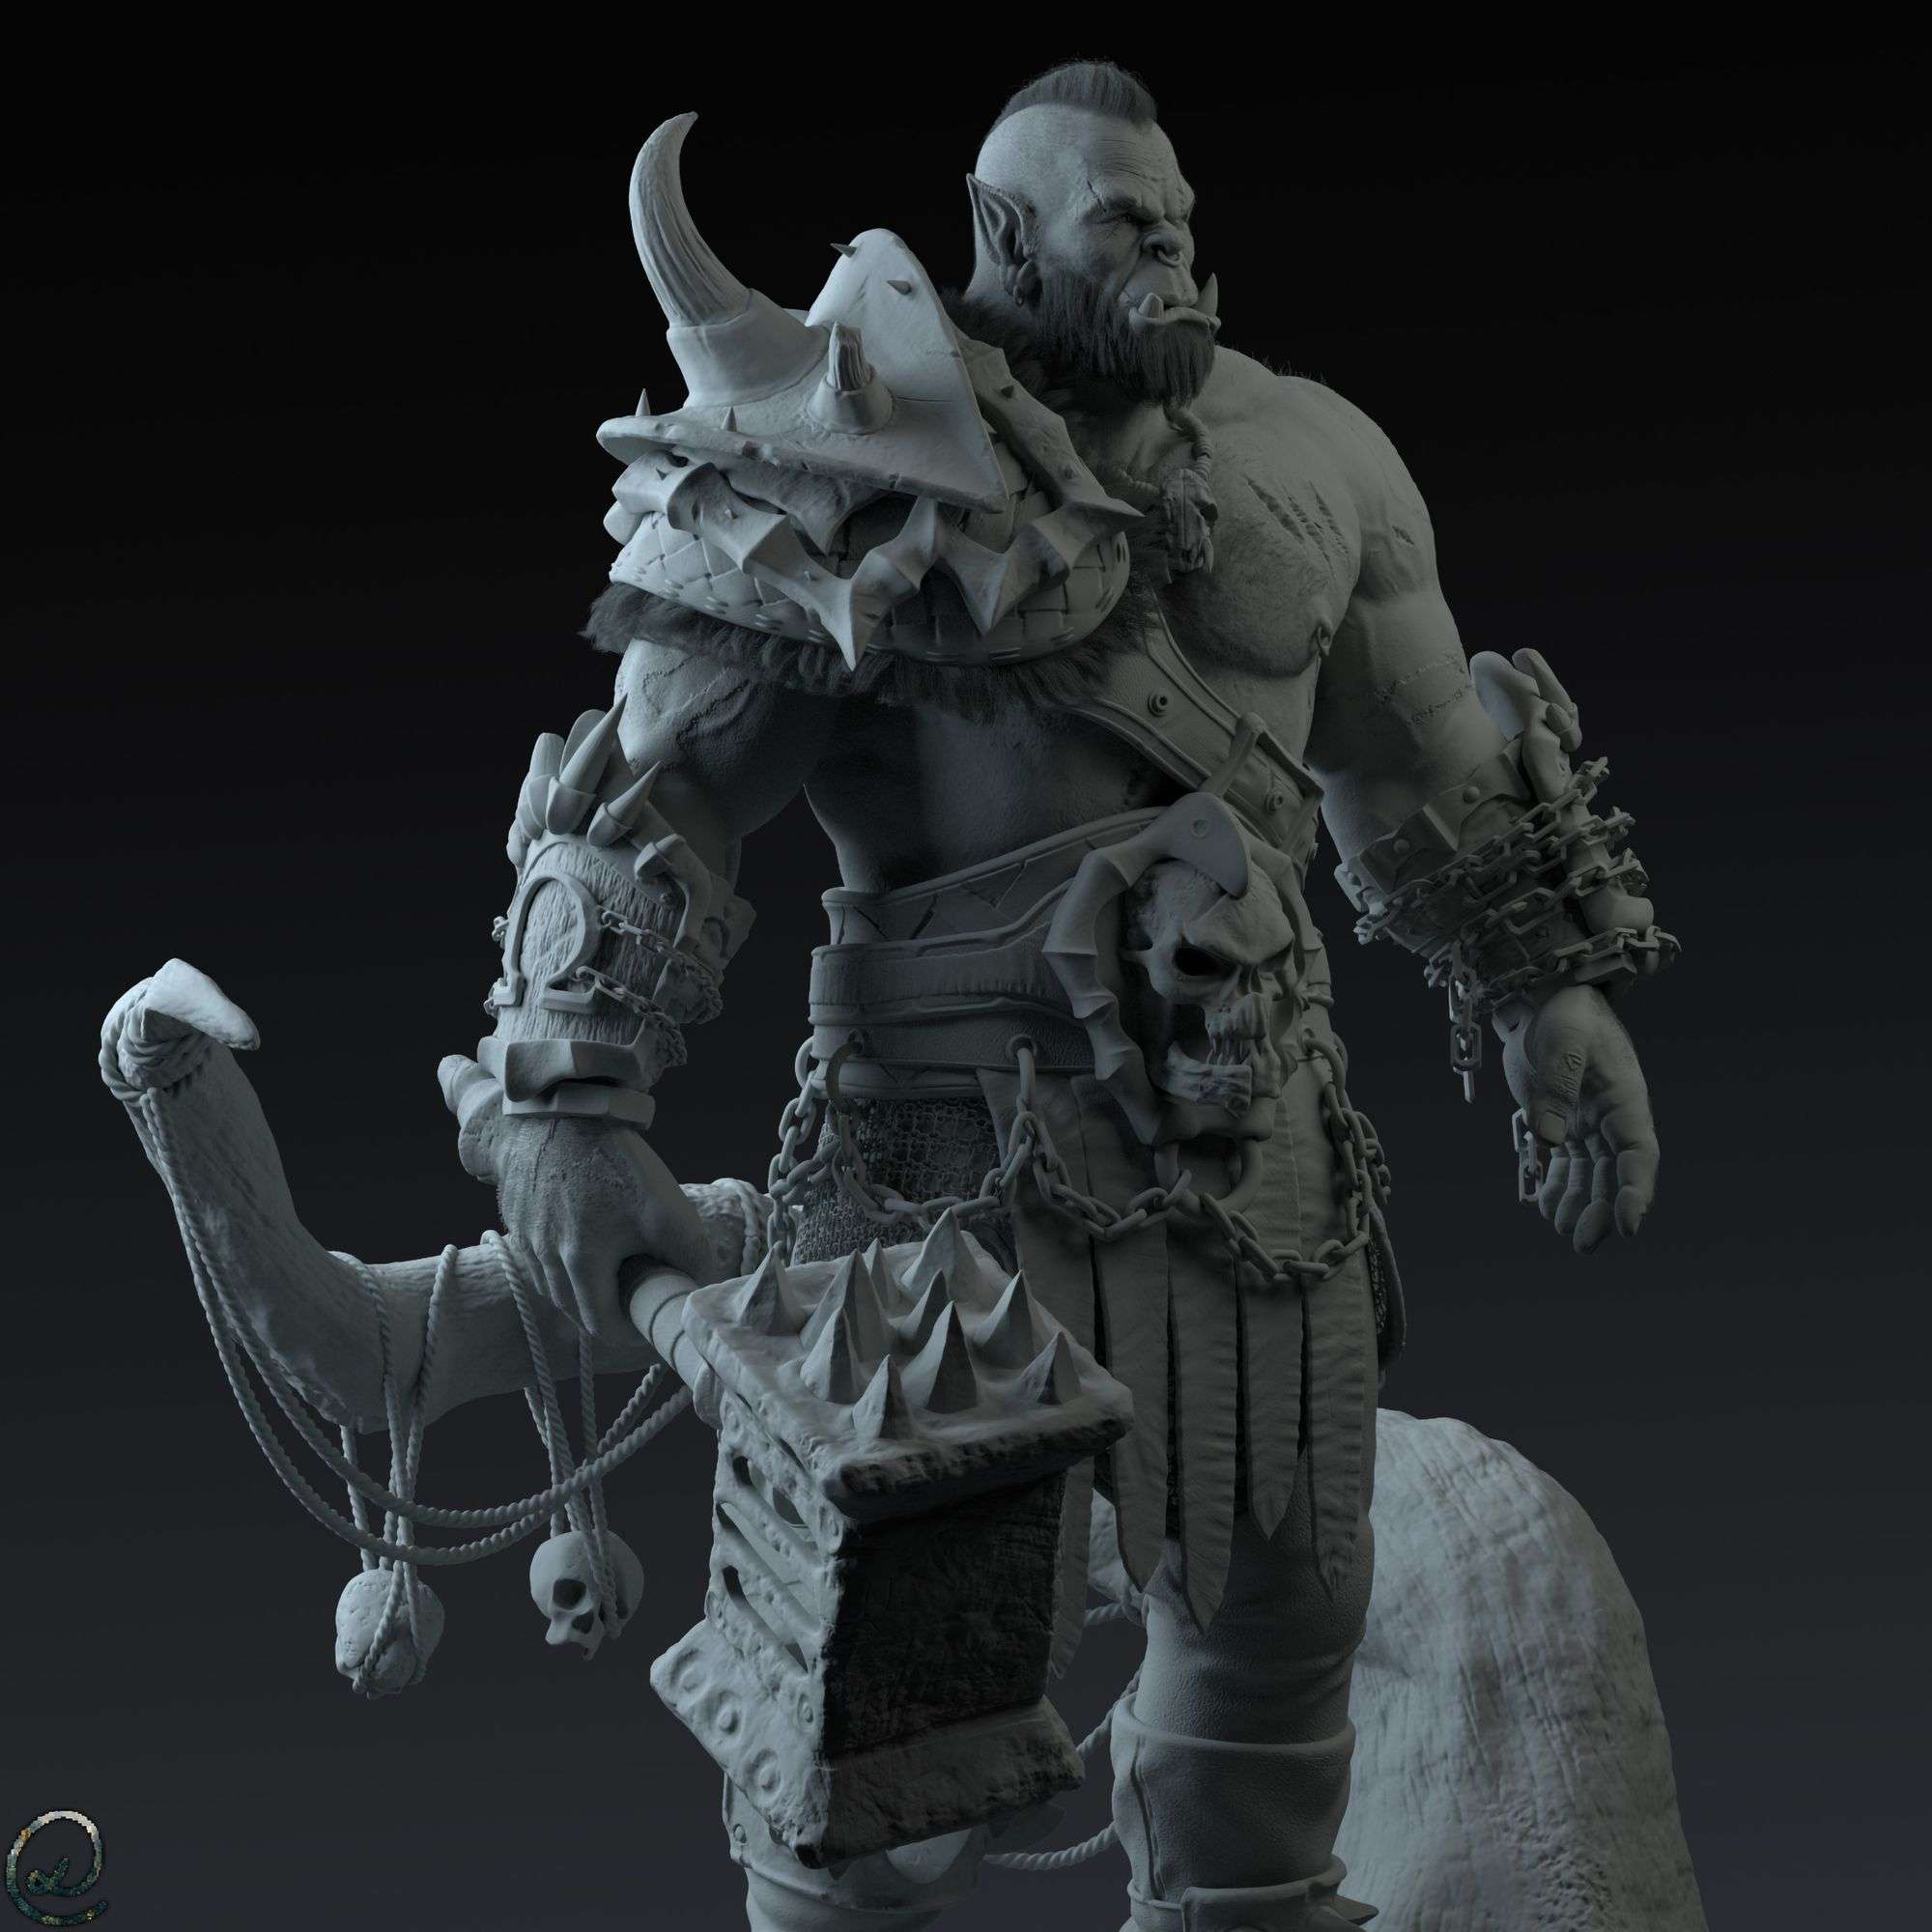
The props and the hammer
When I had the shape of the Orc I started with the props, because I wanted to do them simultaneously. I had some ideas from the props but I decided to improvise a bit and be creative.
I started with the shoulder pad, making the high poly model in zbrush and taking it to maya for tests.
I followed two paths with the props.
The important pieces had displacement to look better and the small pieces were decimated.
The first steps are similar, I did the rough shape in zbrush, then I modeled the low poly in Maya with quad draw and then again in zbrush for details.
Both had uvs done in Maya but I decided to decimate because I didn't want to have a lot of displacements in Maya, and the decimated piece didn't lost details.


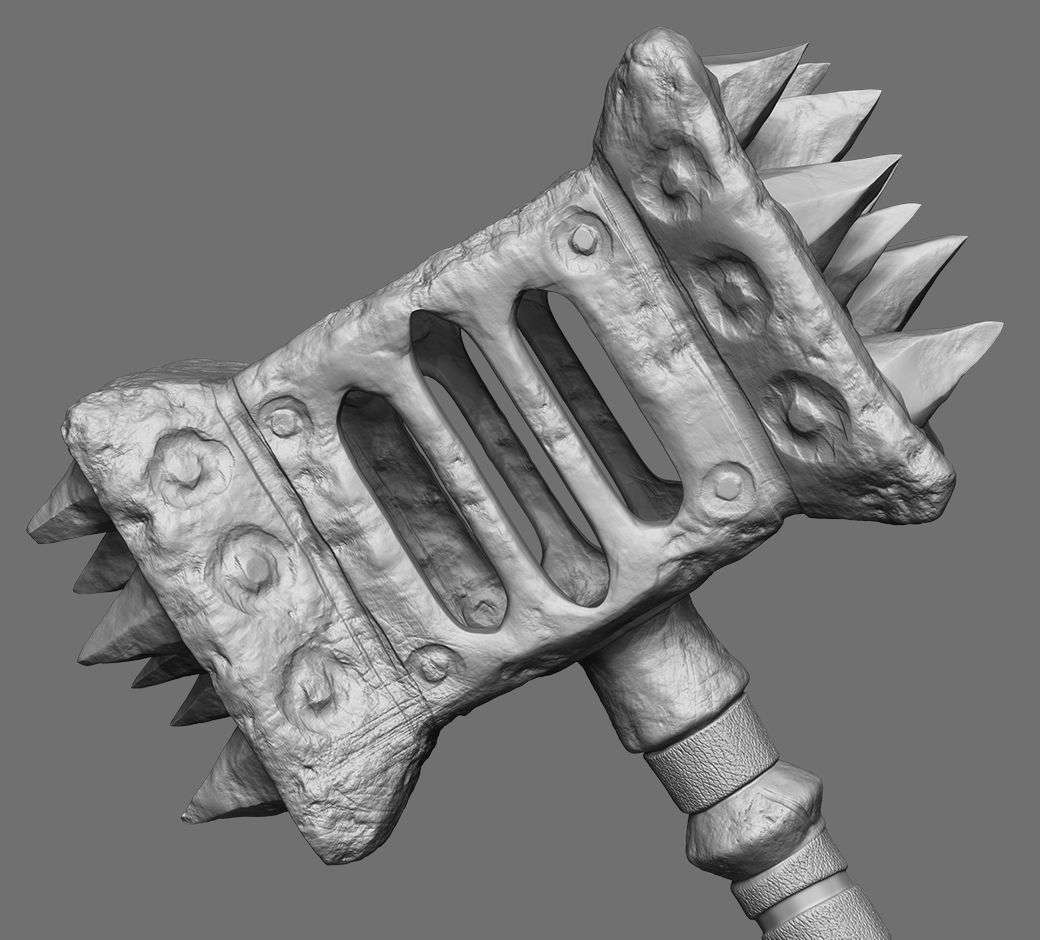
Of the hammer I found a good reference from World of warcraft and it did not suppose great effort, for the details I used the orb brushes to sculpt and later I took it to maya to do the retopology and uvs.
Texturing
This has been the part that has taken me the longest, I had never used neither mari or substance painter at this level
For baking all the textures I used Marmoset ,except the displacement map,which I exported from Zbrush.
For the Orc I had 14 textures ,including eyes and teeth and for all the props 170 texture maps.
The orc skin textures are in 8k and the rest of the props are in 4k.
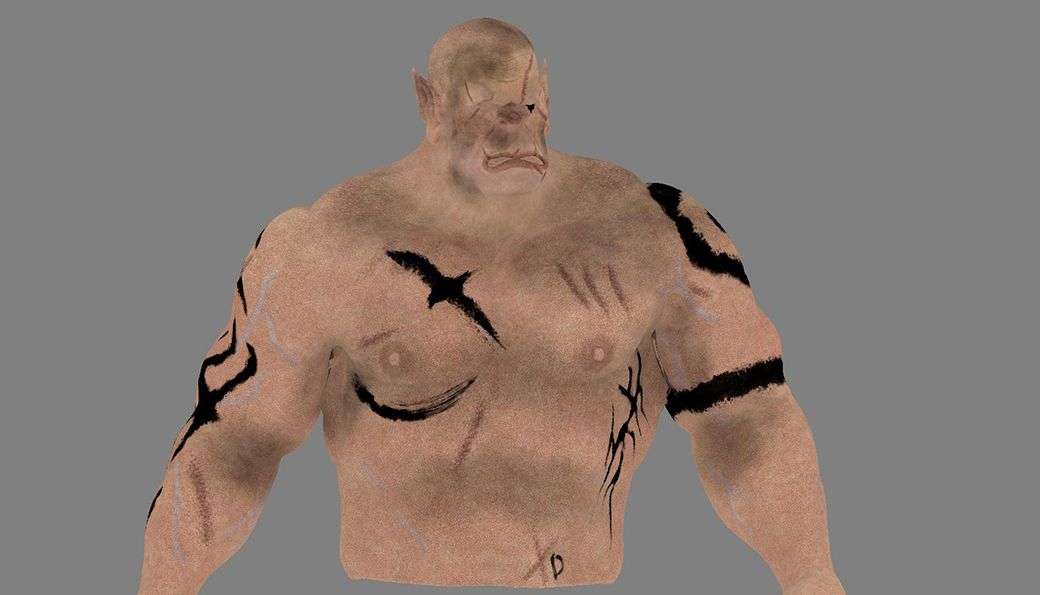
I used the Texturing.xyz pack. First of all I projected the face textures and neck and then by hand corrected the imperfections.
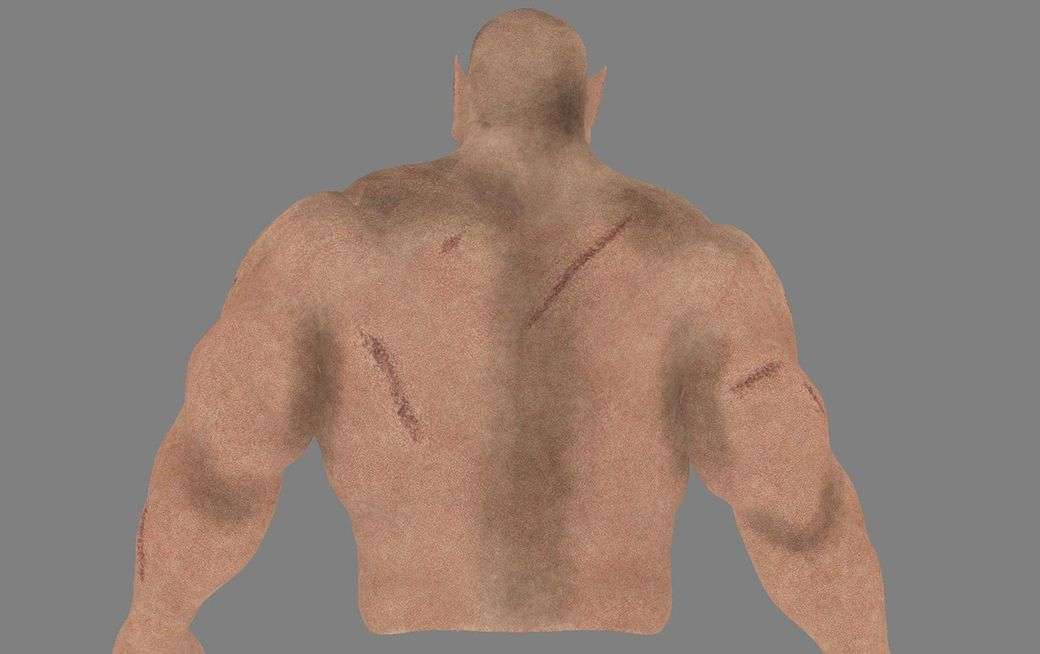
For the body I made a tileable texture and then I put it into a noise layer for variety.
From this color base I took the specular map by touching some adjustments as levels, to reach the desired result.
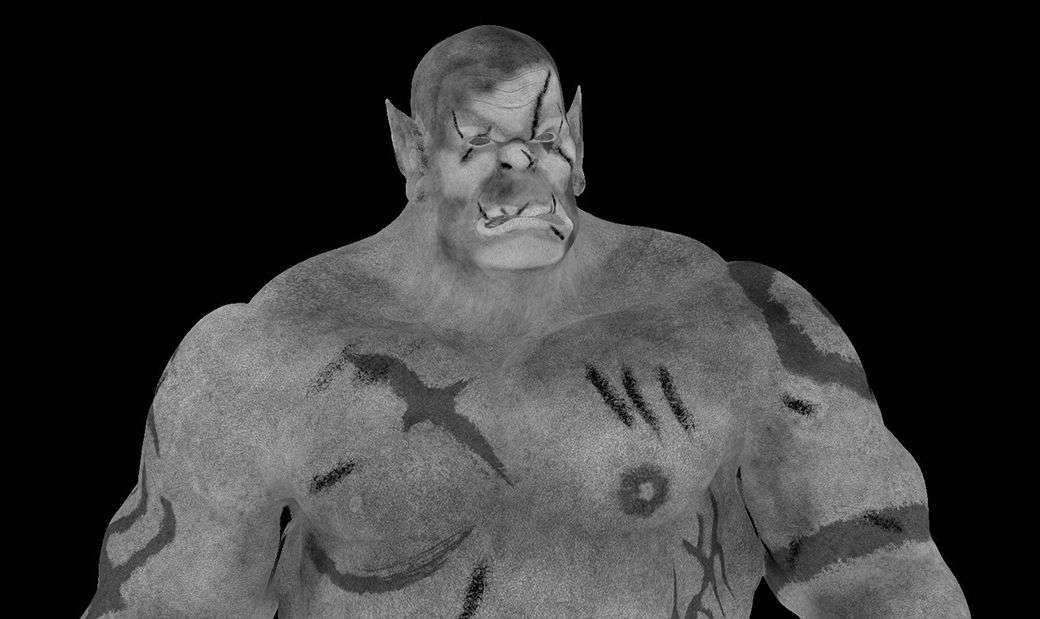
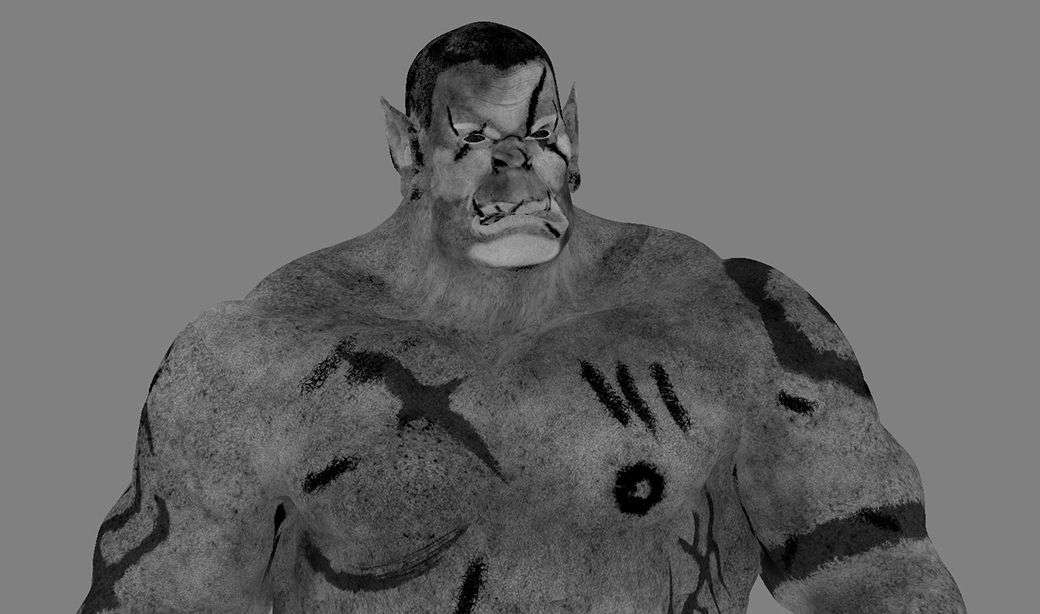
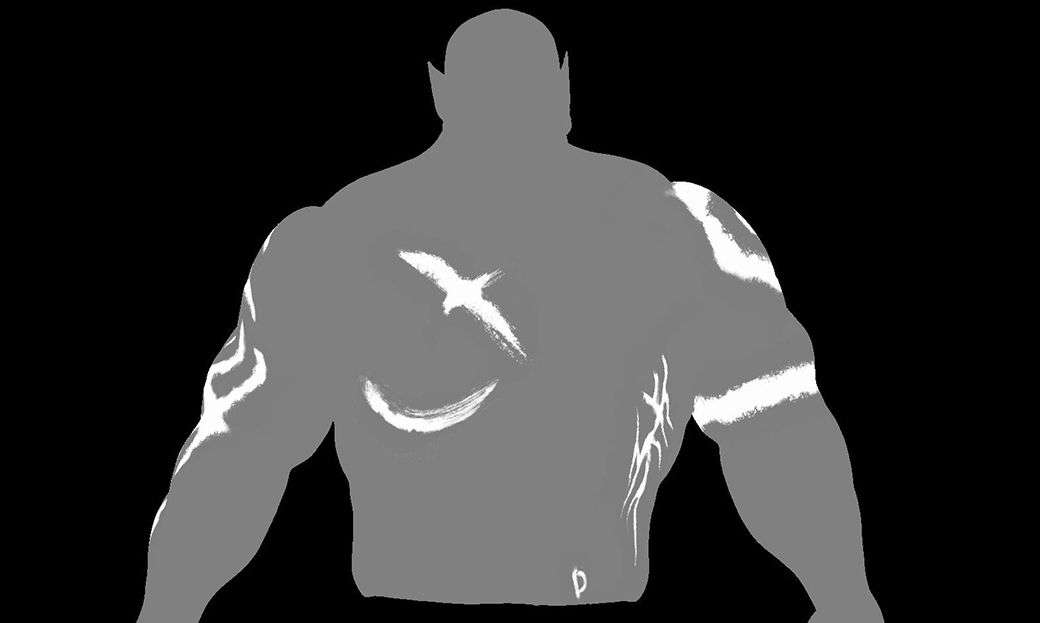
For tattoos I used internet references and project them to get the color. From there, take out the map of displacement to give it a little thickness.
For the props was also challenging,because my goal was to made them look as real as possible.
I had to do a lot of different types of metal and leather, to differentiate the pieces.
All the props are organized by groups. So I took every group to substance and texturized a first time, after that I went back to Maya and render it to see if it looks like I wanted.If not, back to the beginning.
It was a long process because at first I didn't know how metal looked like and how much specular had to have, so I had to do many tests with all the props, because although is basically made of metal and leather each piece is different.
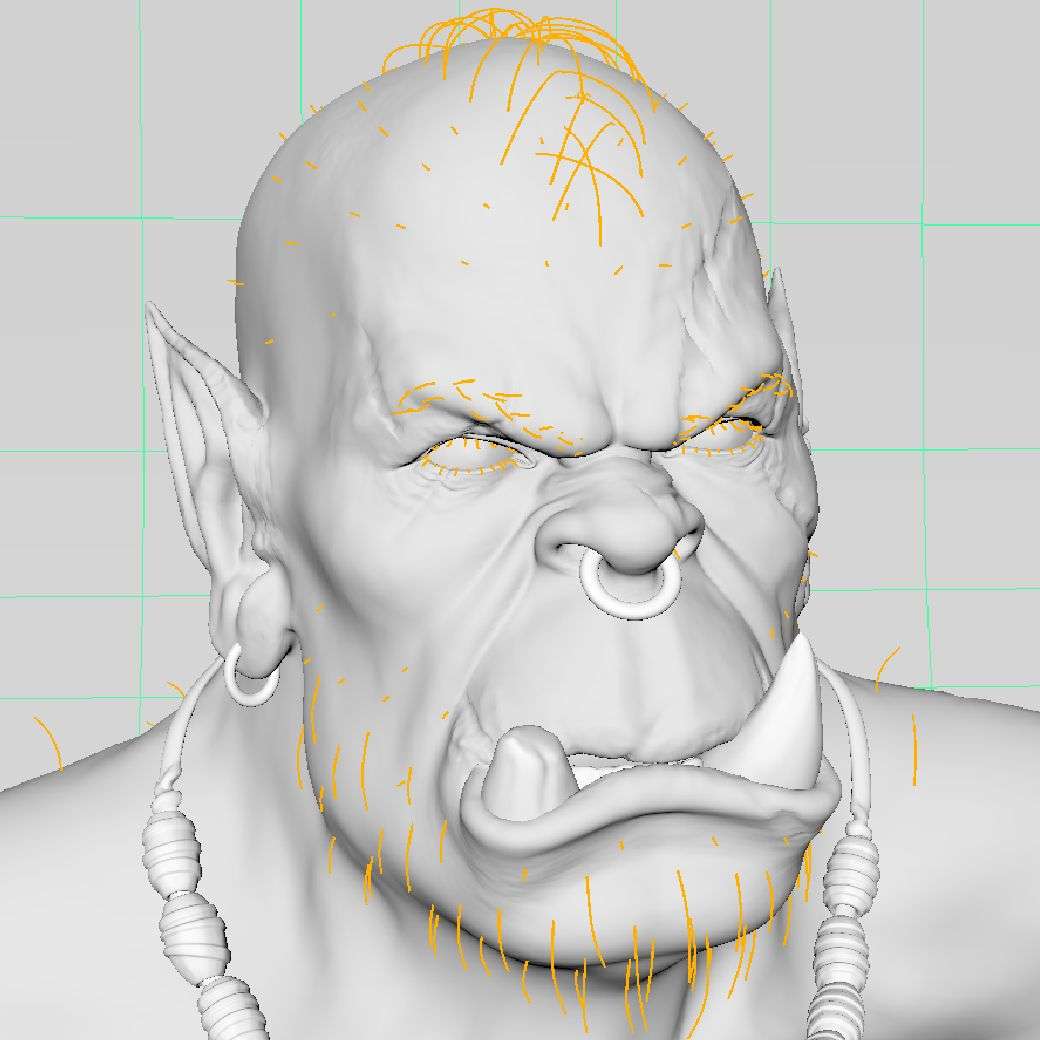
Hair in xgen
I learned that Maya hates xgen. One of the most important things to have in mind is if your model will have xgen you have to be careful when you create the Maya project and everything in it.
When you create your Maya project, where you put there everything and where you'll make the render you have to set the project and the name doesn't have to have spaces.Because of that xgen didn't recognize my files and I lost projects.
The Orc has 8 xGen descriptions: the hair, eyebrows, eyelashes, beard with ears and nose, chest and all the body.
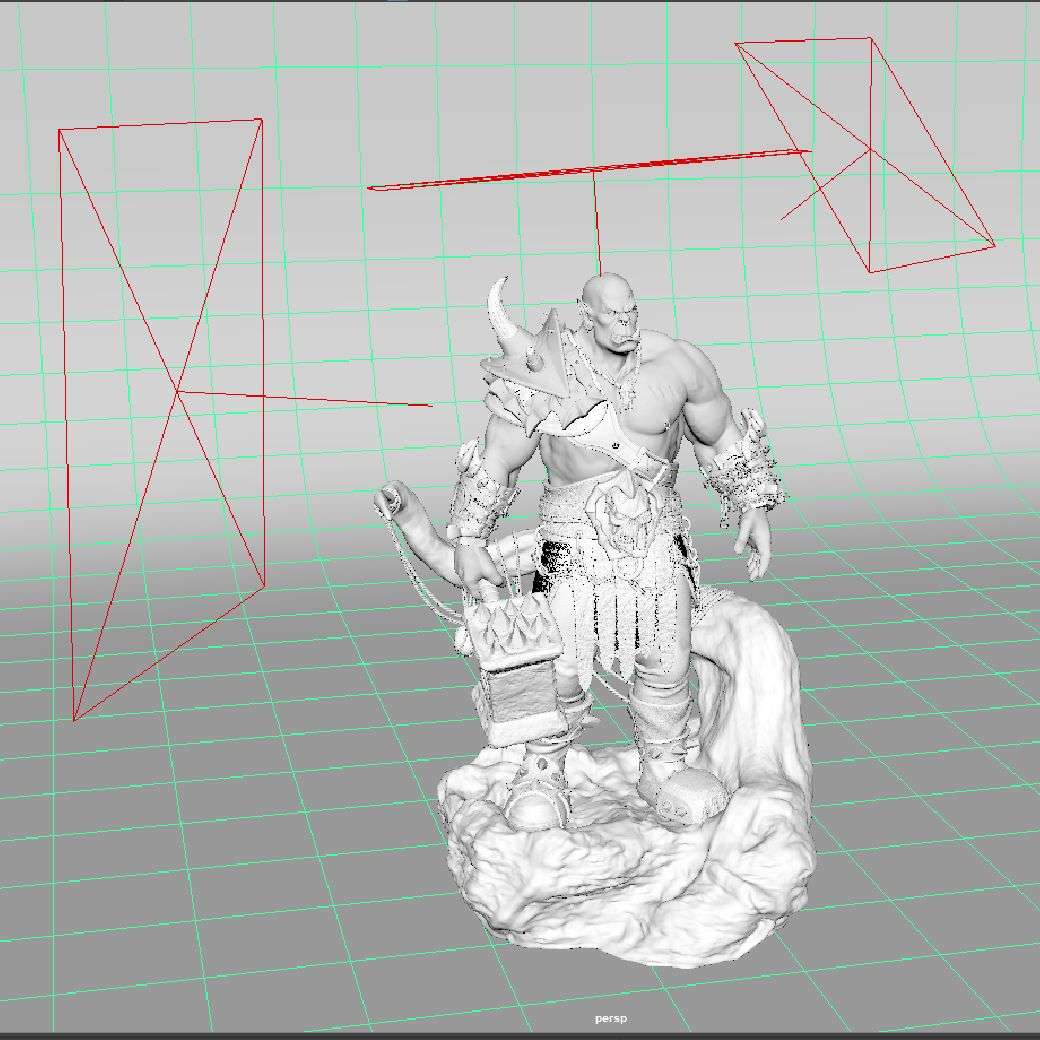
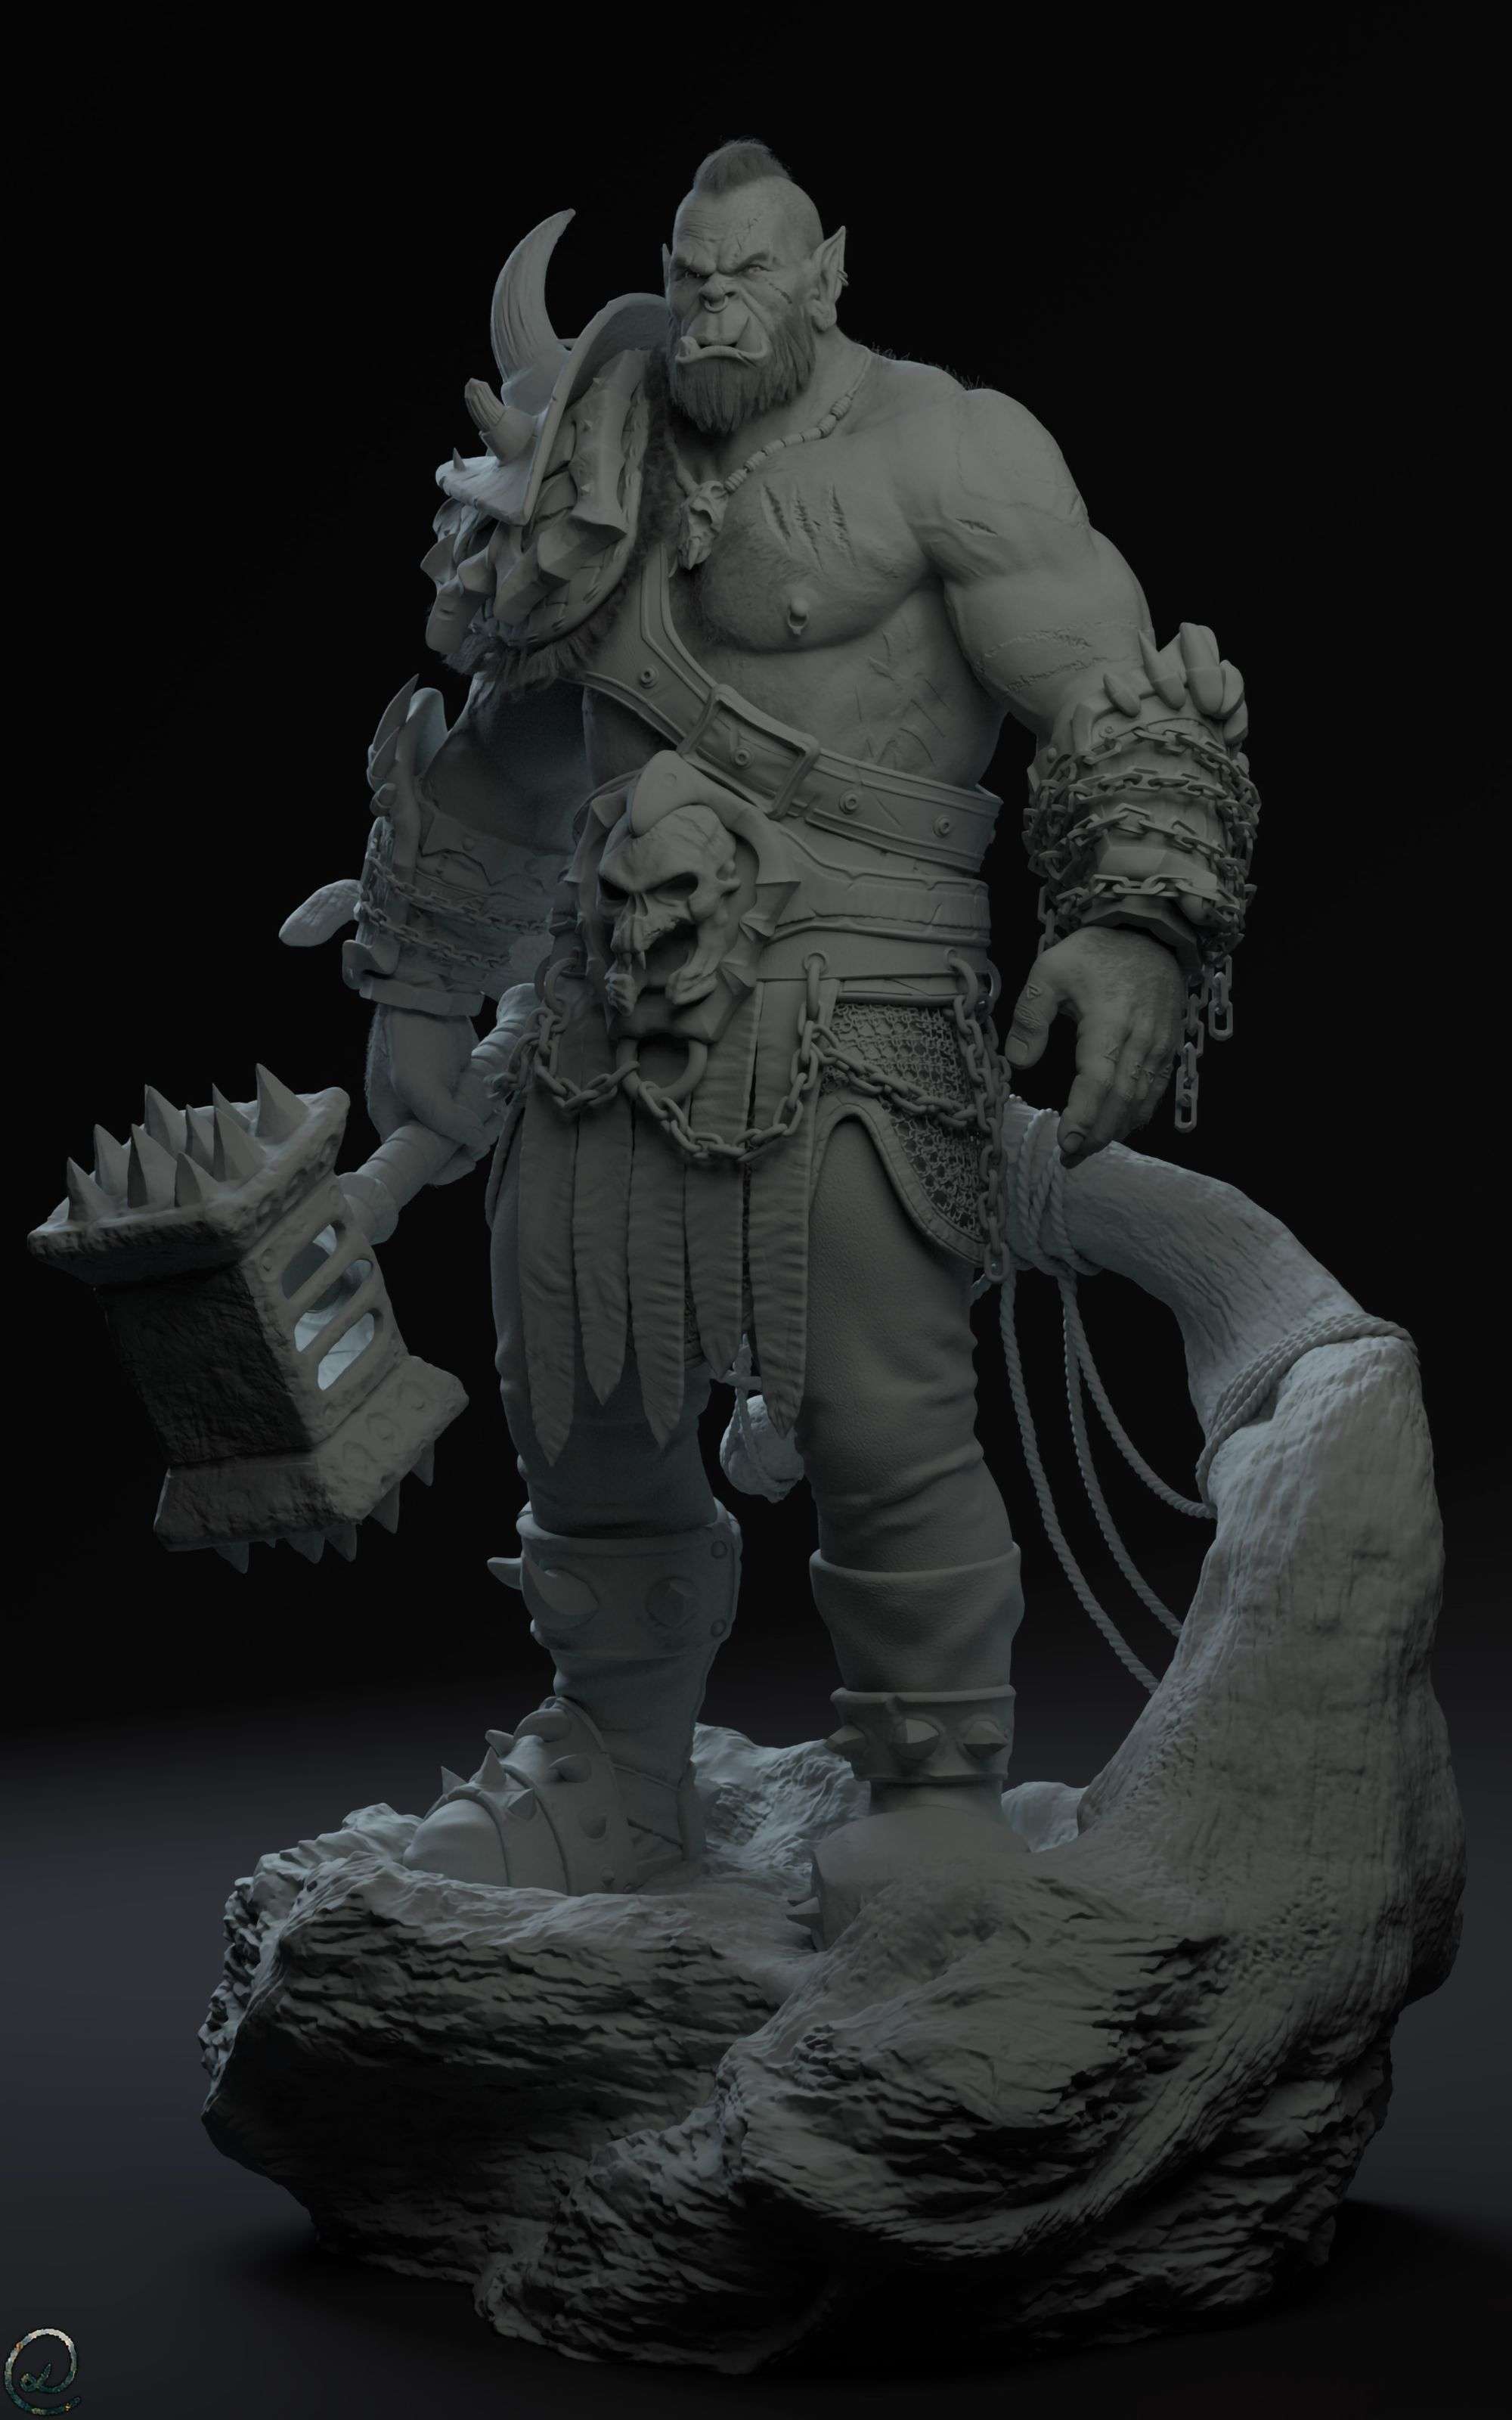
Lighting
The light set is made by 3 lights and 1 light of the hammer to give the model a realistic look. I tried a few different set-ups until I reached the final one.
Final renders

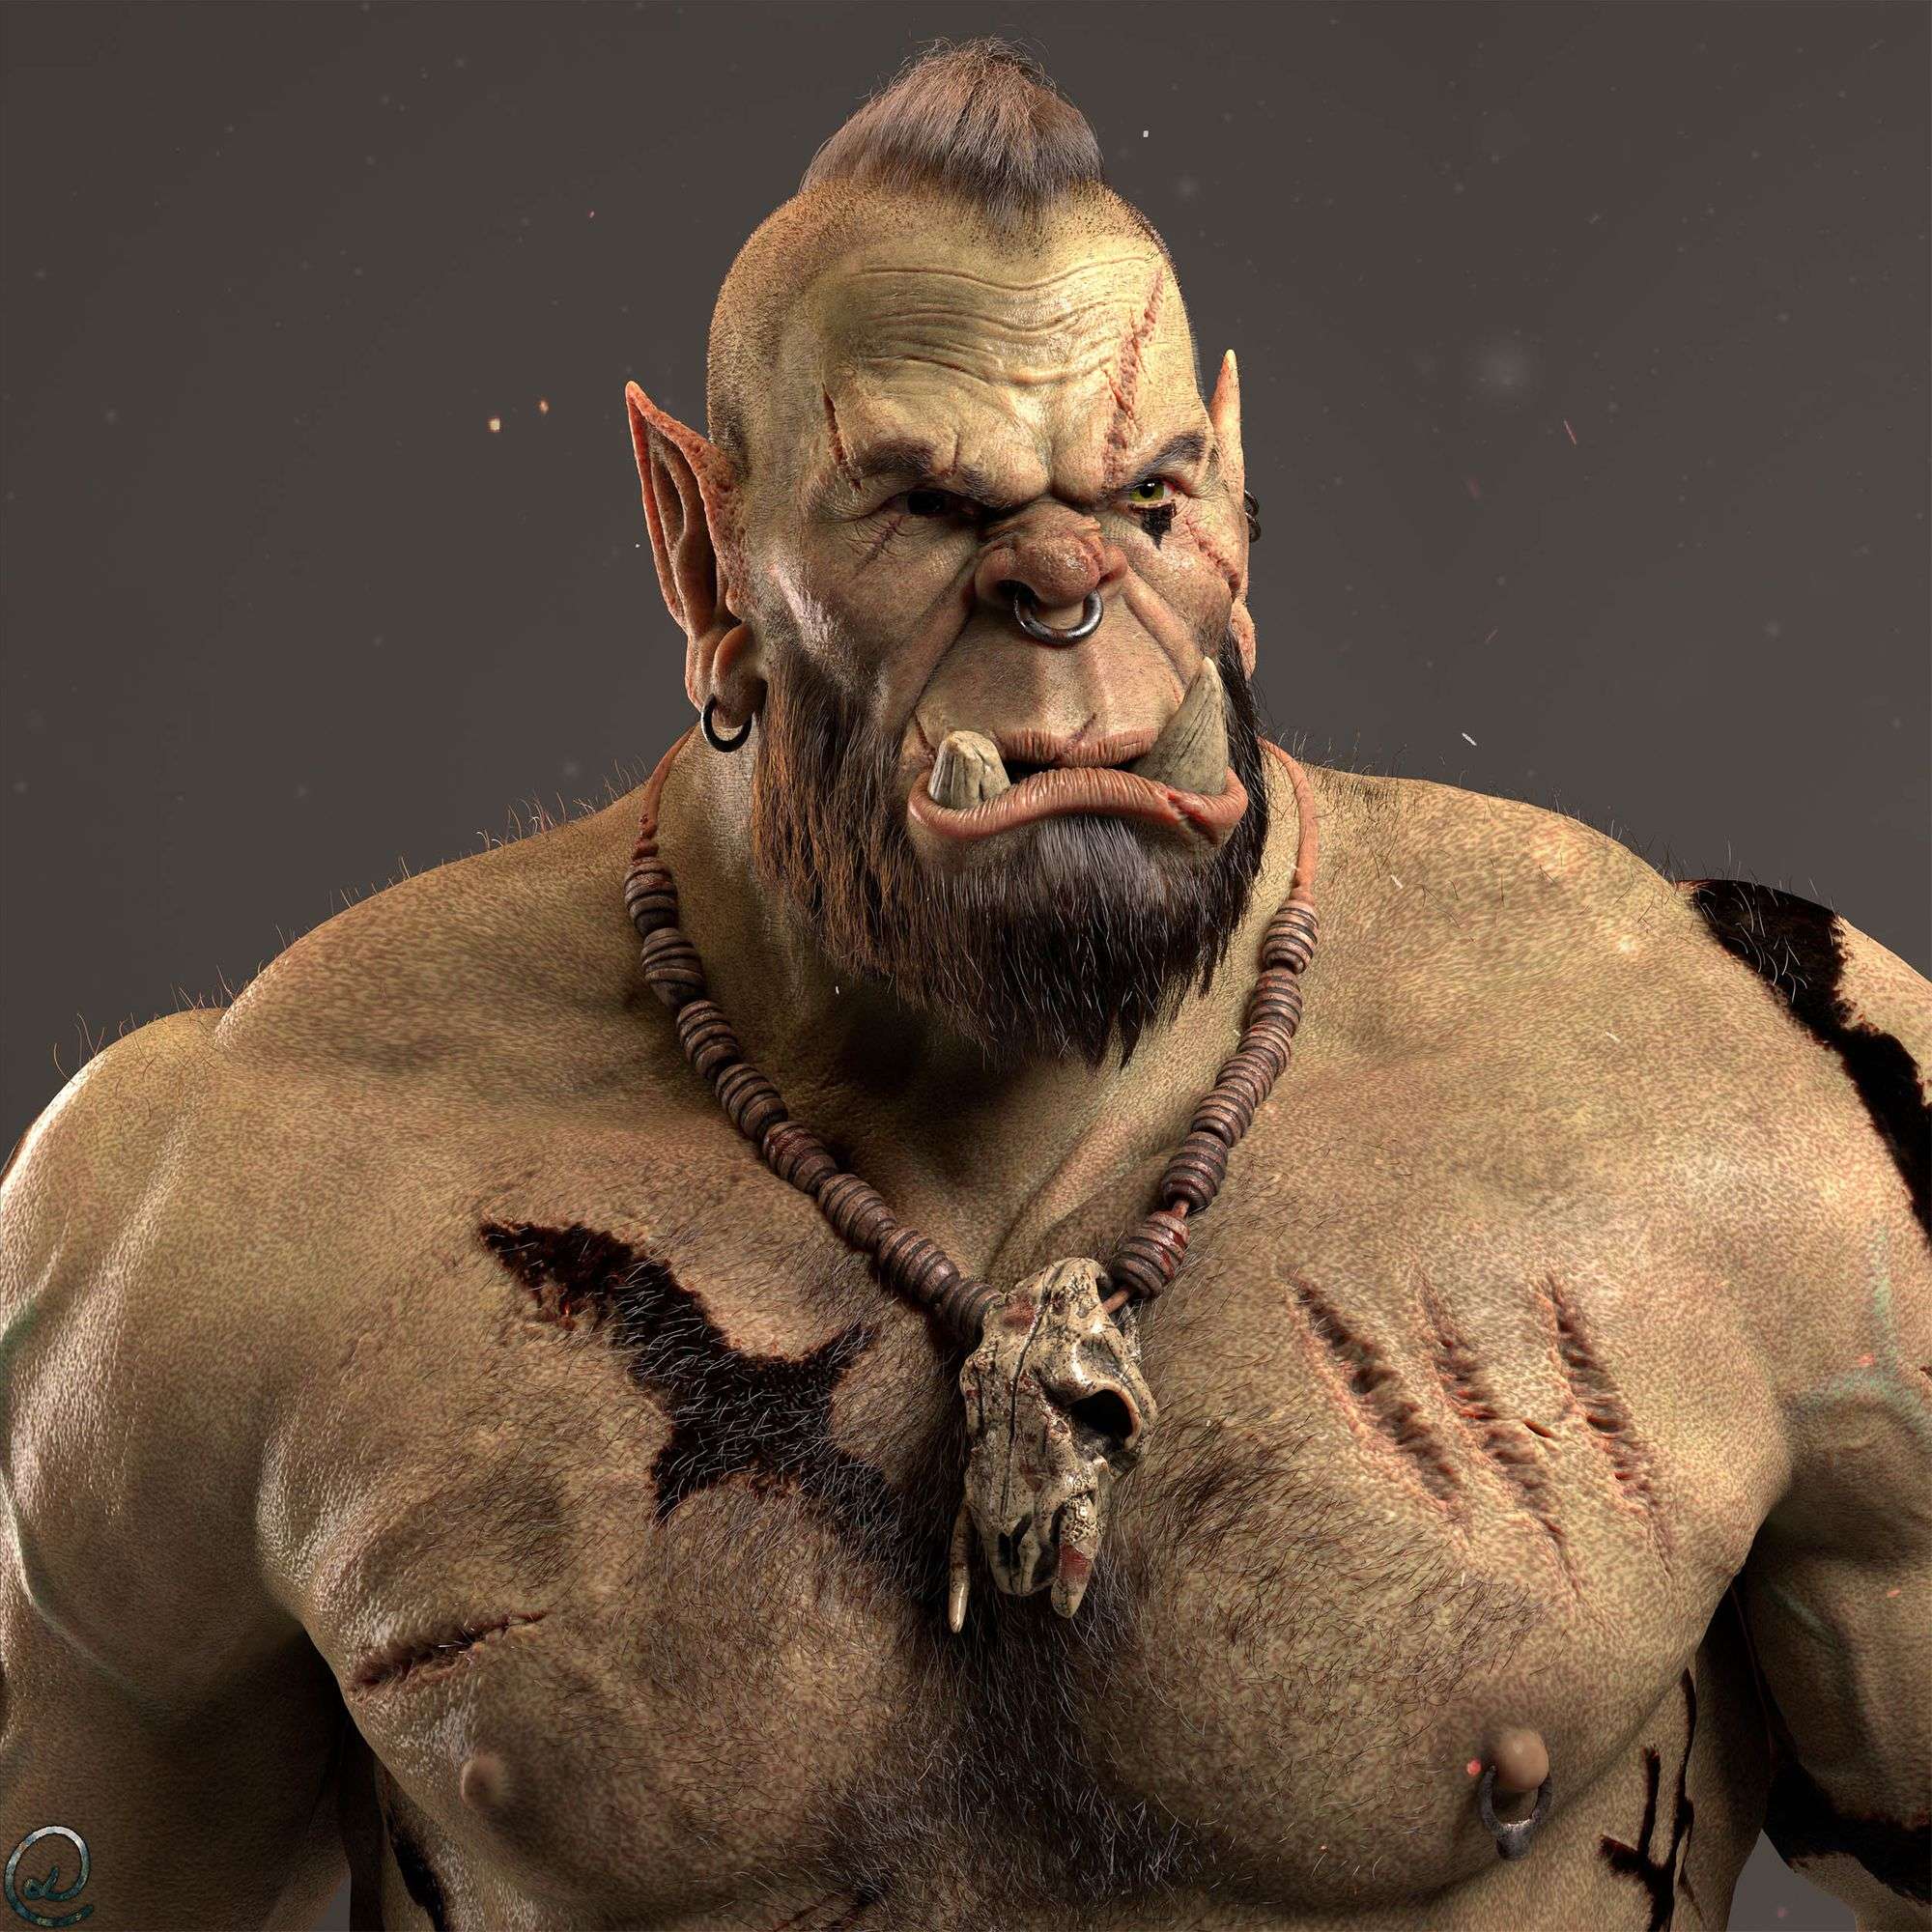
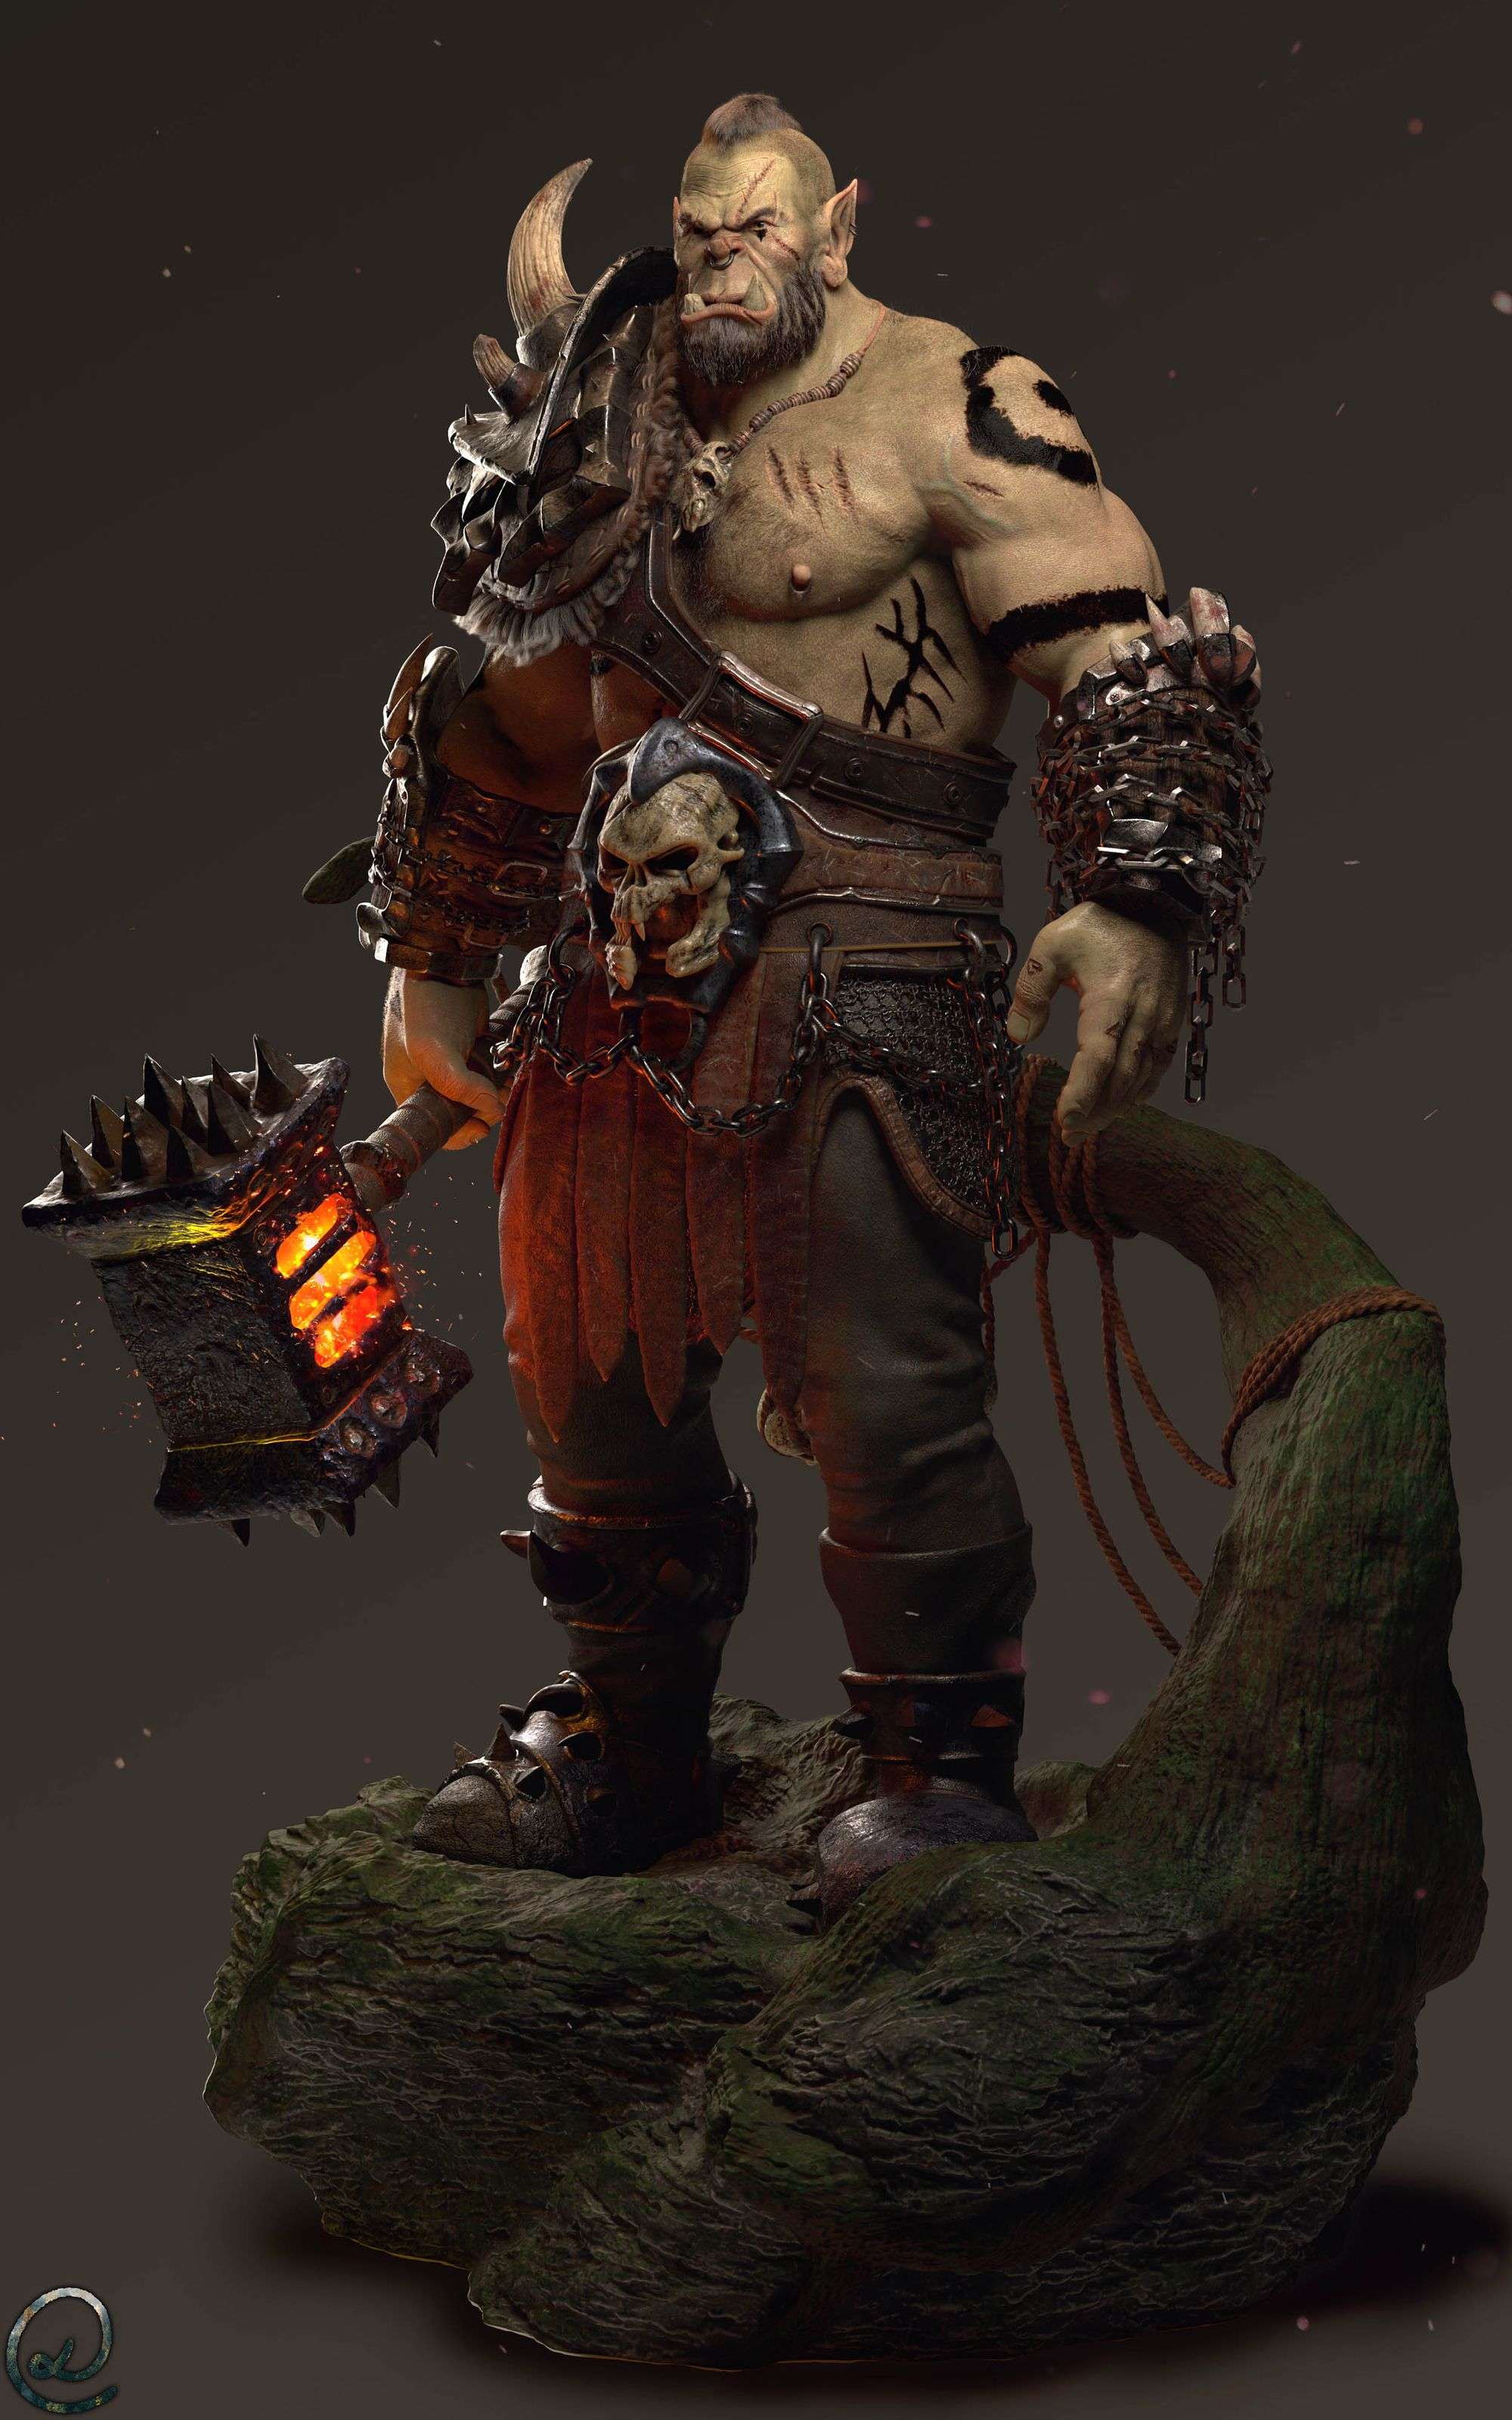
I had a lot of fun making this Orc,and I'm really proud of it.
Thanks for reading and I hope you enjoyed it.
Artstation: artstation.com/danielamoldo96