

Daniel Kho breaks down one of his students projects that he created while attending Gnomon - School of Visual Effects.
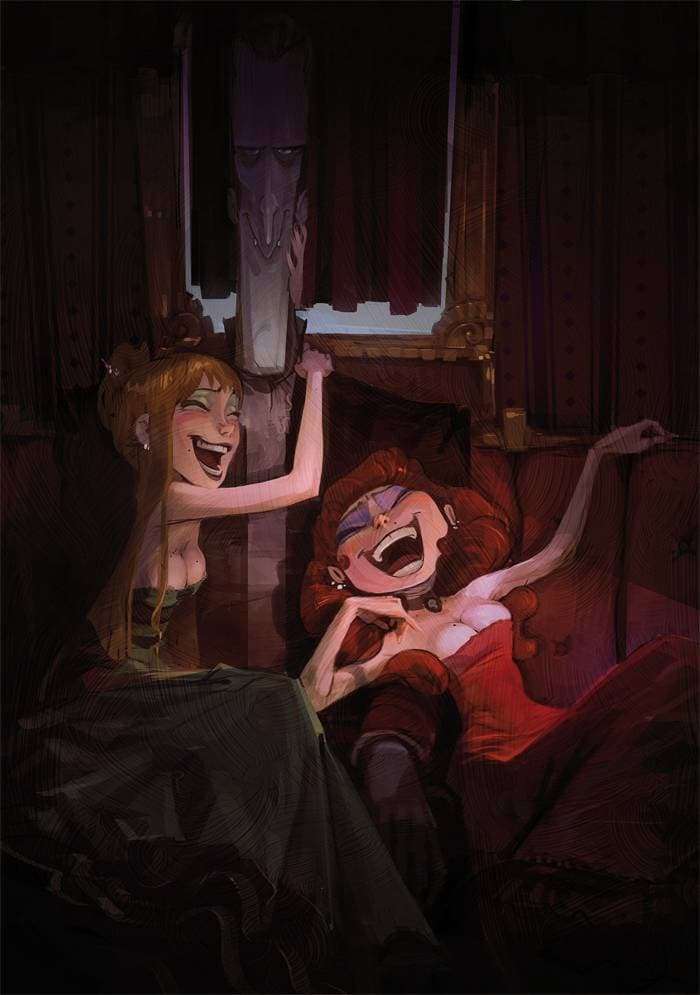
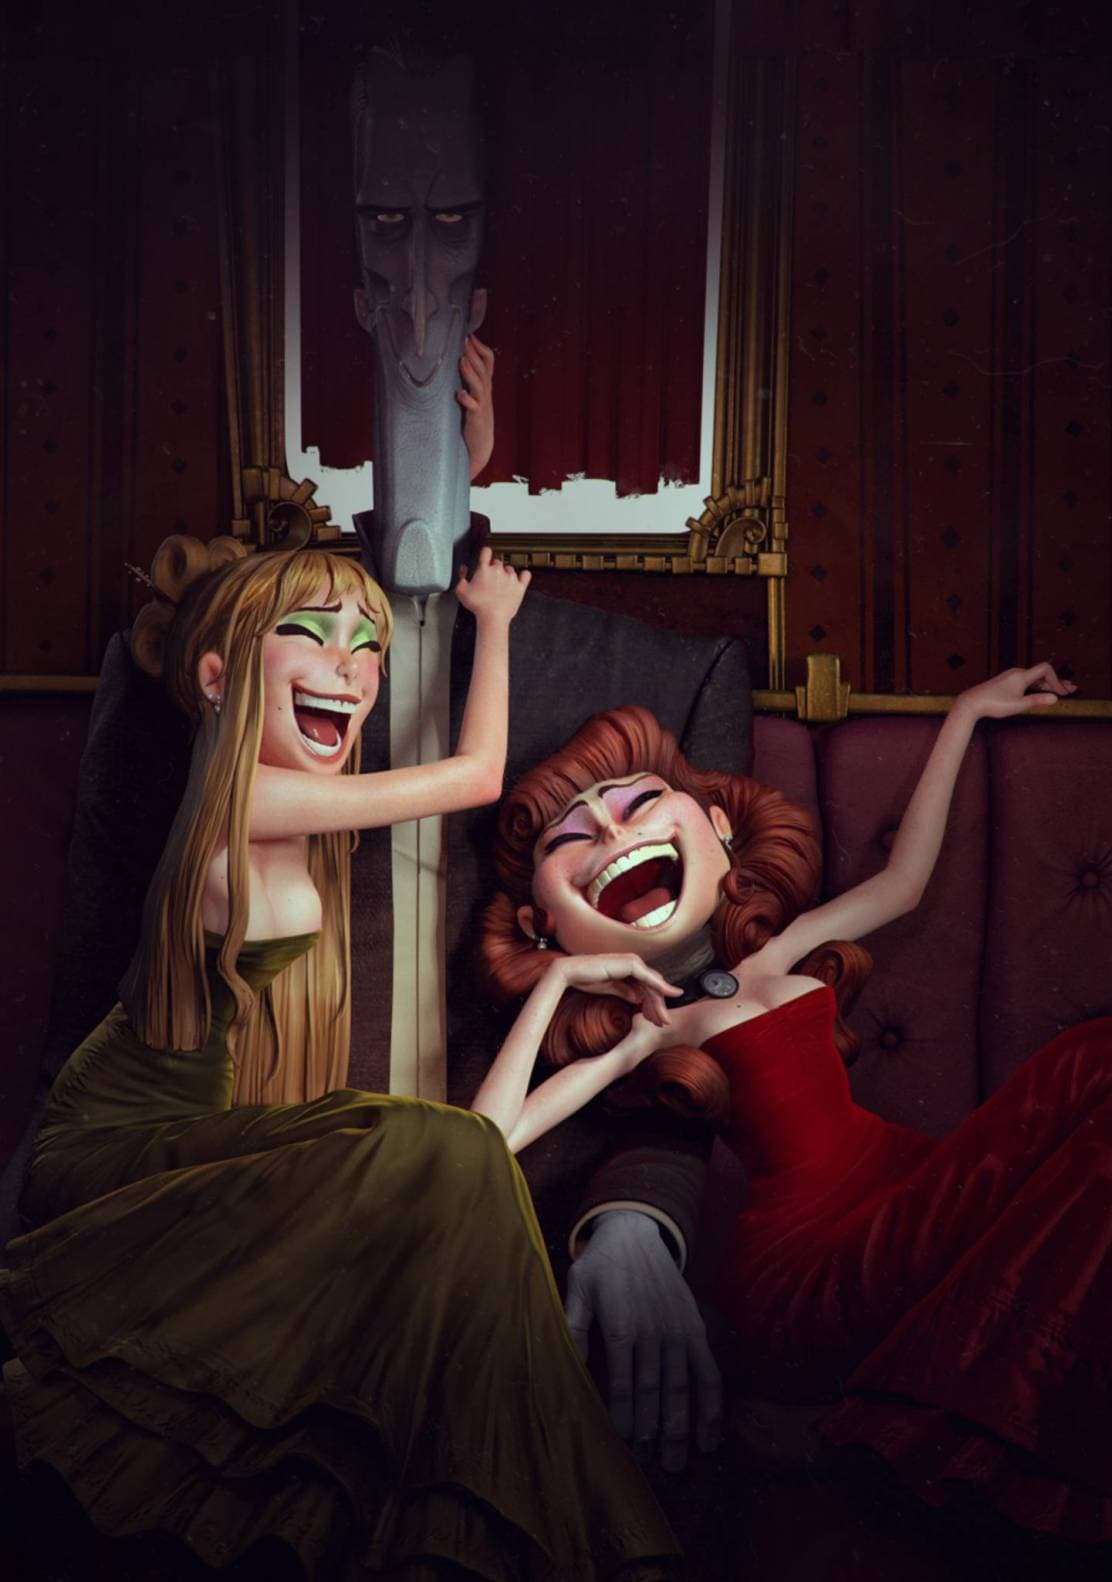
For this project, I decided to build a 3d scene based on Remi Salmon’s concept. It's a really amazing concept with quirky characters and very dynamic lighting.
CONCEPT ART & BREAKDOWN
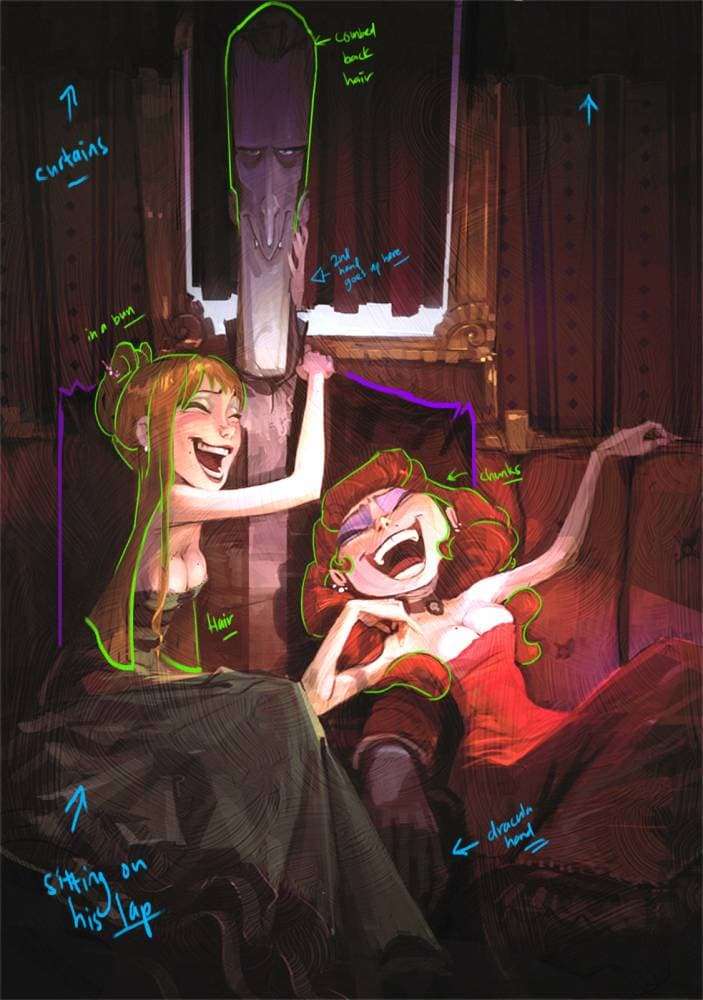
To start off, I usually do a quick breakdown of the concept to better figure out the shapes and forms of the characters. It helps give you a clearer idea of what steps to take next and how to approach the models. As you can see I brightened up the original concept to better identify the silhouette of the characters and planned out the different hair planes that would be needed for the sculpt later on.
MODELING
I usually begin all my modeling process with a rough block out of the basic shapes in Maya. Poly modeling to start gives you a quick and rough silhouette of the characters. When it comes to stylized characters, this step is extremely important because you can tell if you’ve nailed the characters just by looking at their overall shape, once you get this step out of the way, working on the primary shapes in ZBrush will be easier.
Poly modeling to start gives you a quick and rough silhouette of the characters.
As for this model it was not meant to be for animation, but it's still crucial to have evenly spread topology. By doing this, it allows the details to be spread out more evenly when subdividing in ZBrush and also reduces the amount of work the displacement maps have to do.
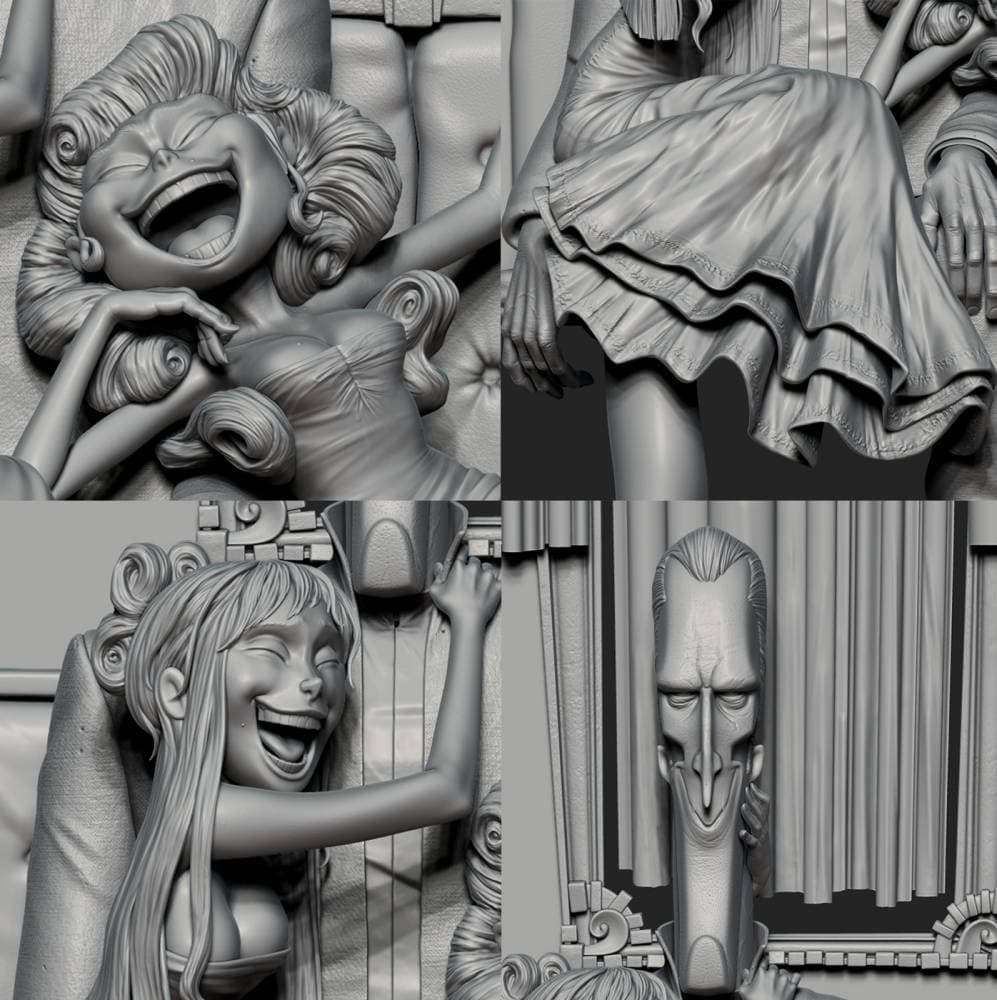
SCULPTING
One of the main goals when working on this concept was to practice sculpting cloth. The most important thing I have learned while doing this is using the right reference. Look for references that have similar fabrics, because understanding the tension and thickness of the fabric helps you sculpt more accurately. Remember that there is always an underlying form that gives the clothing its shape, you need to know what her underlying anatomy is before you are able to convincingly sculpt the cloth that sits on top.
Cloth sculpting is a slow delicate process so do not hesitate to resculpt when things do not look right.
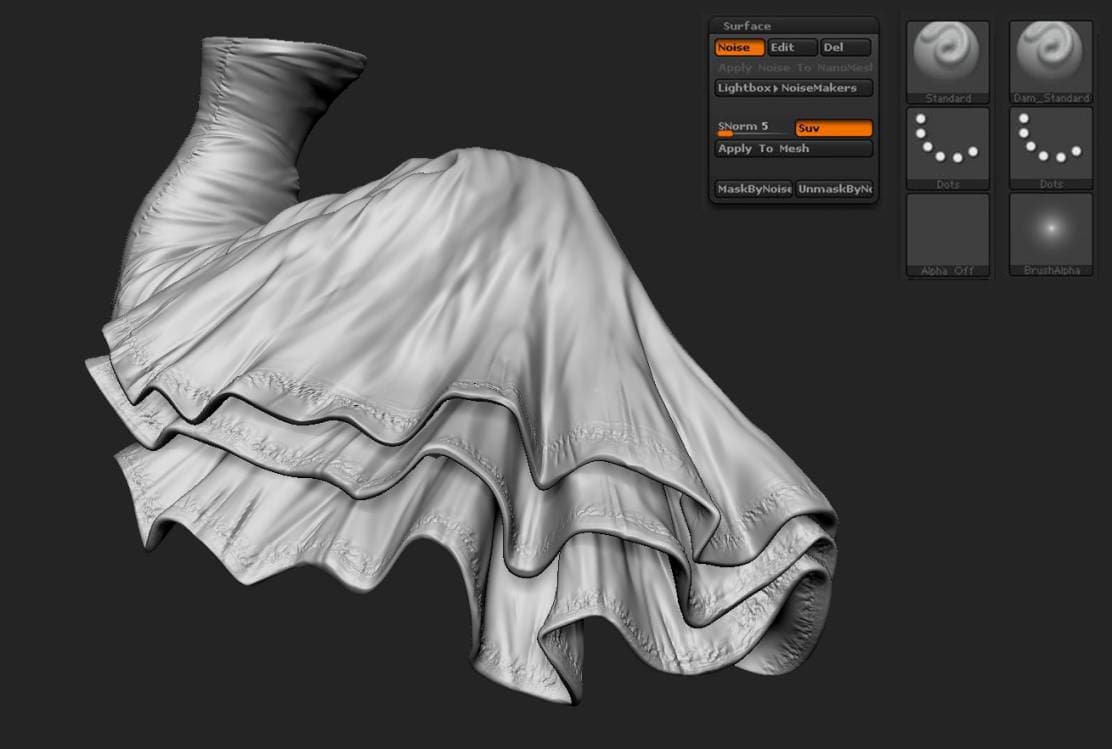
Cloth sculpting is a slow delicate process so do not hesitate to resculpt when things do not look right. I did my best to add as much detail as I could in the sculpt by using surface noise, textures and even alphas. Adding extra textural detail into the sculpt really helps with the specular and gloss breakup, and in addition it gives an idea of what textures should be used and the overall feel of the material even during the sculpting phase.
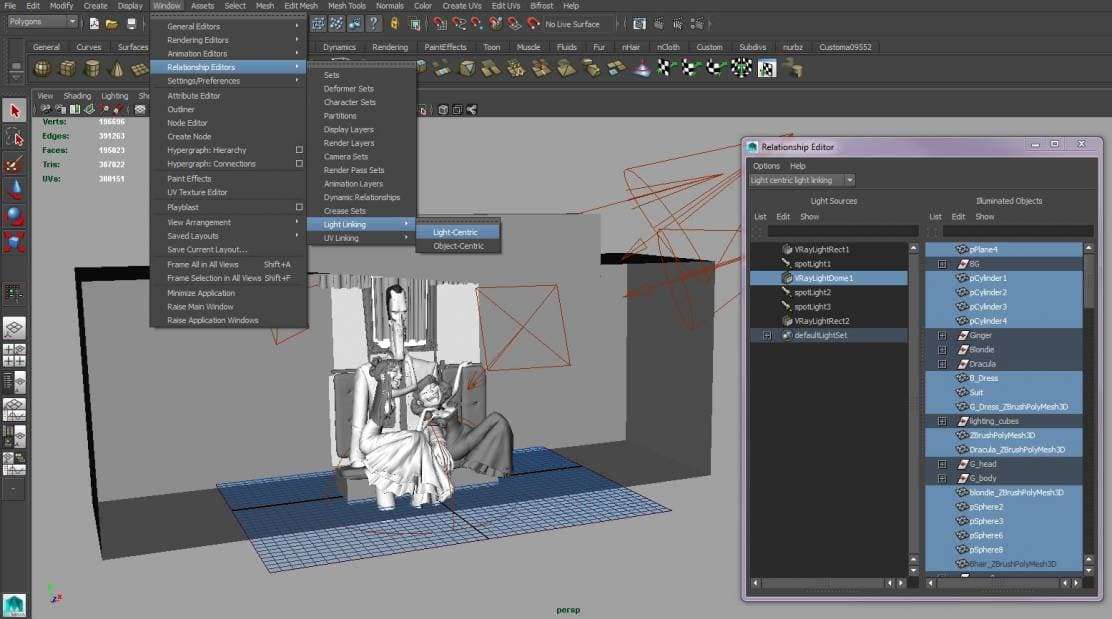
LIGHTING AND RENDERING
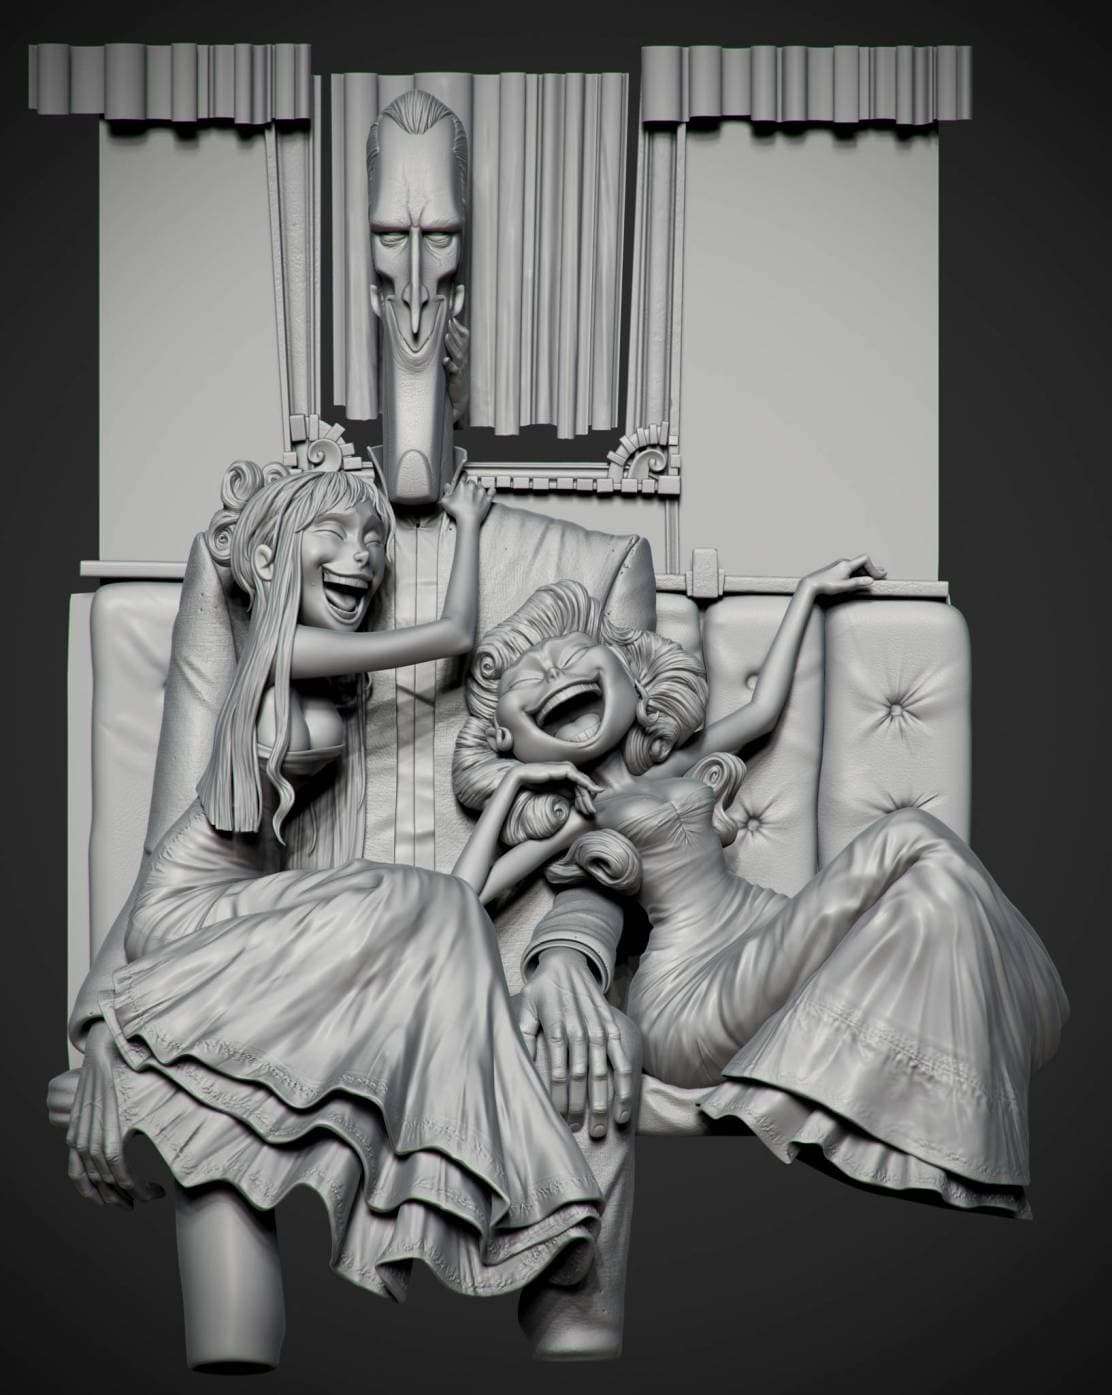
With all the sculpting, texturing and modeling completed, I set up a rough environment that would mimic the light and shadow of the concept. Lighting is a tricky process, with this piece it was quite a challenge to nail the lighting in the concept. To better match the shadows in the concept I added pieces of geometry in front of the lights with primary visibility turned off.
When lighting multiple characters never be afraid to light characters individually with light linking. You will tend to have cast shadows fall on other characters when you have a scene like this and light linking solves this problem easily.
COMPOSITING
I usually use Photoshop for compositing if I am just working on a still image. It is a program that I am fairly comfortable with, and this speeds up my workflow. I begin with compositing the beauty pass together then adding and touching up different passes to achieve the final look.
I prefer adjusting some of my color balances, hue and saturation in Photoshop with different layer masks from a multi matte pass. Adjusting colors with multi-mattes in Photoshop reduces the need of constant re-rendering to achieve the perfect color. This saves a lot of time, especially when you are just trying to create a final still image.
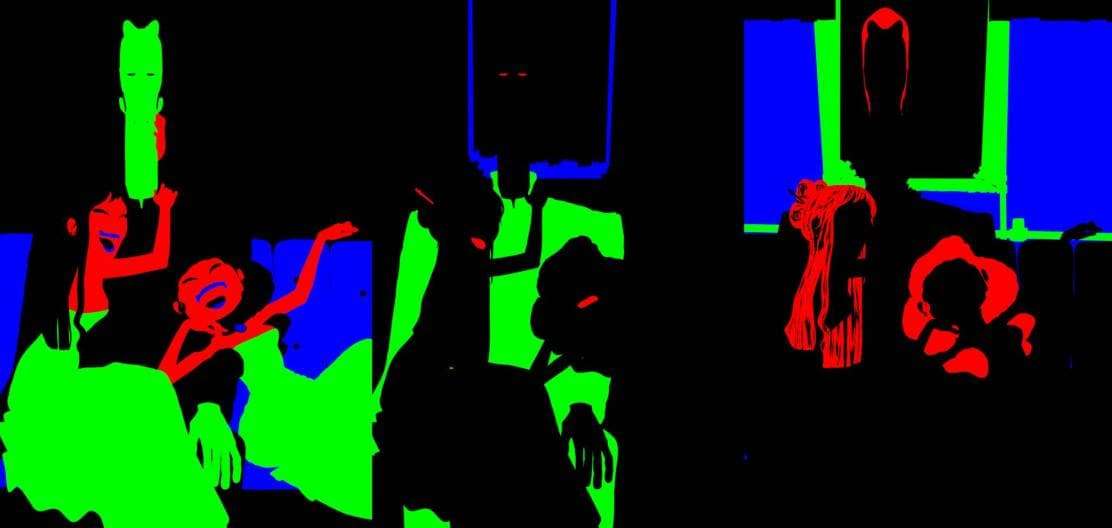
For this particular piece, I added a dust pass and a gesso texture overlayed on top of the image to achieve the look and feel of the original concept.
There it is, I hope the tutorial helped. There are many things to cover, but I only mentioned the few things that I found were most challenging about this piece. I hope you find this helpful and thanks so much for reading!