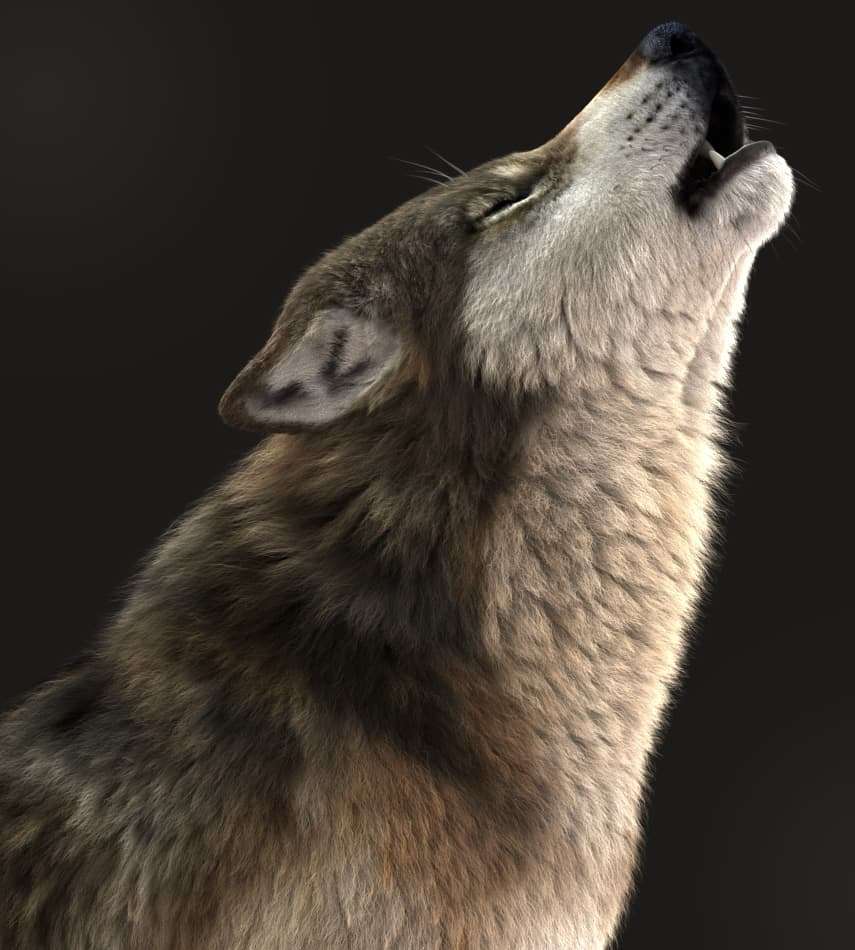

Bringing his own take on the classic howling wolf in 3D, Massimo Righi tells the team at Autodesk about how he created his CG creature from modeling in Maya to rendering in Arnold.

CREATING THE MODEL


The UV unwrapping is always time consuming, but must be done right to ensure good texturing. I assigned a checker map to the mesh to get a better result, and used planar projections for the various mesh parts, always starting from the head. The only tools I used are 'cut and sew' edges and 'unfold.'

I needed a higher subdivision level to bring out some of the details in Mudbox, especially in the parts not covered by fur, such as the mouth and teeth. Next, I sculpted the model in Mudbox and extracted the normal and displacement maps.
CREATING THE TEXTURES
For the textures, I used Photoshop and Mudbox. I used the same map for the skin and fur shaders. I decided that 8k was a good enough size for what I was trying to achieve.
In Photoshop, I started to create the textures using a Wacom tablet. This resulted in a mixture of photographs and freehand painting. I used the clone tool as well as custom brushes, always switching between Maya and Photoshop while running test renders to check how the textures would behave on the model. Once happy with the Photoshop work, it was time to move the model into Mudbox and adjust the seams created by the edges where the UVs were cut during the mapping process.
CREATING THE SKIN SHADER

I also used an Ai Color Correct node just in case I needed to directly tweak the original color, which allowed me to give it more or less contrast or saturation, without having to go back and forth between Maya and Photoshop.


CREATING THE FUR (SHAVE AND A HAIRCUT)

I selected the wolf mesh and created the main Shave node.
Next, I created a black and white texture and assigned it to the 'cut' tab of the Shave node. This will drive the surface where the hair primitives will grow. The white color will be the fur while the black will be the wolf’s skin and features. The map is all white except for the nose, fingertips/nails, inside of the mouth and eyes which will be full black.
I then created a greyscale map and assigned it to the shave density tab. This map is similar to the cut map, except I've added some grey gradient where I need the fur to be less dense, such as the part between the tip of the nose and the bridge, to avoid an abrupt transition.

I repeated the process for the other fur nodes like the whiskers, tail, ears, and so forth.

I assigned the color map to the root and tip Diffuse tabs and also linked the displacement created in Mudbox to the Shave node Displacement tab.
To get a nice result, there are a few values that need to be tested and tweaked, such as "Clumps' and 'flyaway.’
For the clumps, I created a greyscale map to reduce the clump strength on the face/nose area and in some other parts such as the lower legs/paws where the fur is shorter. I then assigned the map to the Clumping Strength tab.
The flyaway is also a great way to give the hair some messiness and curl.

As a main light, I used an HDR image applied to an Arnold Ai Skydome Light. I also added an Ai Area Light to break up the illumination flatness.

To create the wolf’s shadow on the ground, I created a simple polygon plane and assigned an Ai Shadow Matte Arnold shader to it. Remember to uncheck the "opaque" value in the plane main shape because we must only have the shadows visible and not the mesh.


RENDERING IN ARNOLD

Check out more of Massimo's work on AREA.
Originally published by Victoria Lewin on the Autodesk Blog.