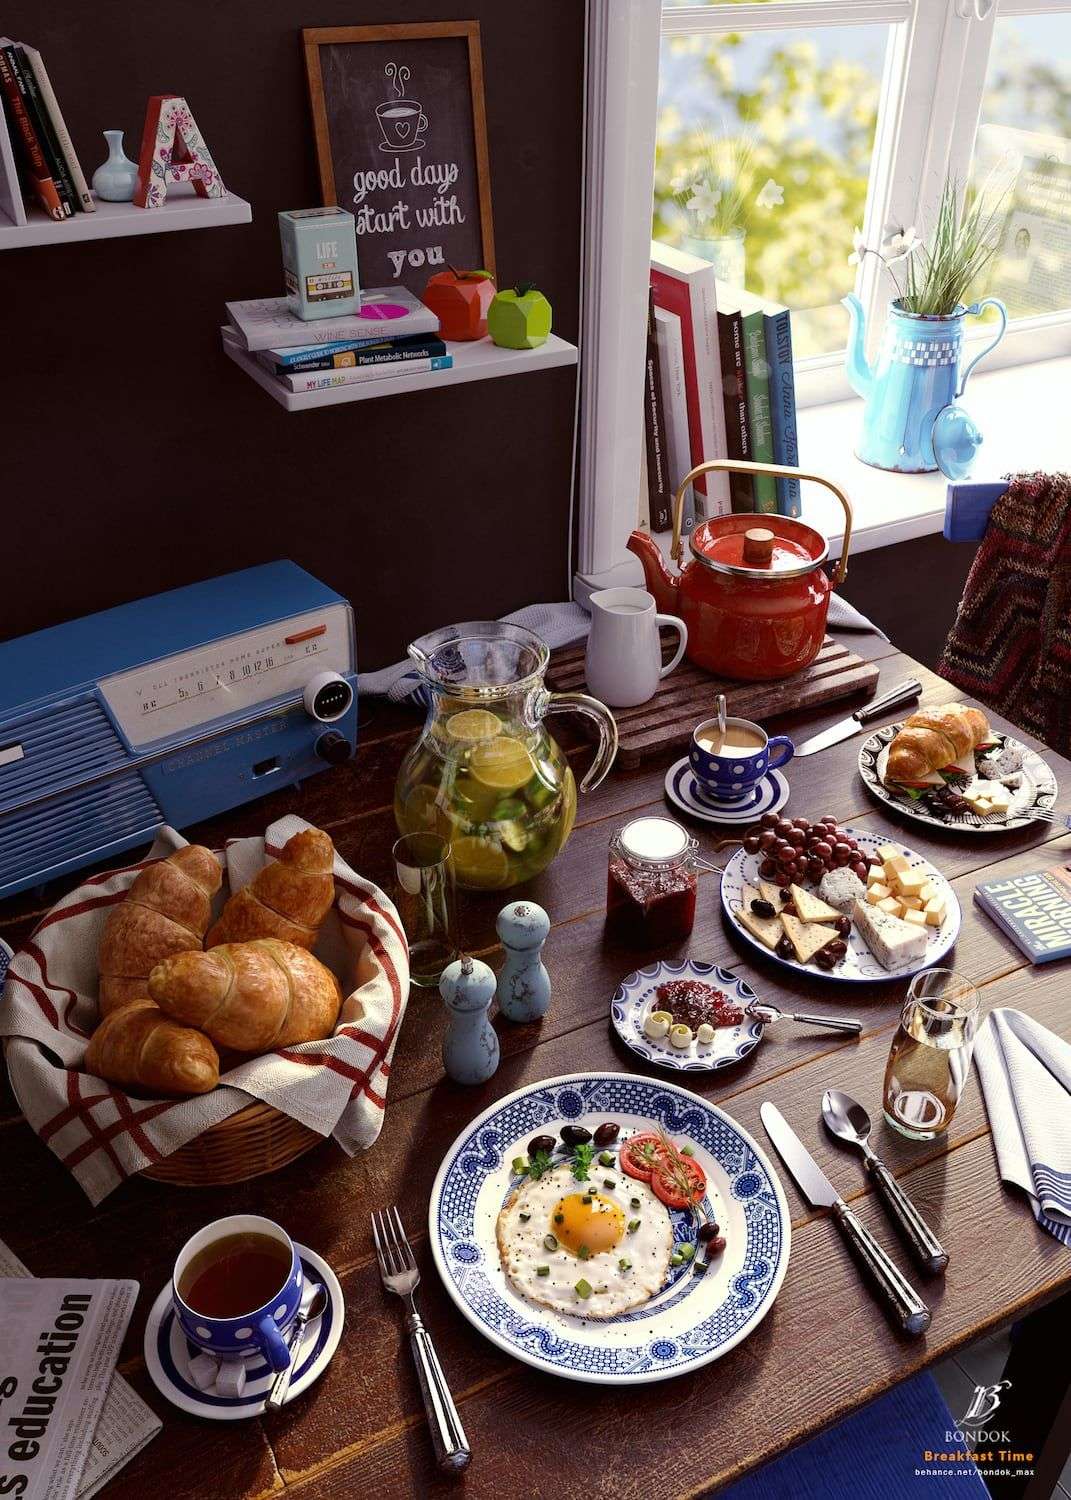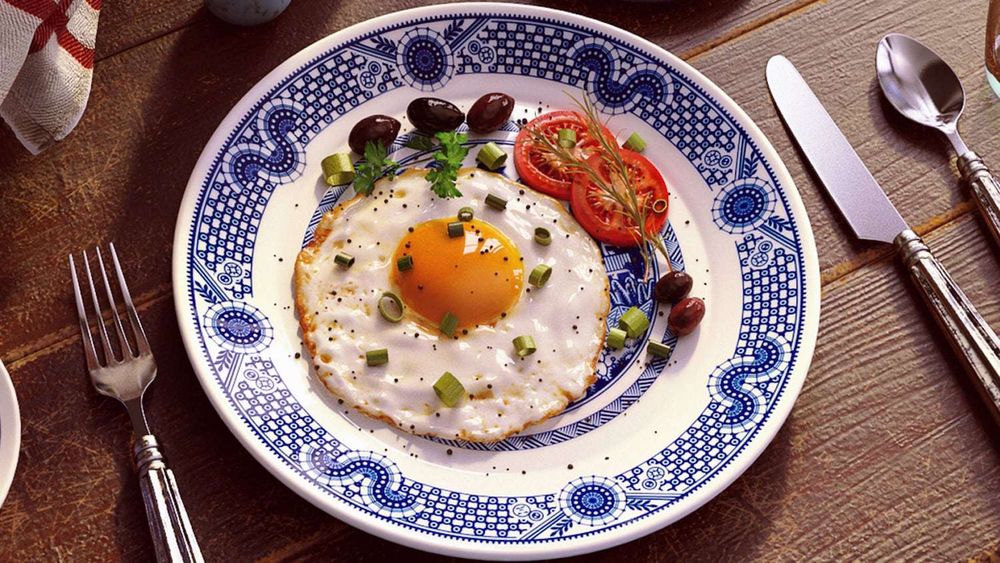
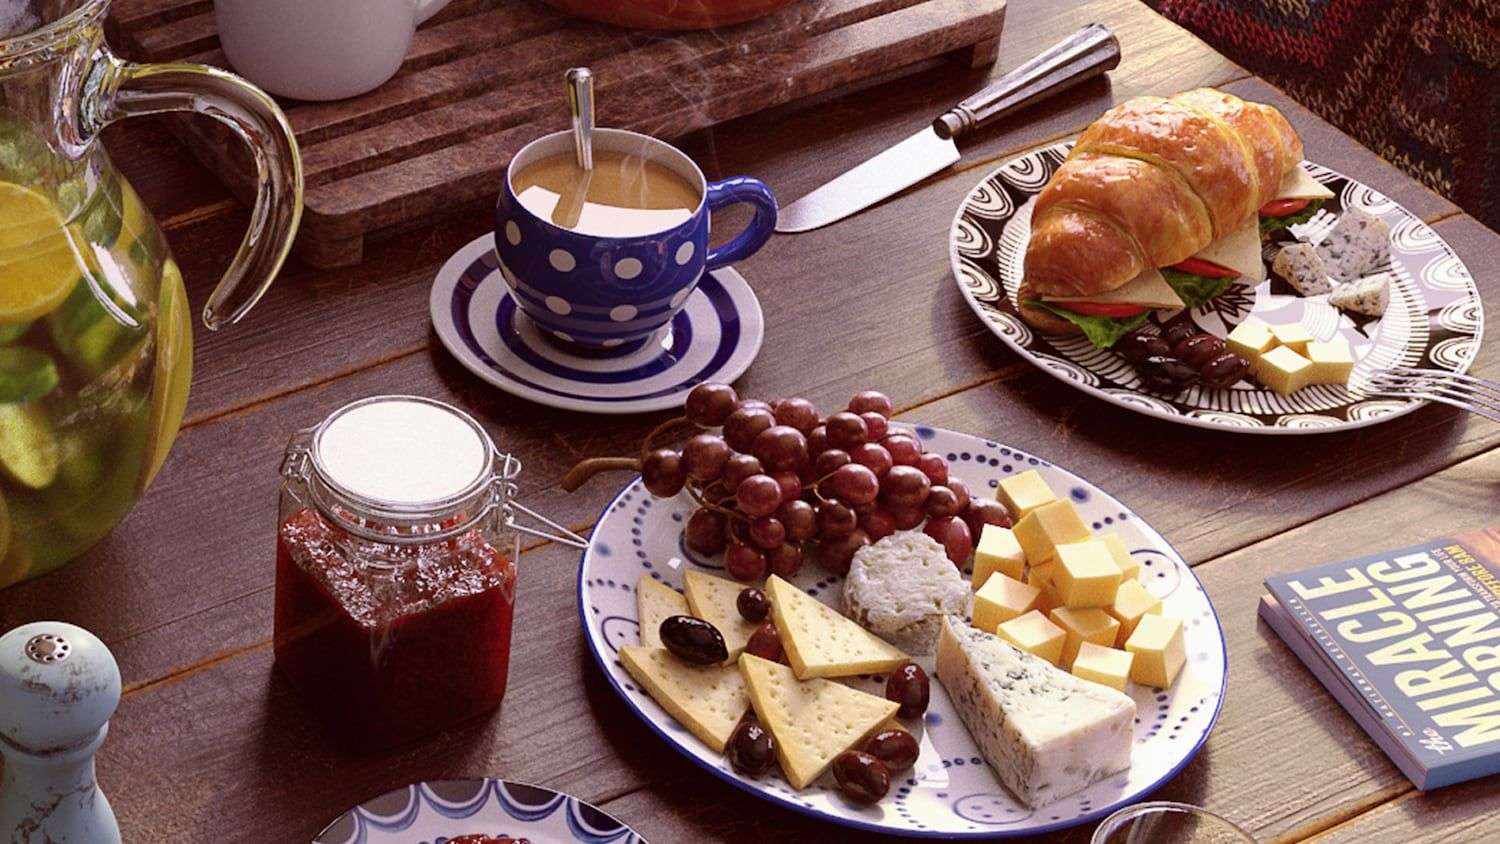
Breakfast is the first meal eaten after rising from a night’s sleep most often eaten in the early morning before undertaking the day’s work I was experimenting with several ideas of how to make it more alive and bring a bit of story into it. I was inspired a lot by food photography. I collected references to start my work. I started to block the composition, set the camera and add basic lights. I decided to work on it and see how far I could take it and then fill the scene with more food and objects.

Modeling
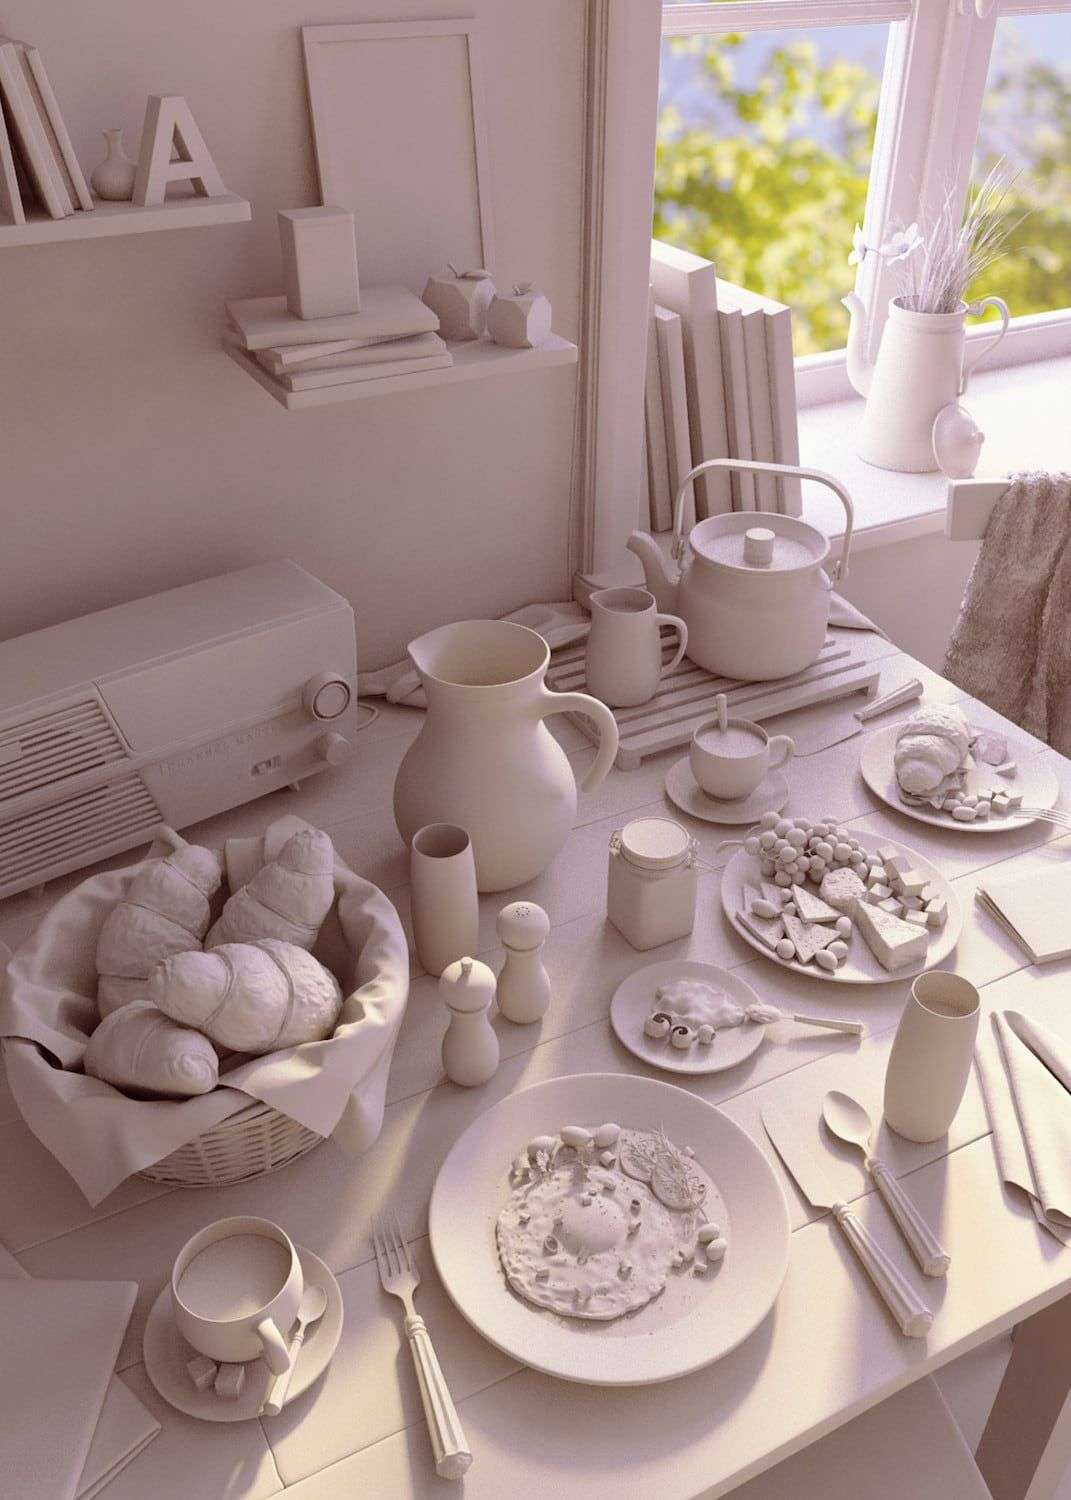
For modeling, I used 3ds Max. In most cases, I start the modeling process with a simple primitive object-like a box, cylinder, sphere, or plane, and after that, I convert them into Edit Poly and start to play with their forms. I like this polygonal modeling method because it allows you to control every point, edge or polygon on your object. And then I make the details in ZBrush to give a realistic look.
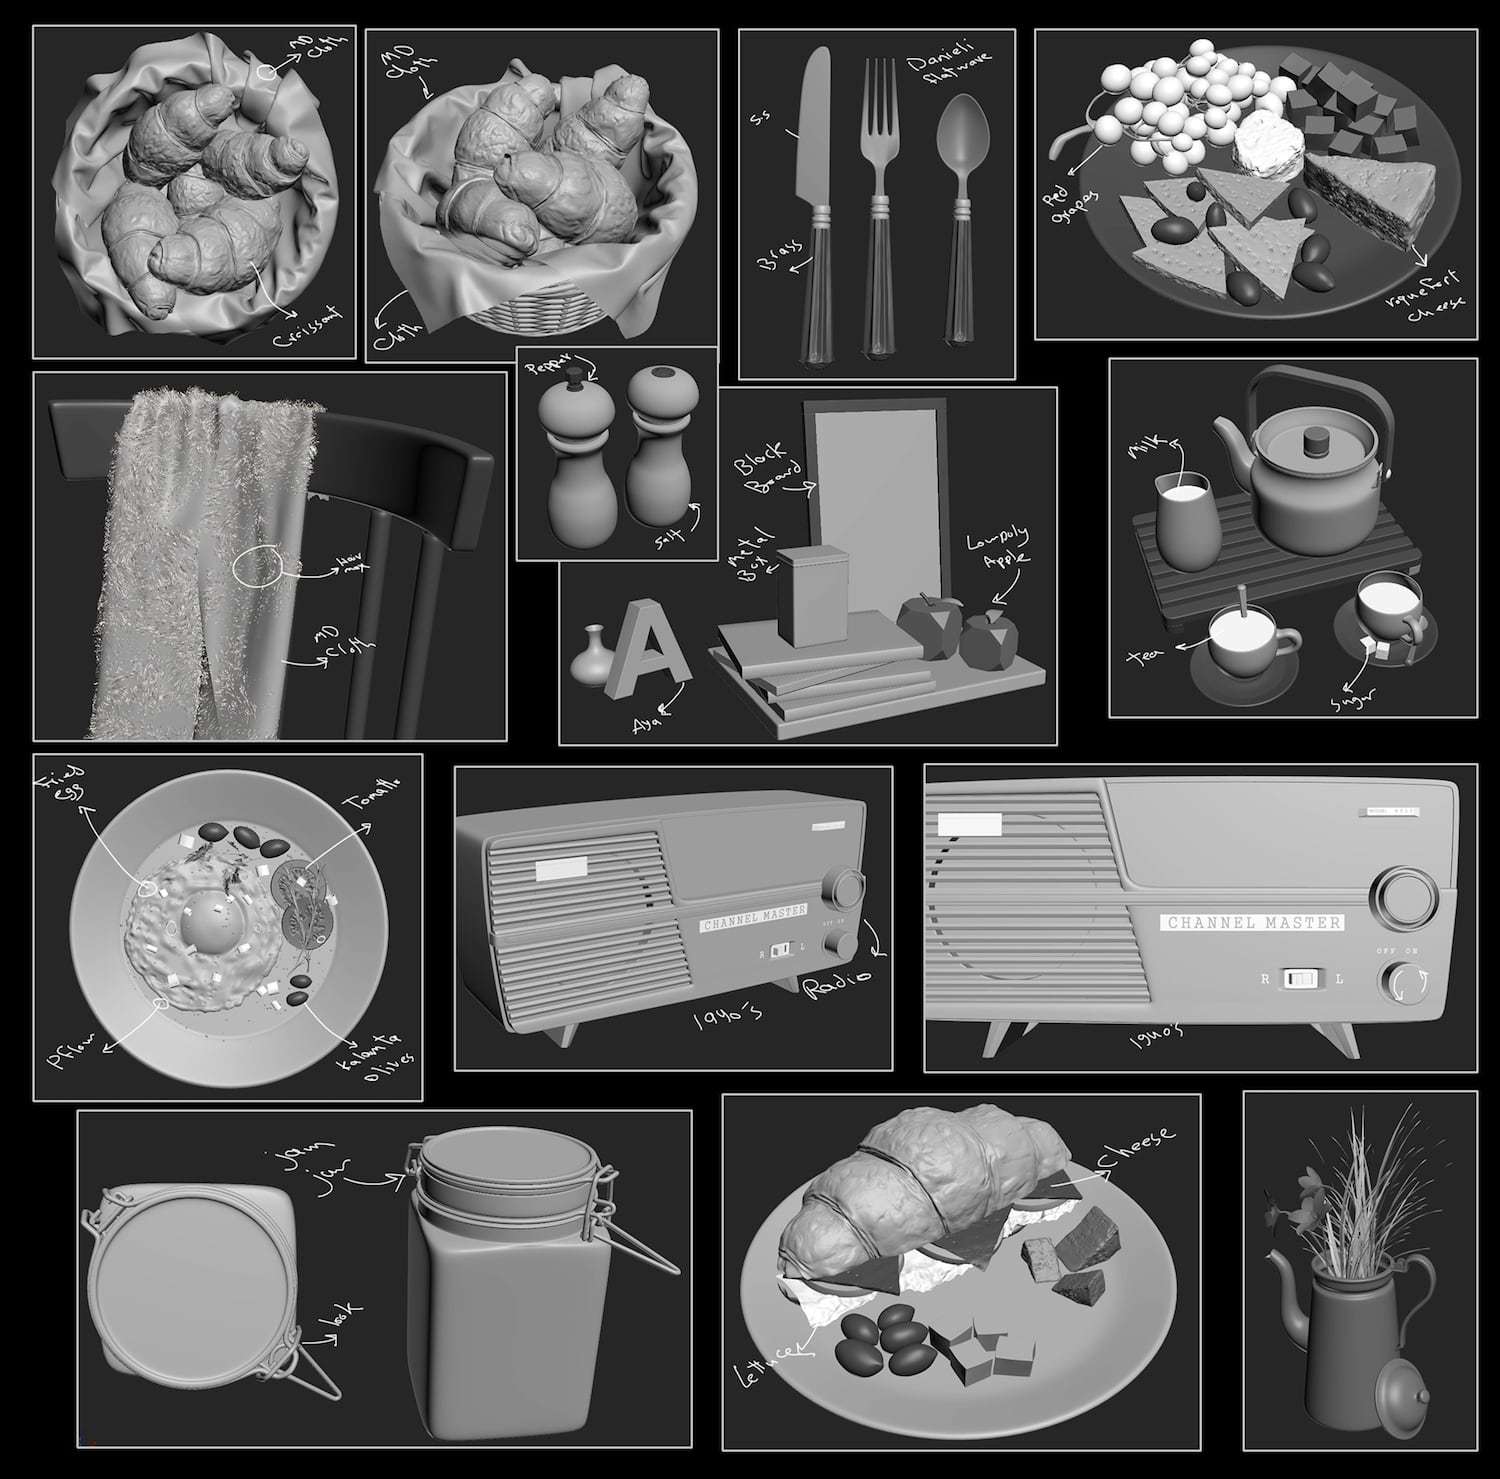
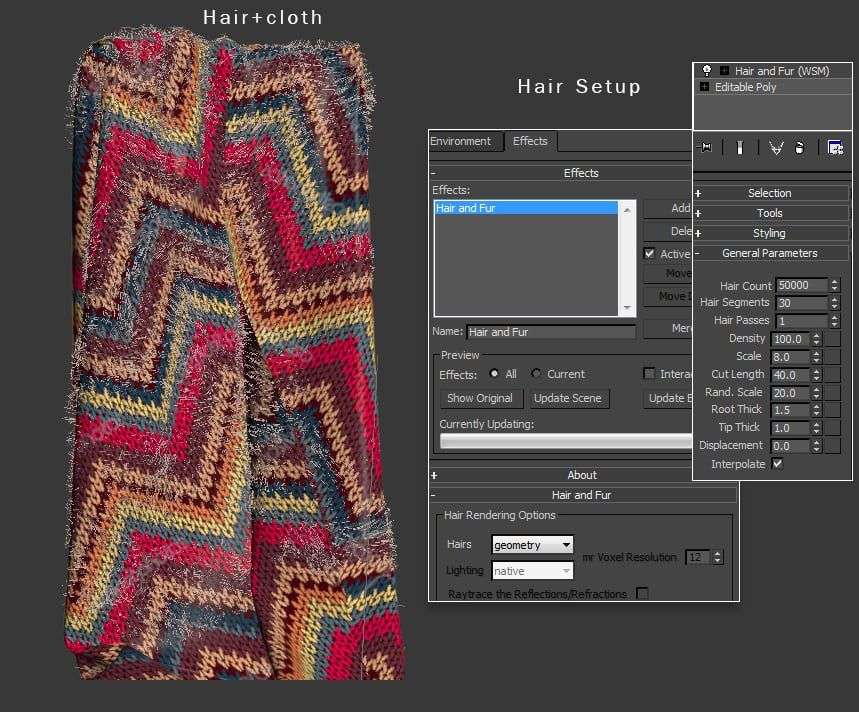
For the clothes I used Marvelous Designer, it’s an amazing piece of software and very powerful, after finishing cloth I sent it to ZBrush to adjust shape. I used Decimation Master plug-in for ZBrush to save details and polycount, it’s good to use in static objects. To create a fabric fuzz I used 3ds Max hair and fur. it’s an overview of the modeling.
Texturing
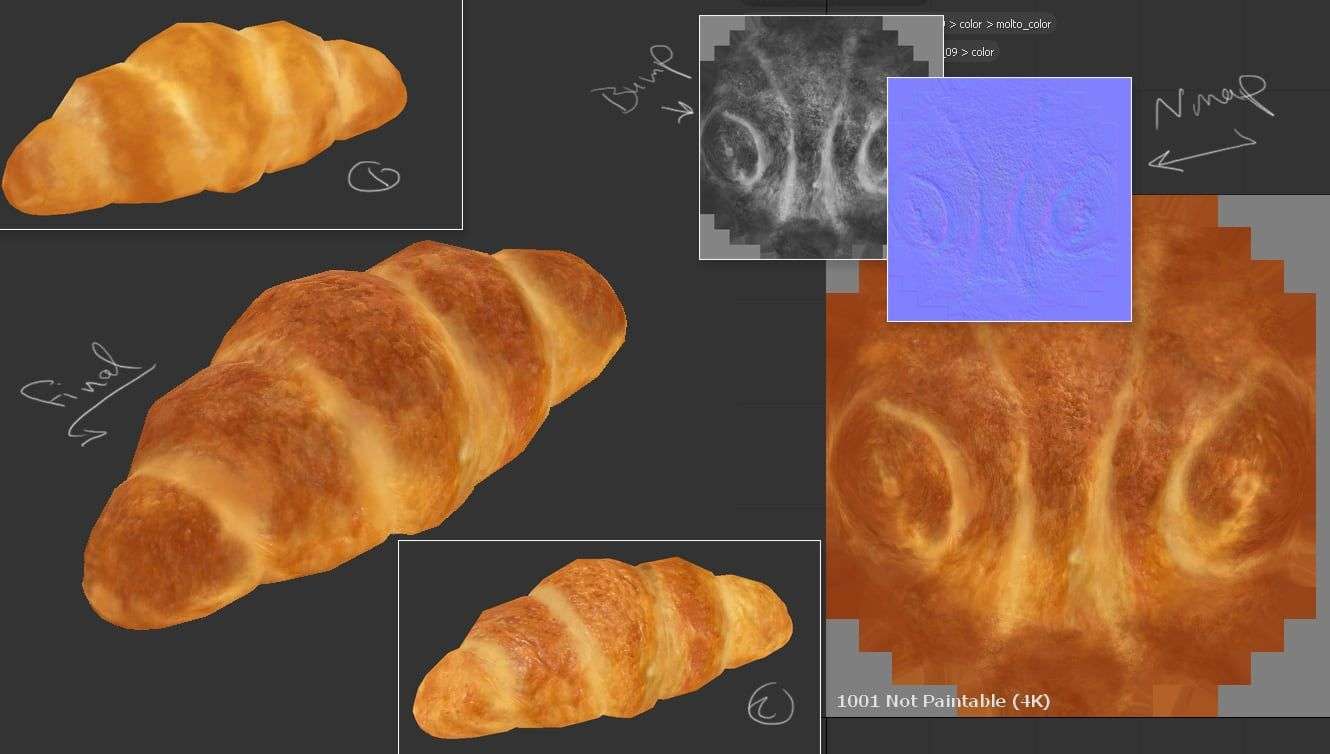
For the texturing, I used mainly MARI and Photoshop. Many of the textures I used were from cgtextures.com, which really is the best texture resource I’m currently aware of to create normal maps and dirt mask. I use NDO it is powerful and helpful, some objects in the scene have been UV unwrapped for convenience when it comes to texturing.
Lighting
One of the most important stages of this work was in setting the lighting and positioning the camera.
The lighting and camera both play a huge role throughout the whole work, and I think that correct usage of these is the key to creating successful work. Usually, I set the light in the early stages of my work
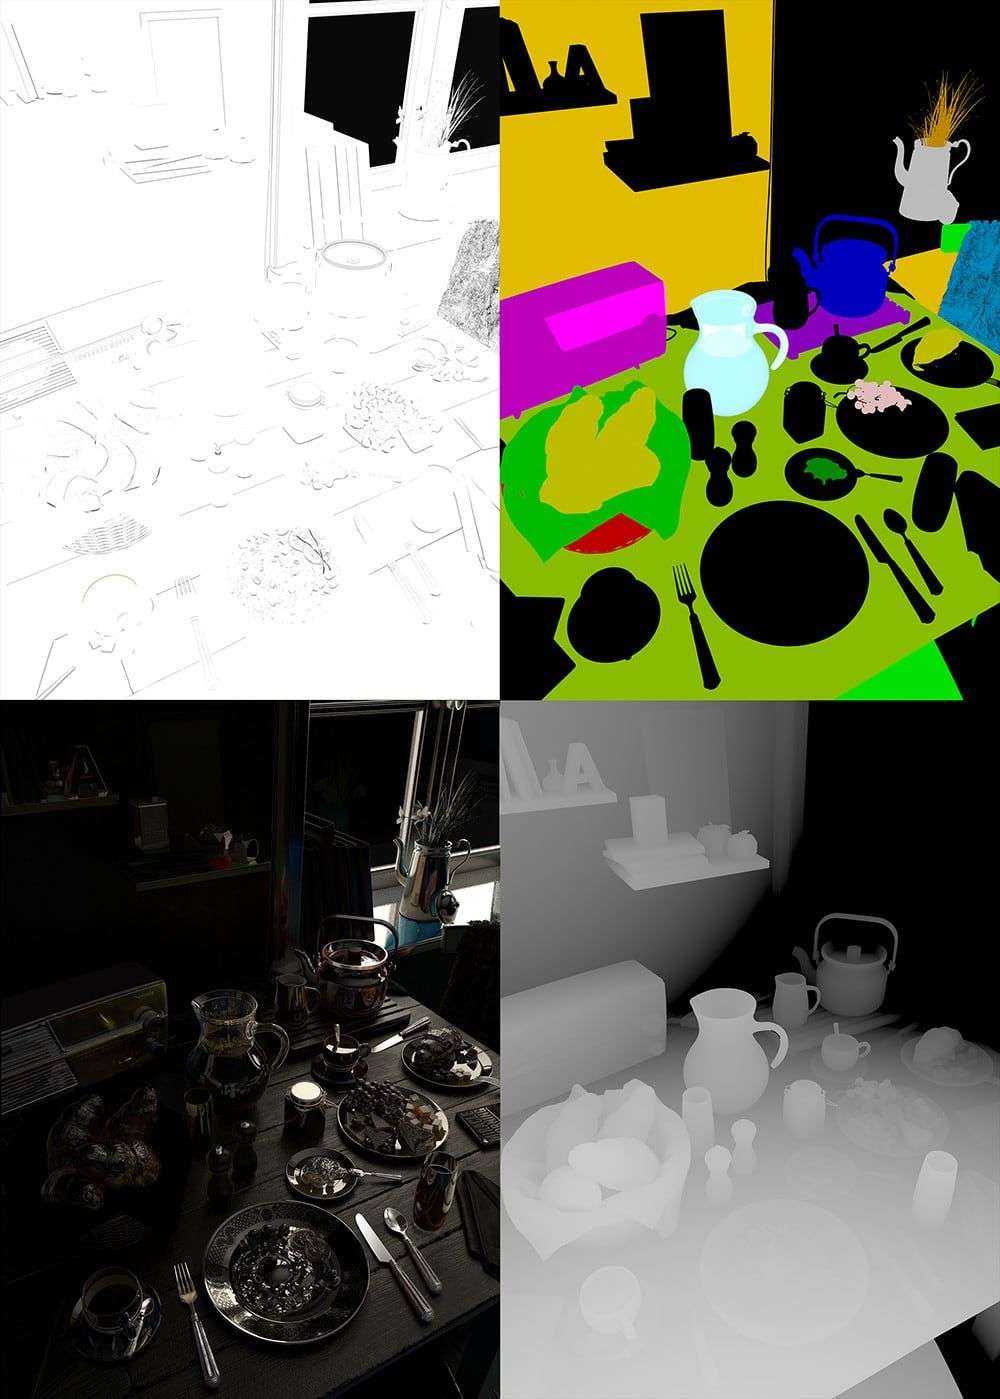
The lighting set up for the scene was very simple (see image below)
Rendering
For rendering, I used Vray with global illumination where irradiance map was used for the primary engine in combination with lights for the secondary engine, I always use linear workflow to get better results and more light in the scene.
I also did a few tests to optimize the render times by rendering separate render elements like VraySampleRate to see how anti-aliasing was affecting the scene once I was happy I set my final settings
Post-Production
Finally, I used Photoshop for a few improvements as I wanted to create a richness in color and contrast I stacked some of the render elements using blending modes such as Multiply, Soft Light, Overlay and Screen until I have an image that I was happy with the final details.
Conclusion
So that’s it, was not really difficult to make this image. The hardest part was to find the time and will to proceed and finish it. I believe that if you have a passion you can make anything possible.