
Concept
This was a small project on how to create a 3d handgun. I did after my previous demo reel where I took some time to experiment and familiarise myself with a Mari texturing workflow.
Guns are always a good hard-surface subject to model from due to being relatively small, while featuring a decent variety of flat and curved surfaces.
There are tonnes of reference images out there for all kinds of finishes, old and new.
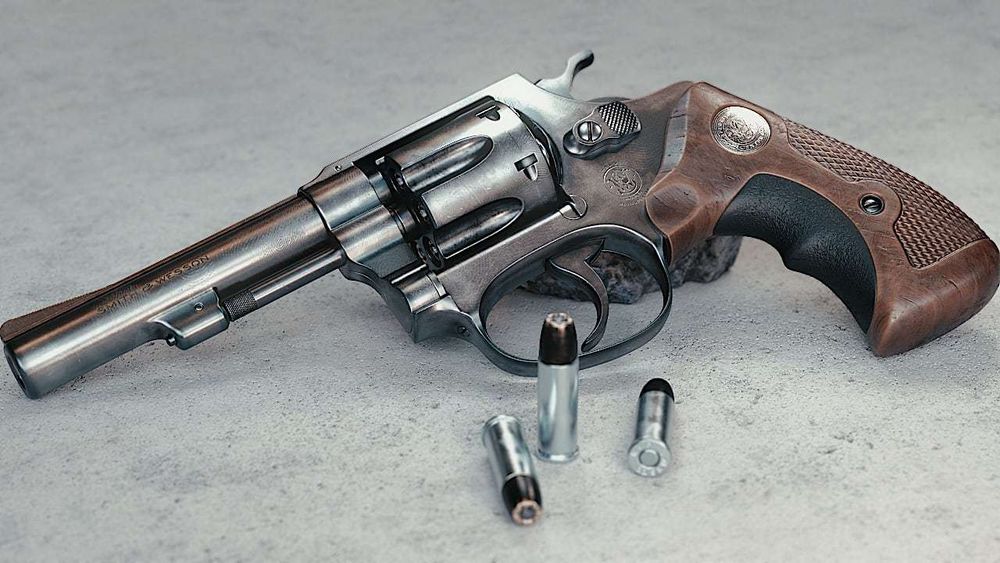
The inspiration to create this weapon came from the game Deadbolt, where you take control of the reaper and take down the undead in tactical shootouts. His starter weapon is the ambiguously named “.32 Revolver”.
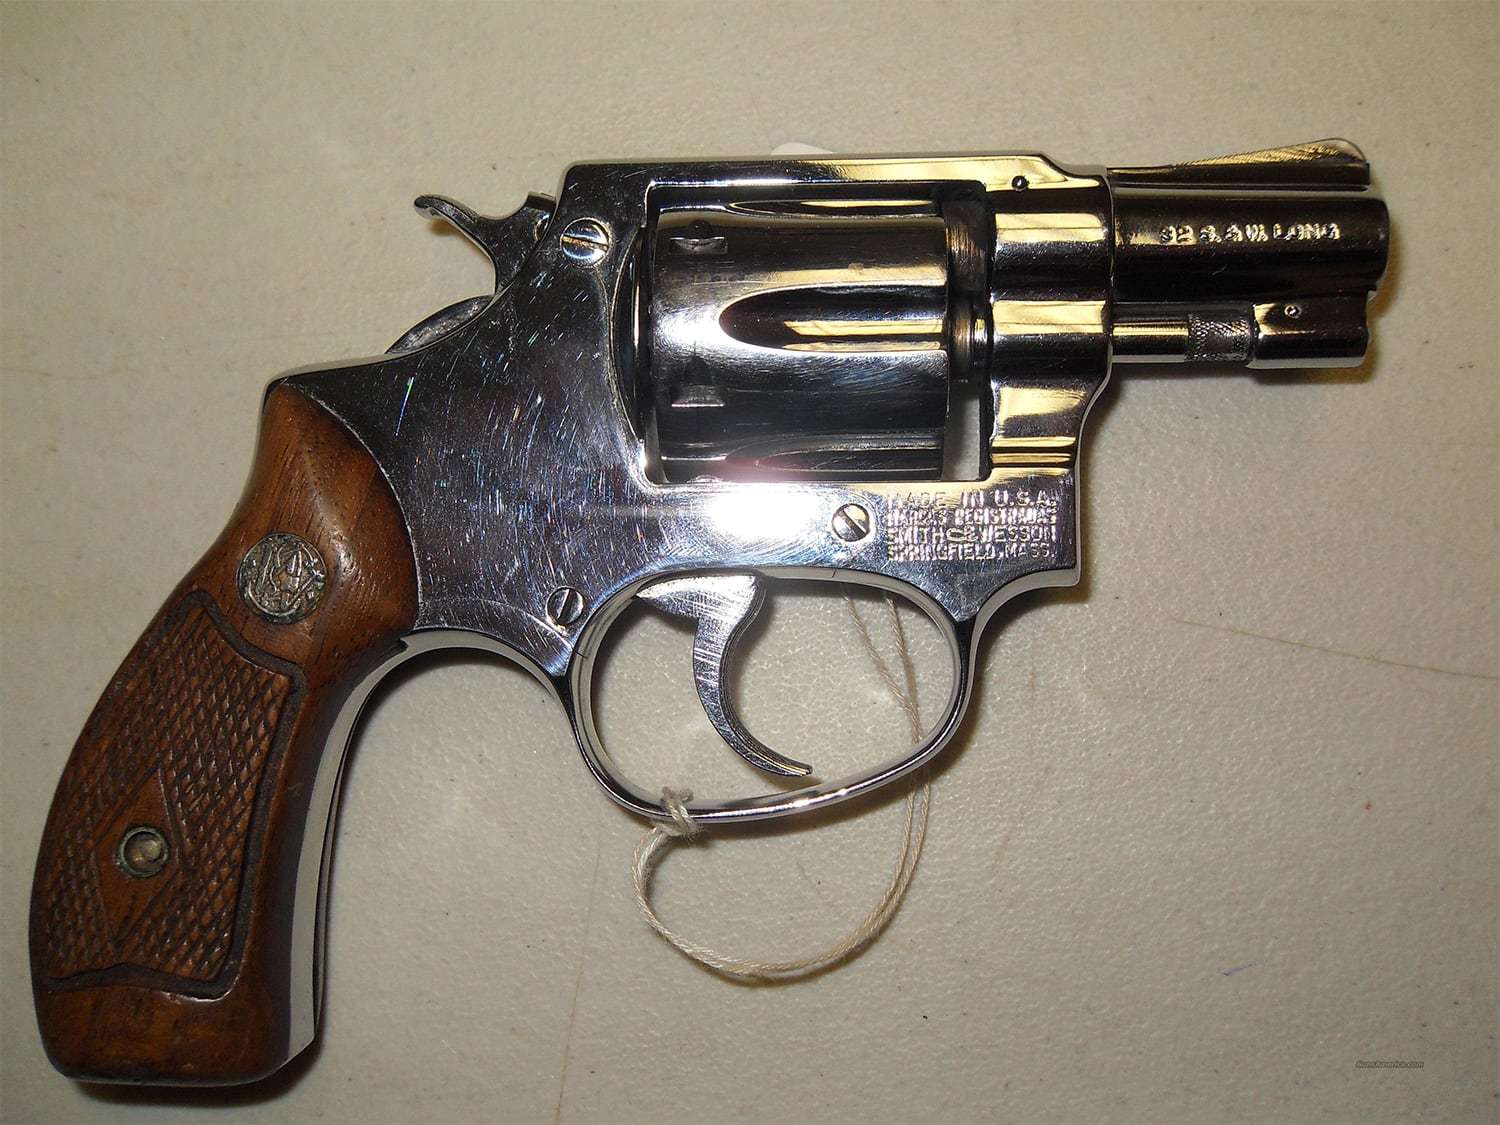
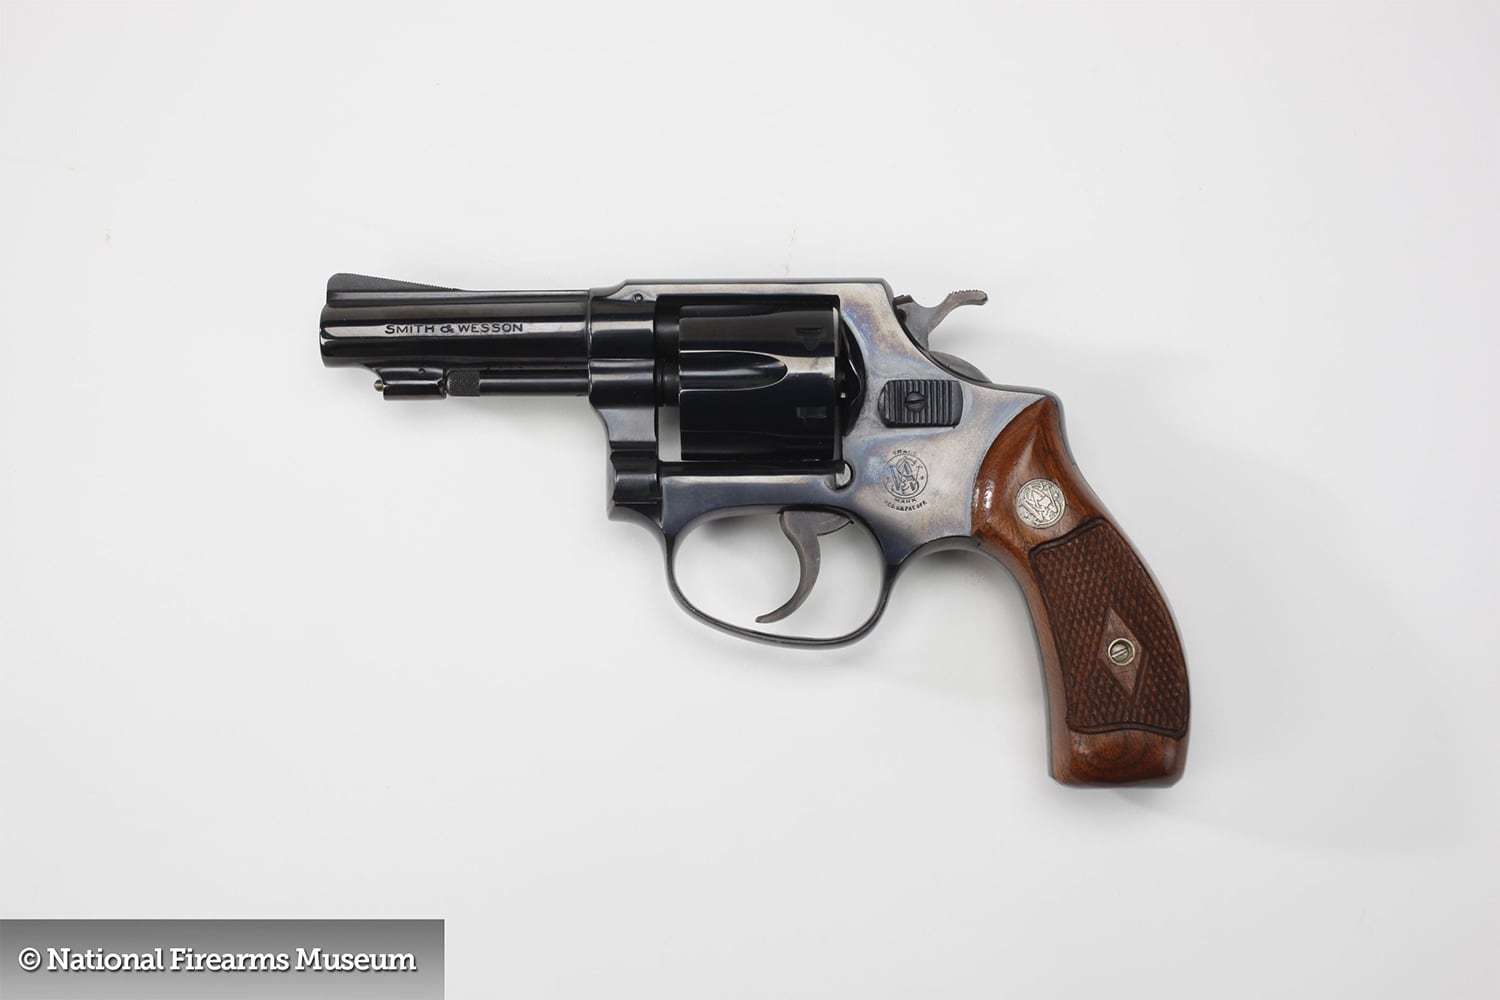
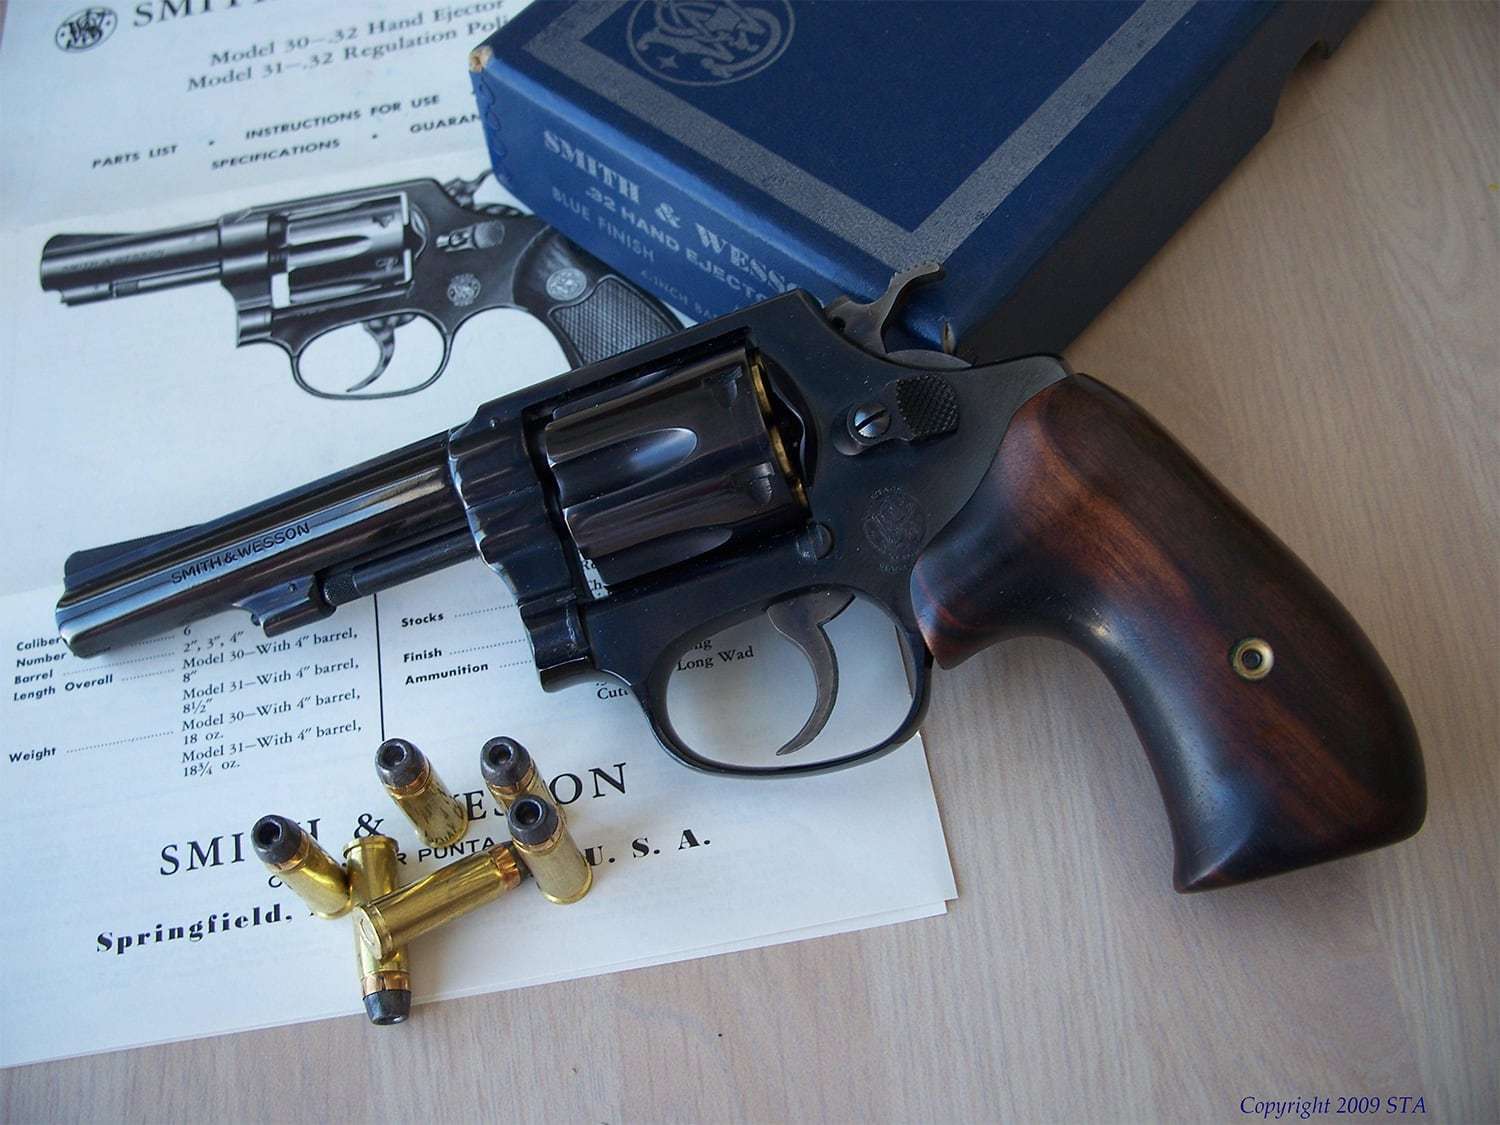
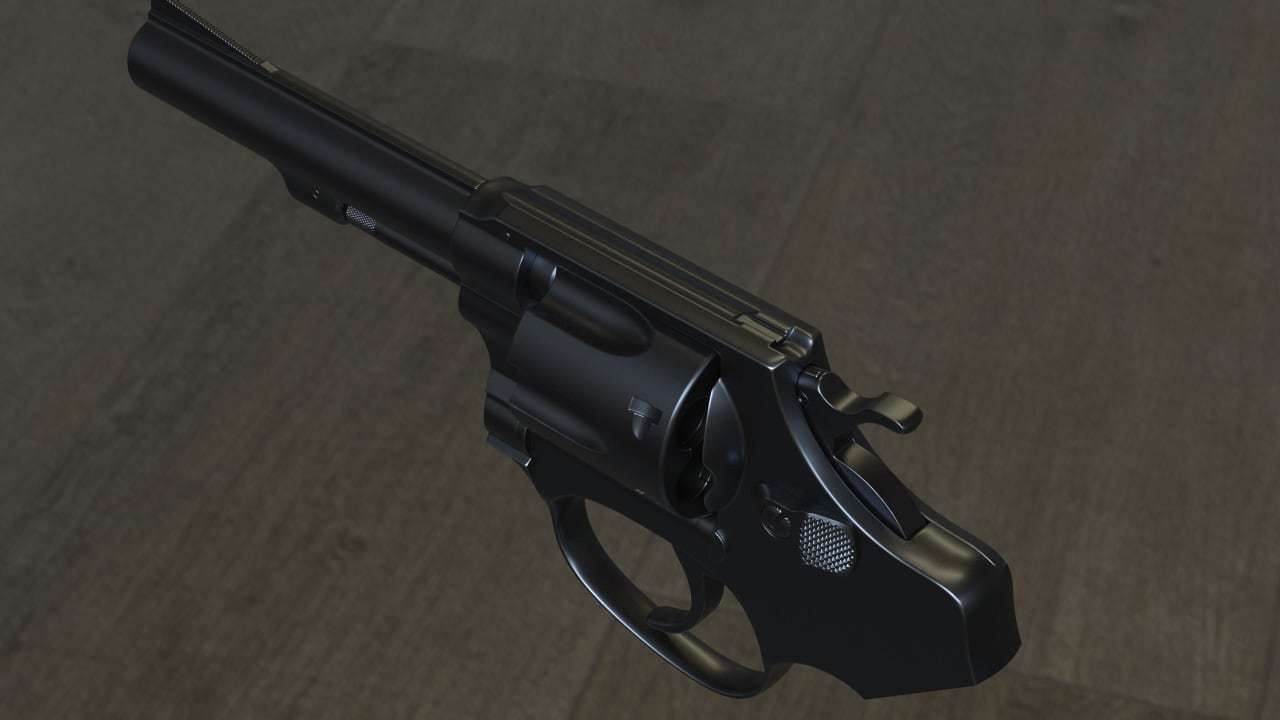
After a little bit of research, I settled on the Smith and Wesson Model 30. I put some extra care into ensuring that the one I modelled matches those manufactured at around the 1950s.
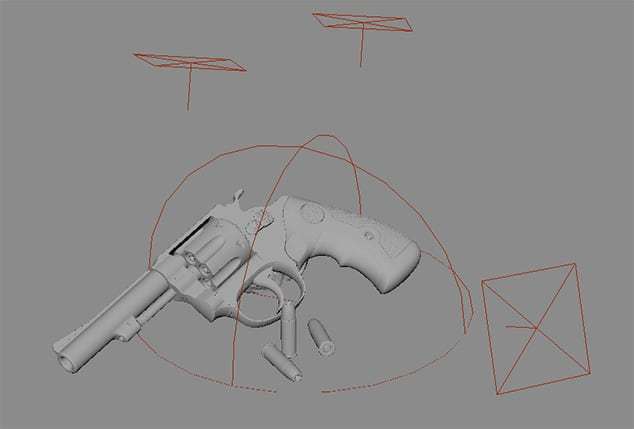
Modeling
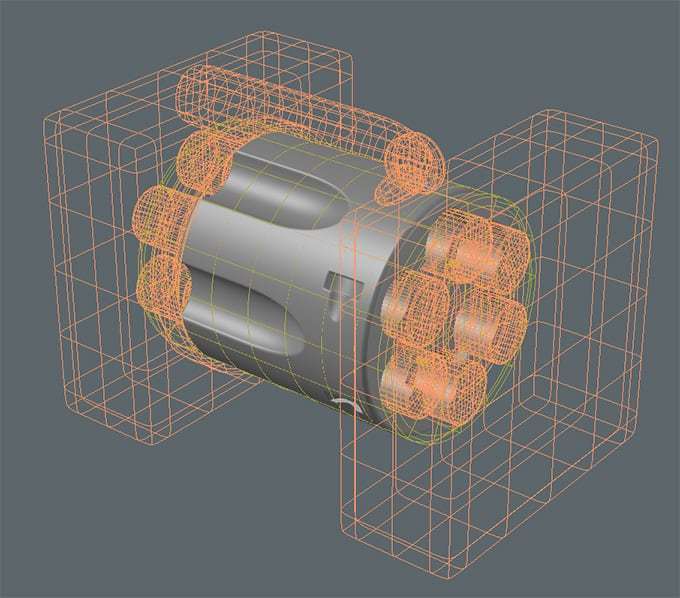
While this was intended to be a texturing practice piece, I couldn’t help but try out some other things as well. I took this opportunity to try out Modo’s Mesh Fusion boolean modelling system. It’s an intuitive way of building things, but it was ultimately too buggy and unreliable for the completion of a complete model.
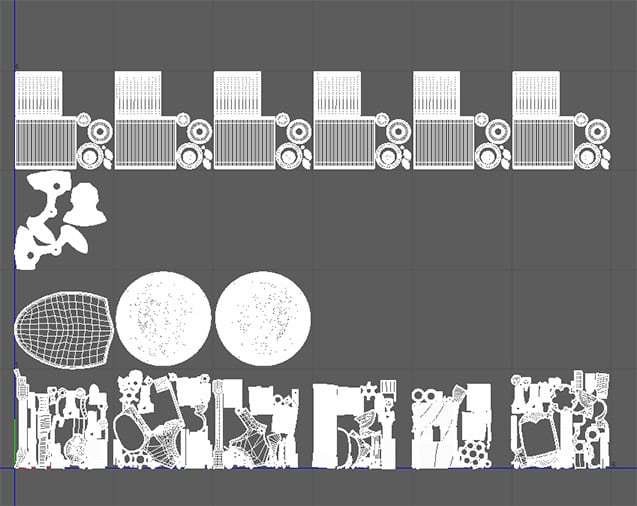
The only fusion models I kept to the end were the cylinder, cylinder release, and cylinder rod. The rest of the weapon was done through regular subdivision modelling techniques. UVs are likewise done straightforwardly through Maya’s built in Unfold and Layout tools.
The revolver was originally based almost completely on this one reference photo, which was notable for its custom grip, but the grip turned out looking rather bland as a model, so I decided to redesign it to include emblems, a rubber grip on the front, and a diamond cut pattern on the back.
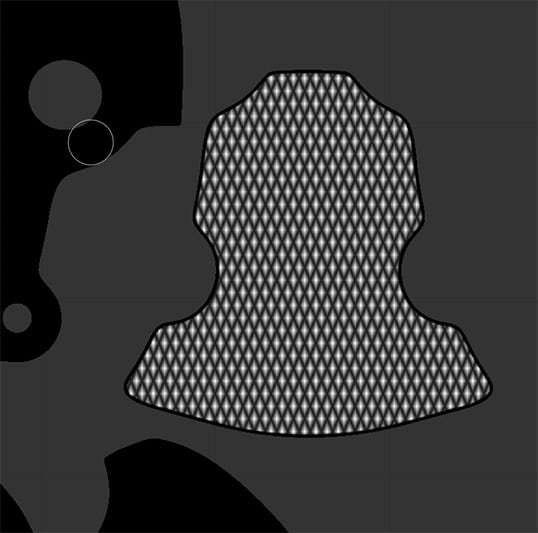
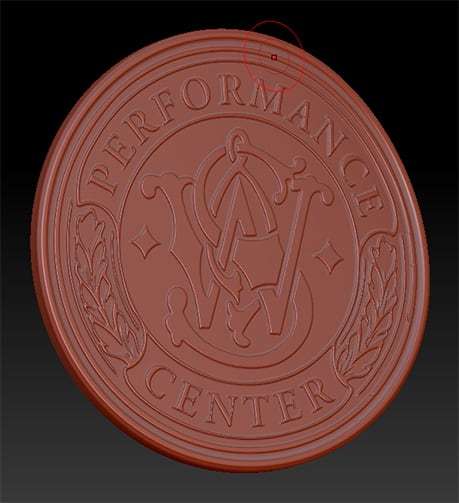
The diamond cut pattern on the grip model was done in several steps. First, a tileable diamond image was generated, then it was applied to the parts of the grip where it was supposed to appear as a texture, then the texture was applied as a displacement in ZBrush.
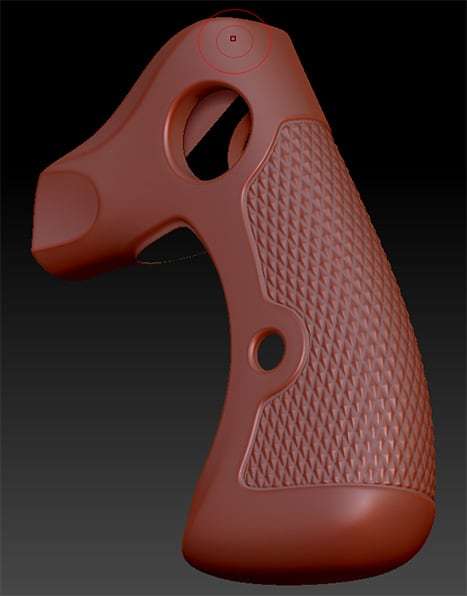
The final mesh was smoothed a bit by hand then decimated in ZBrush. The Metal Emblems on the grip were done in a similar way, with the S&W logo in place of a tileable diamond pattern.
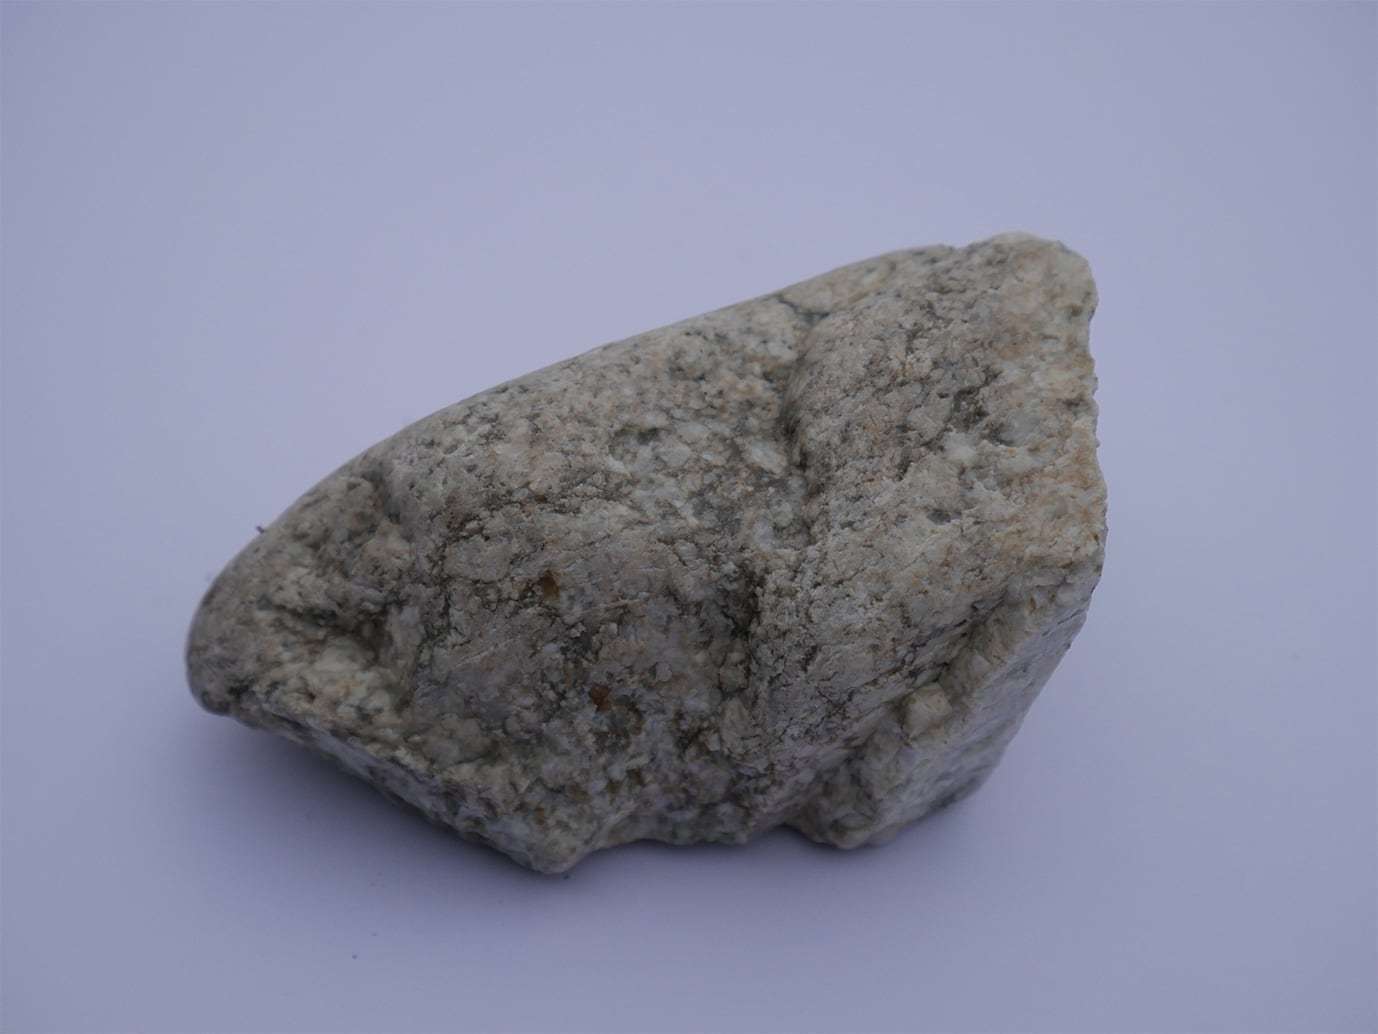
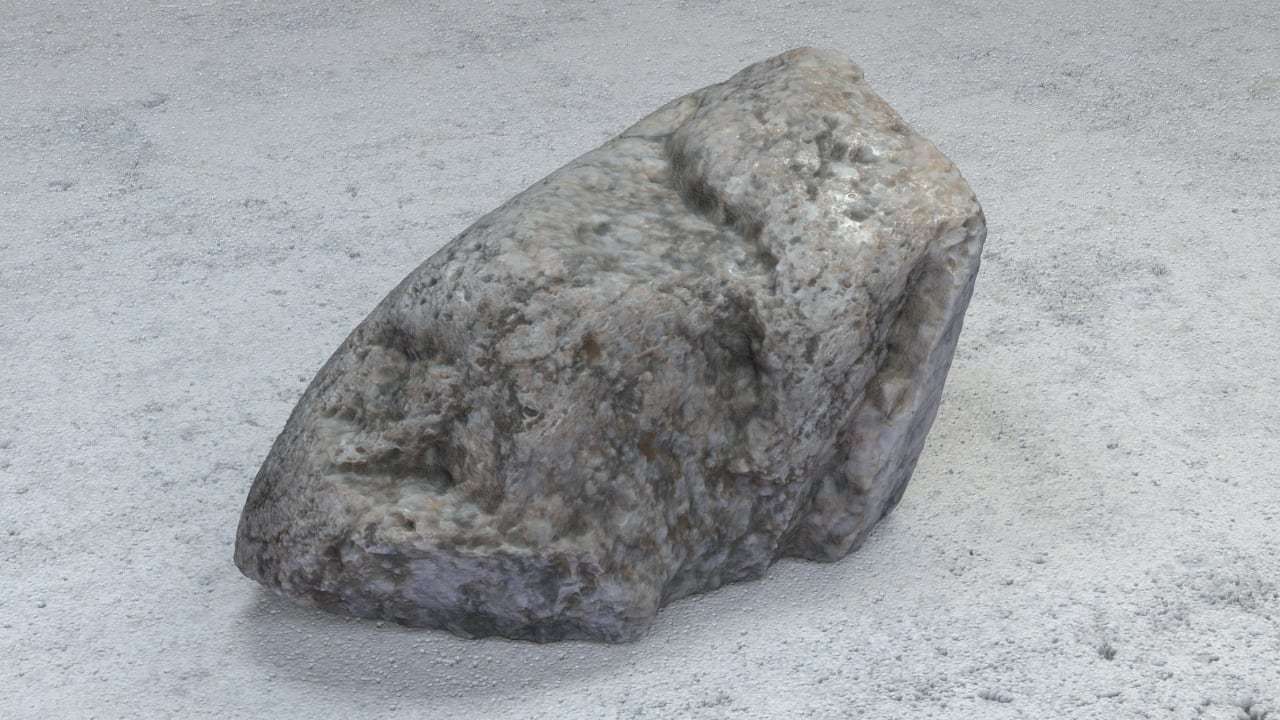
The revolver needed something to rest on so I decided to try out photogrammetry on a rock. It turned out to be a bit more time consuming than expected. I took a large number of photos all around a rock and had them processed in the free version of Autodesk ReMake.
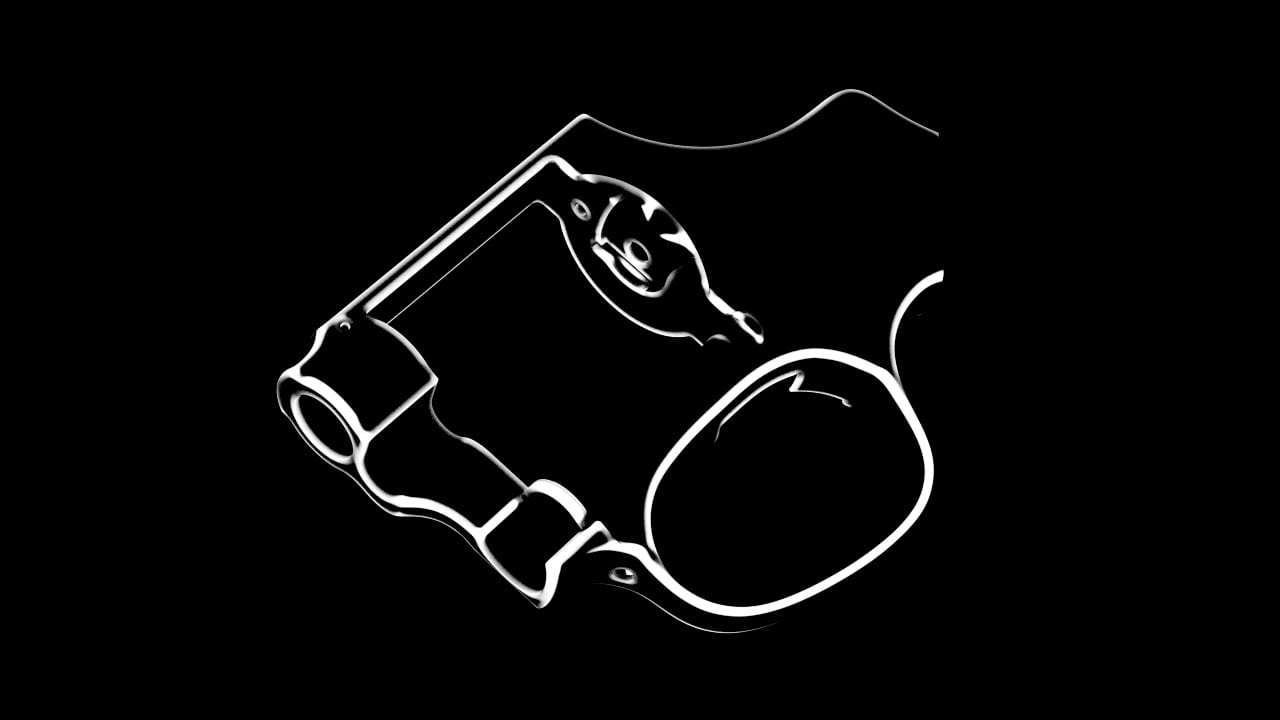
If there was one thing that I had to point to as being the most important thing I learned (other than being more organised), it would be that curvature baking is one of the most important things to do as part of the texturing process.
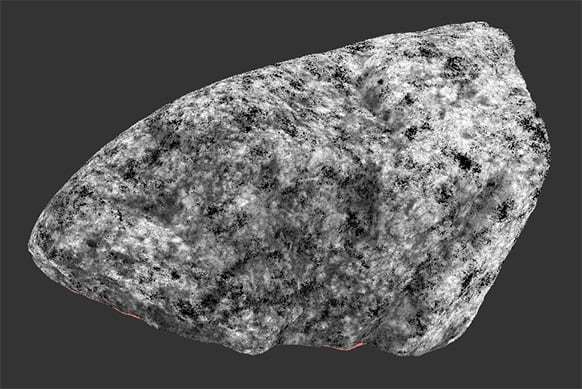
Some adjustments had to be made to cap off the bottom of the rock. The software generates a textured model, but I didn’t think it was enough for a final render, so I quickly created some extra texture maps for it in Mari.
Shading/Texturing
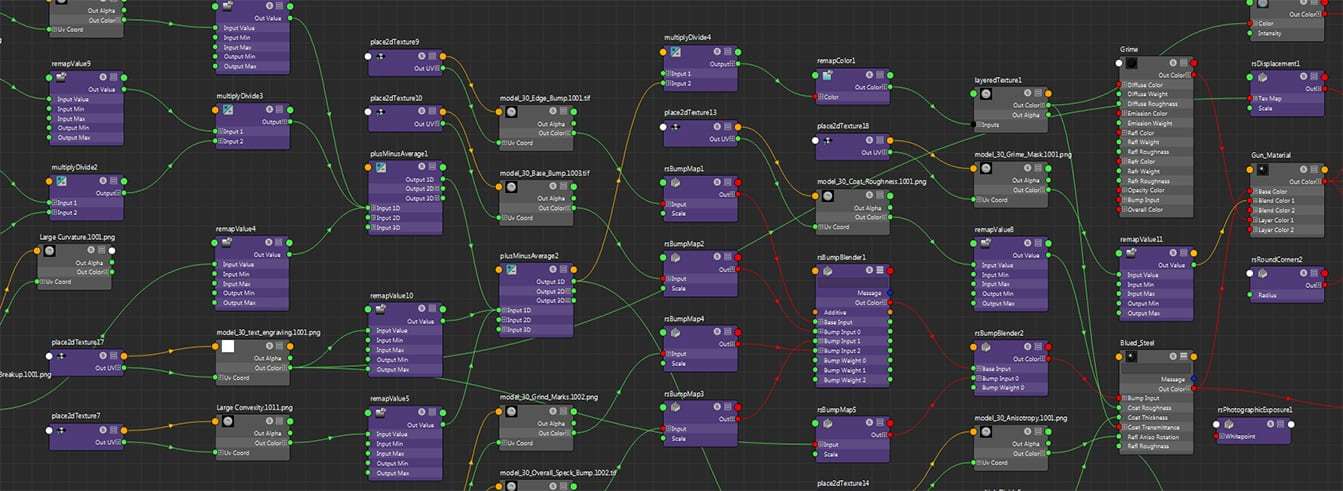
The process for shading and texturing the main body of the gun was very much experimental, as you can see in the screenshot of the shader graph. I started off just tweaking shader settings until I got a baseline look that I was happy with, then I just kept adding layer after layer of individually adjustable maps on top.
If there was one thing that I had to point to as being the most important thing I learned (other than being more organised), it would be that curvature baking is one of the most important things to do as part of the texturing process.
Related Link: Tekkonkinkreet Character Redesign
There are many ways to do this. I just happened to have used Redshift’s curvature shader. Other renderers will have something similar. Dedicated baking software like mighty bake can do this for you as well. Paul H Paulino has an excellent guide on how bake curvature from ZBrush .
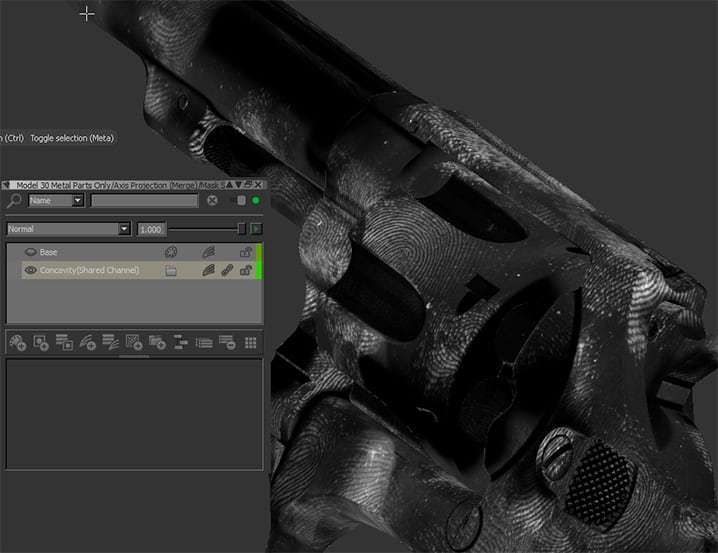
This baked curvature is extremely important because it masks out areas of the model where you’d expect to find wear or the accumulation of dirt or dust, depending on whether that particular part is convex or concave. It’s also useful to have multiple bakes at different levels of coverage. I find that having three variants (Fine/Medium/Large) is enough to cover any kind of wearing that you would want to mask for.
Of course, these bakes can be further modified in Mari and combined in whatever way you’d like later on. They are not only used in Mari, but also in the shader graph as well.


With the bakes ready, texturing was for the most part done in the following manner. A tileable image, like a scratch or smudge map, was applied through Tri-Planar projection. This overall coverage was then masked with one or more curvature bakes.
You can make some pretty drastic changes in the post render stage, so it’s definitely worth looking into even if it’s not your area of expertise.
A final hand painted mask layer is then added to get rid of any obviously repeated parts of the texture, then the empty space is filled back in with additional projections if it’s feeling too sparse. This same process is used to create bump maps as well.

I should also point out how procedural layers can help with adding breakup and noise to your surfaces. Mari has a few that are quite useful, like “Oil” and various kinds of noise generators.
If you have the Mari Extension Pack, you’ll have access to even more varieties. Wherever you need some extra surface noise, just pop any one of these in.


A number of maps were made to modulate the surface finish of the metal. These were brought into the shader graph so they could be tweaked on an individual basis. The final combined surfacing map was reused to add a kind of tarnishing effect on the metal.
Related Link: Work like hell and become the Arnold Schwarzenegger of artists
This was done by selectively colour remapping a range of the greyscale map and adding it on top of a base colour in a LayeredTexture Node. I’ve included an exaggerated example screenshot here showing the same grayscale texture remapped differently for all 3 RGB channels.
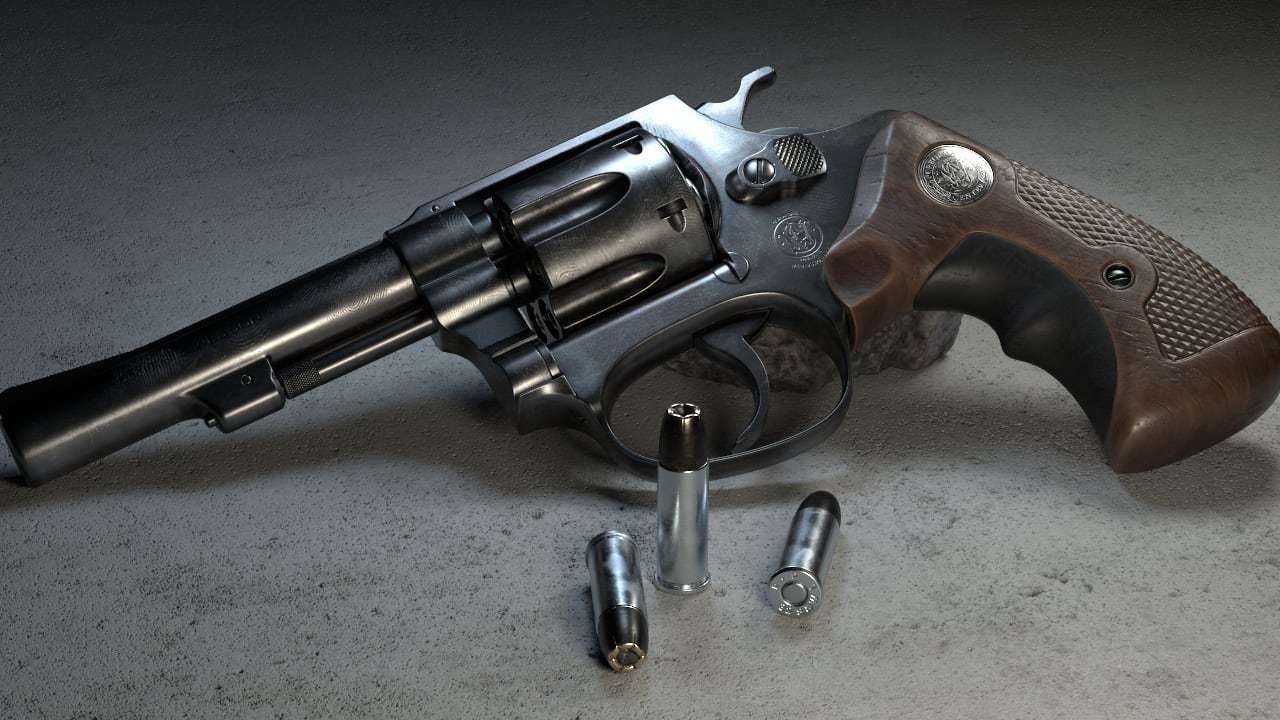
Lighting
If you’re trying to light something that’s quite reflective like this revolver, you’re going to need something to reflect. Unless you have an entire scene of actual objects to reflect, you’re going to want a nice environmental HDR image.
This image can take on the role of lighting your scene as well, but nothing is stopping you from augmenting the HDR image with more placed lights. In my scene, I’ve placed a few extra lights, so I got some nice highlights across the revolver. These lights were moved around and adjusted on a per shot basis.

Wrap up
I’m just going to make a quick note about post processing because it’s pretty important. The images you get out of the render aren’t necessarily the end point. There’s usually something you can do to get it to look even better.
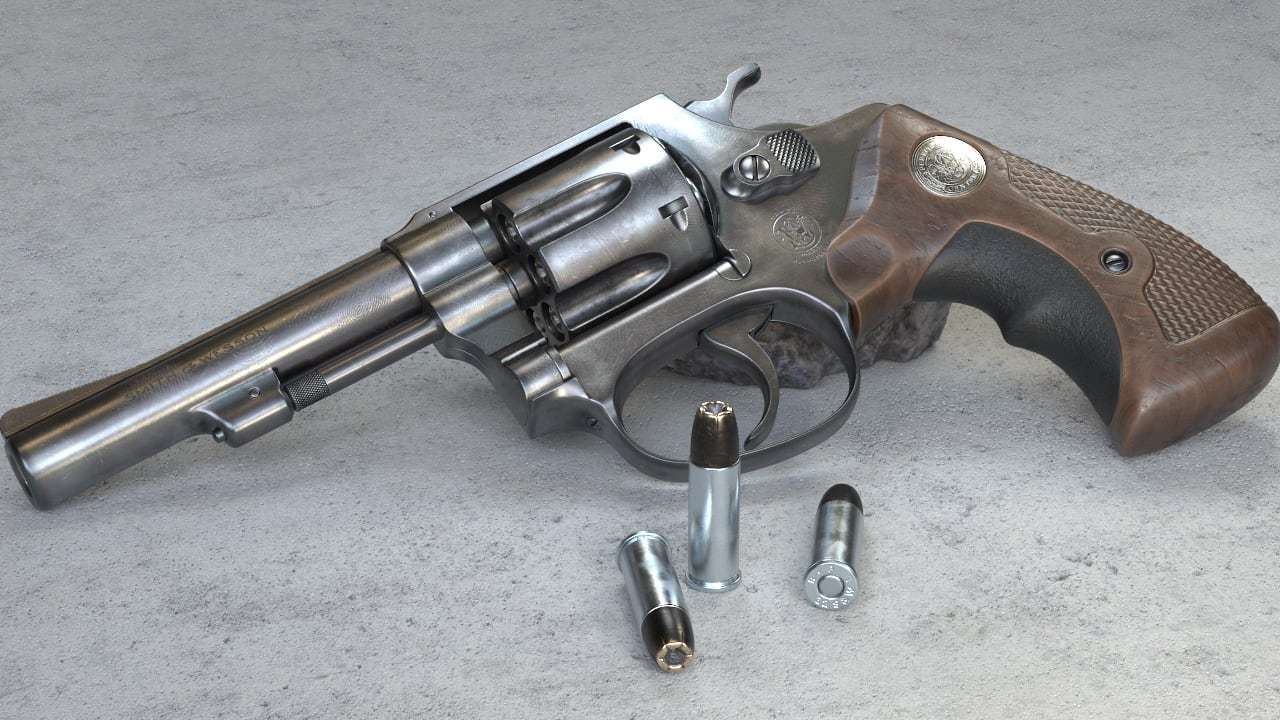
In my case I put my renders through nuke, adding a depth of field effect based on the depth pass, sharpening the image, adding a slight glow and shifting the colours through LUT.
You can make some pretty drastic changes in the post render stage, so it’s definitely worth looking into even if it’s not your area of expertise. I hope this breakdown helps or inspires you in some way.