
This breakdown will take you through how I made my gaming assets using Substance Painter and Substance Designer.
Inspiration
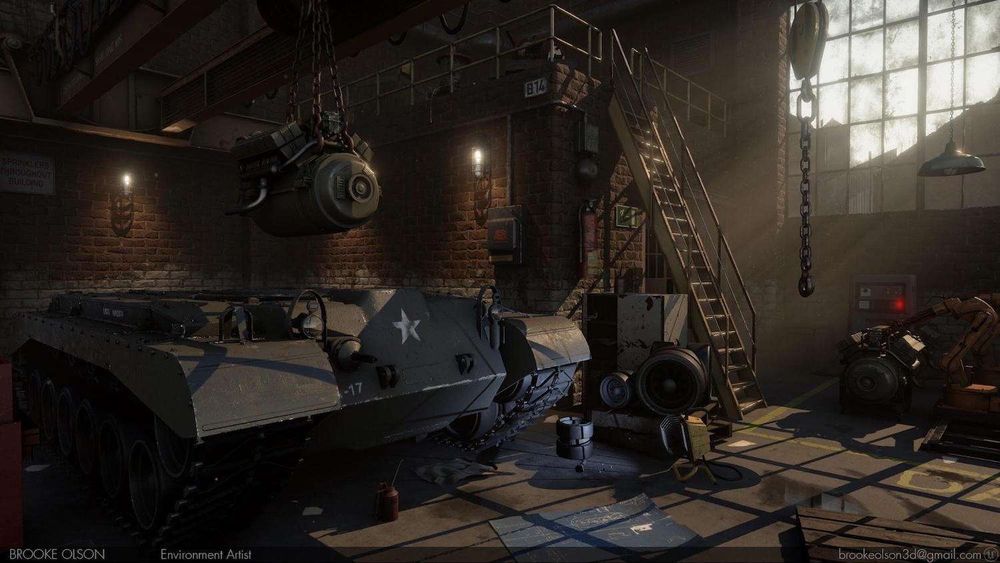
Originally this project started out as the screenshot above, but I knew I could make it better. I later went in and redid it completely, reusing some of the original assets. I wanted to make a smaller scene, fix the lighting and update assets and their textures.
I have a human scale as a reference, that’s definitely crucial, that way you can tell if your assets are too large or too small
All while making sure the props are more cohesive. I found it was best to basically start over. With that in mind, I gathered reference and put together a style guide to follow for the project.
Research and reference gathering is key to create a cohesive environment. I found a lot of reference on both ArtStation and Pinterest and then of course Google.

Block out
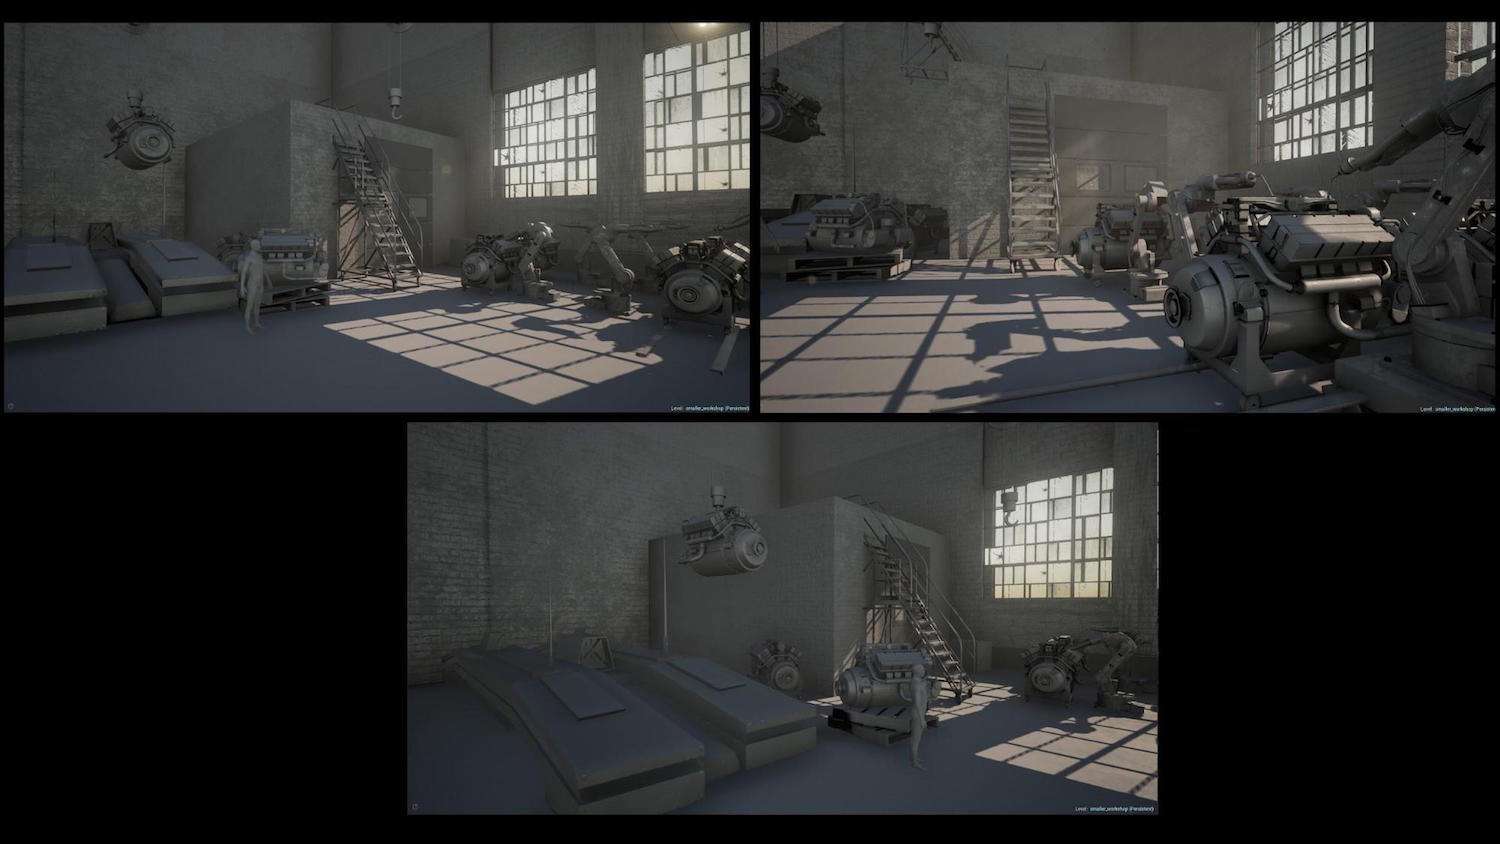
For my second pass at this environment I didn’t start out with concept art or anything, I just went straight into greybox. During greybox phase, I spent a lot of time getting scale correct while planning out the scene logically.
Fortunately, I had a good start with the props since I was reusing assets I already created on the first pass. I find it easiest to do blockout in Unreal Engine since that’s where my finished scene will be.
Also, you will see in my block out pictures I have a human scale as a reference, that’s definitely crucial, that way you can tell if your assets are too large or too small and adjust accordingly.
Modeling/Making the scene
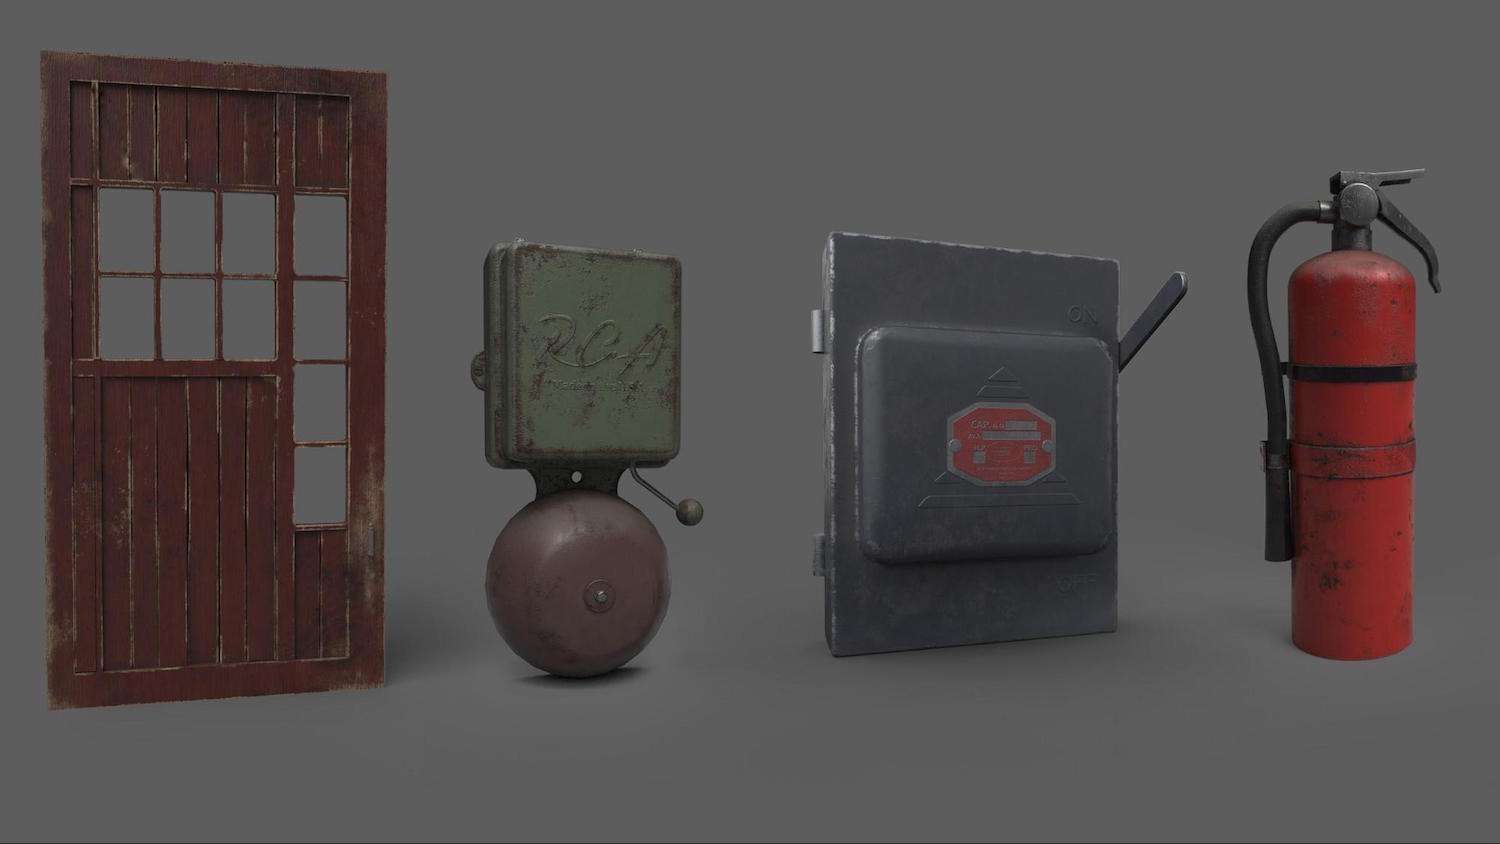
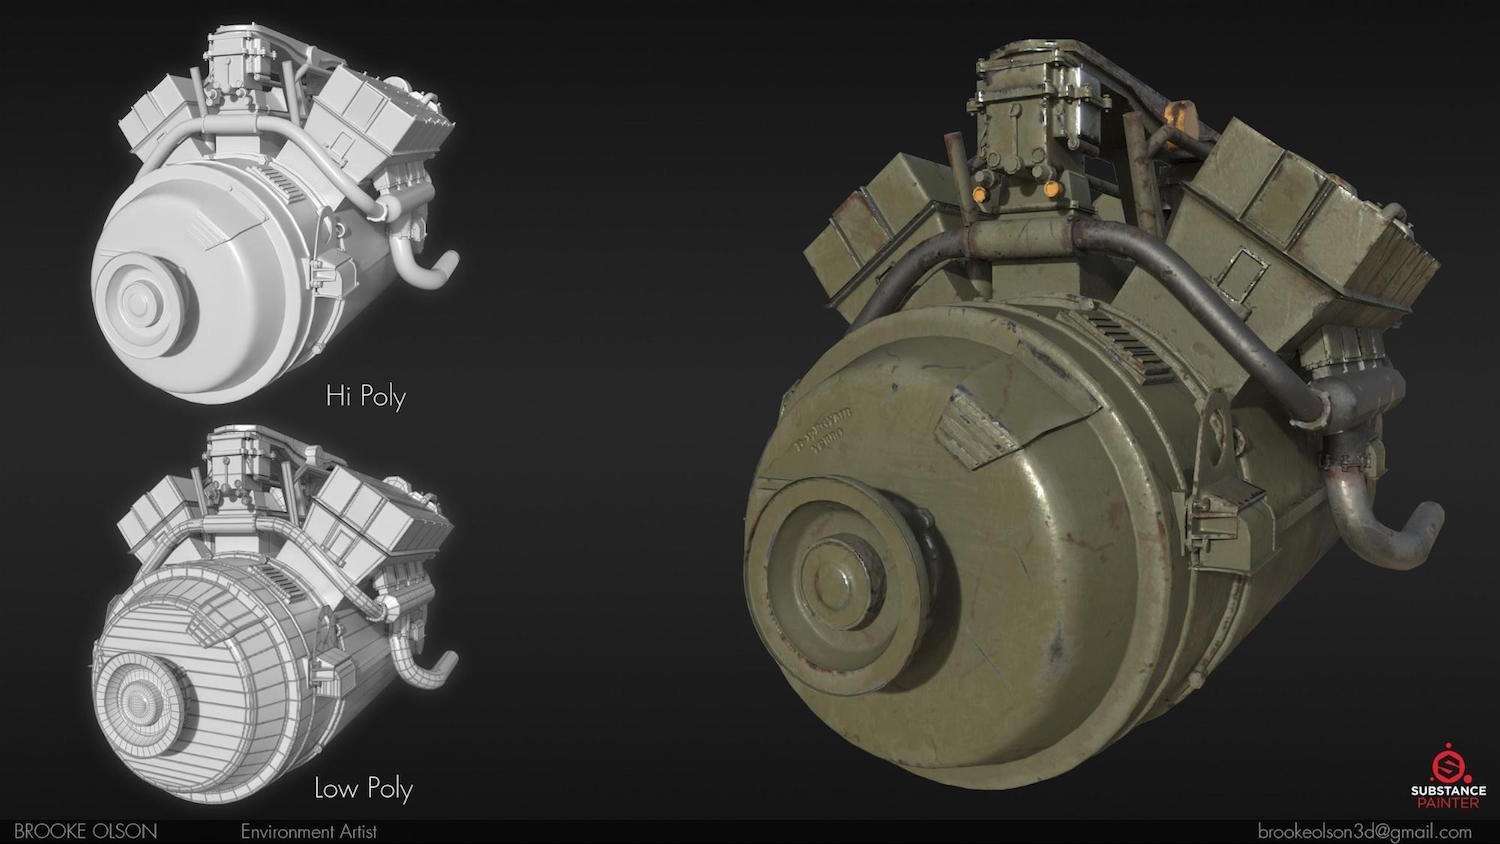
After block out I moved onto modeling assets with more detail and then texturing them. I did a lot of the texturing for the assets in Substance Painter. Most of the assets I gathered reference for and then modeled following my reference.
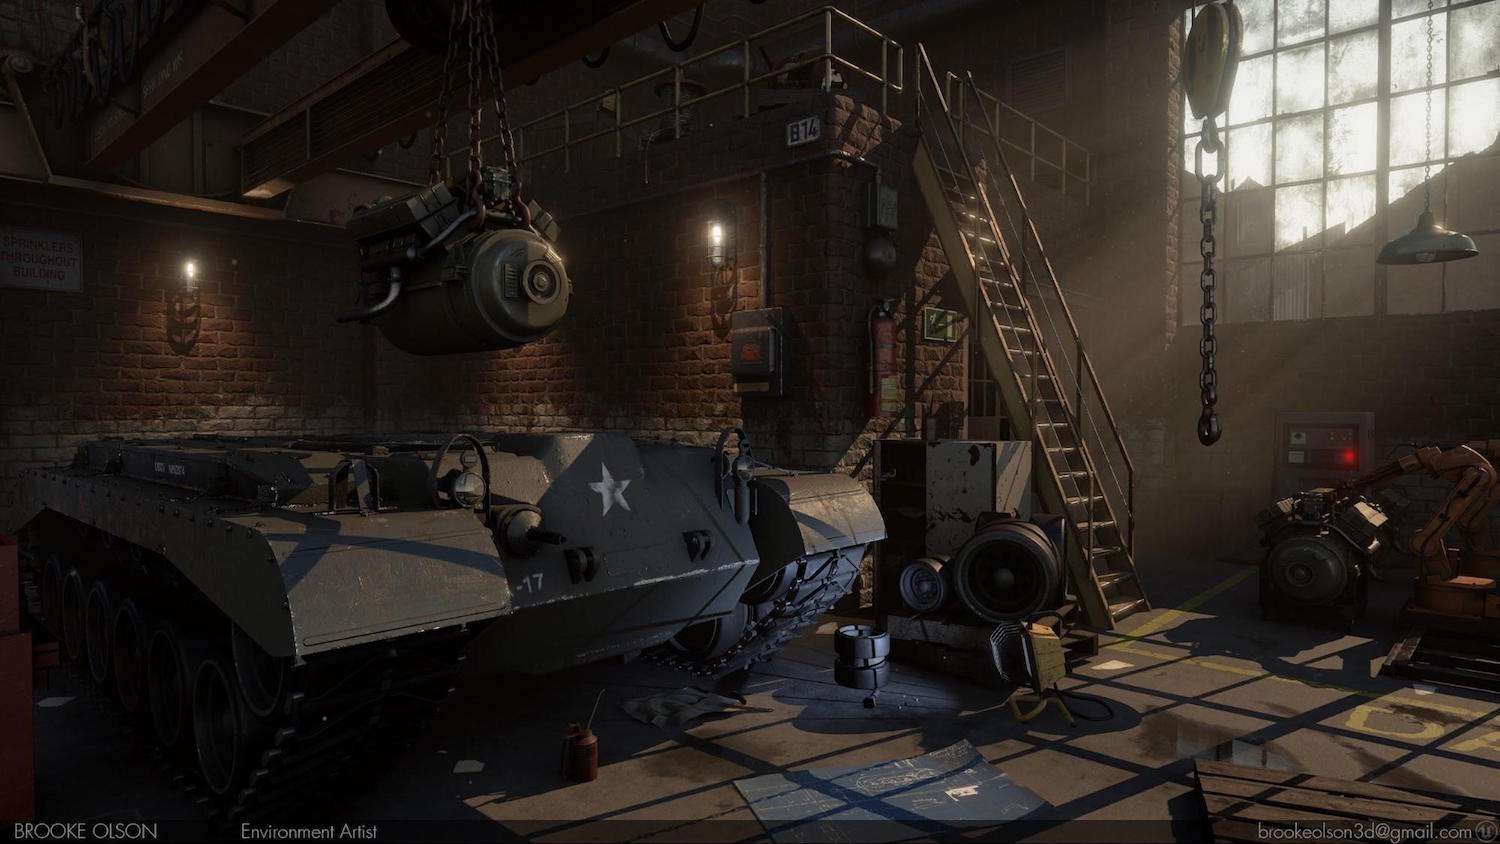
Once I completed modeling most of my props I found myself moving the props in the scene around quite a bit to make it work logically in the environment. I also spent a lot of time adjusting the lighting.
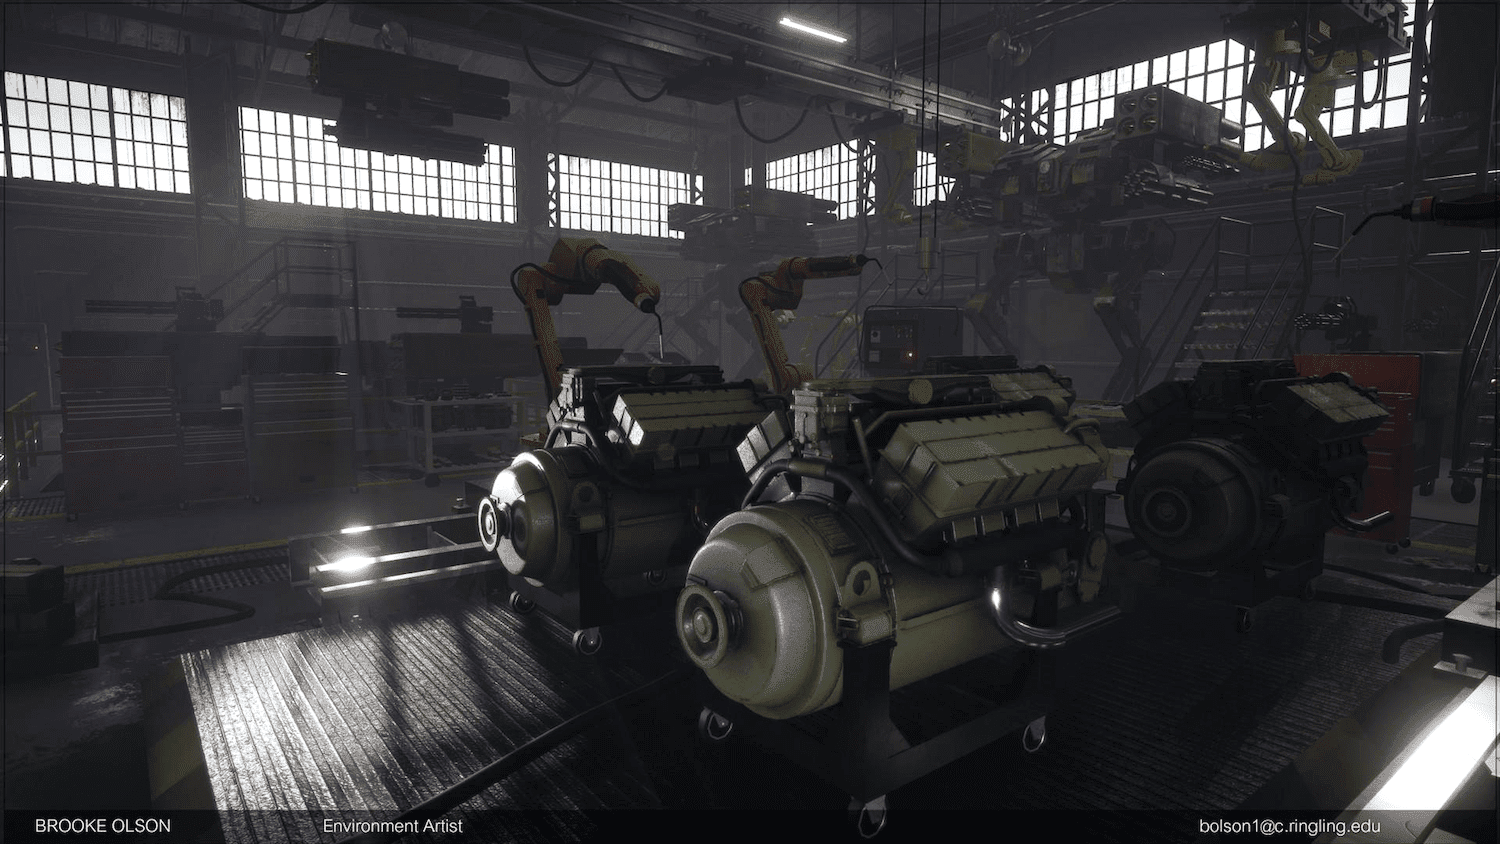
Originally I started with just light from the windows and then later went in and added artificial lighting to draw more attention to the tank and engine.
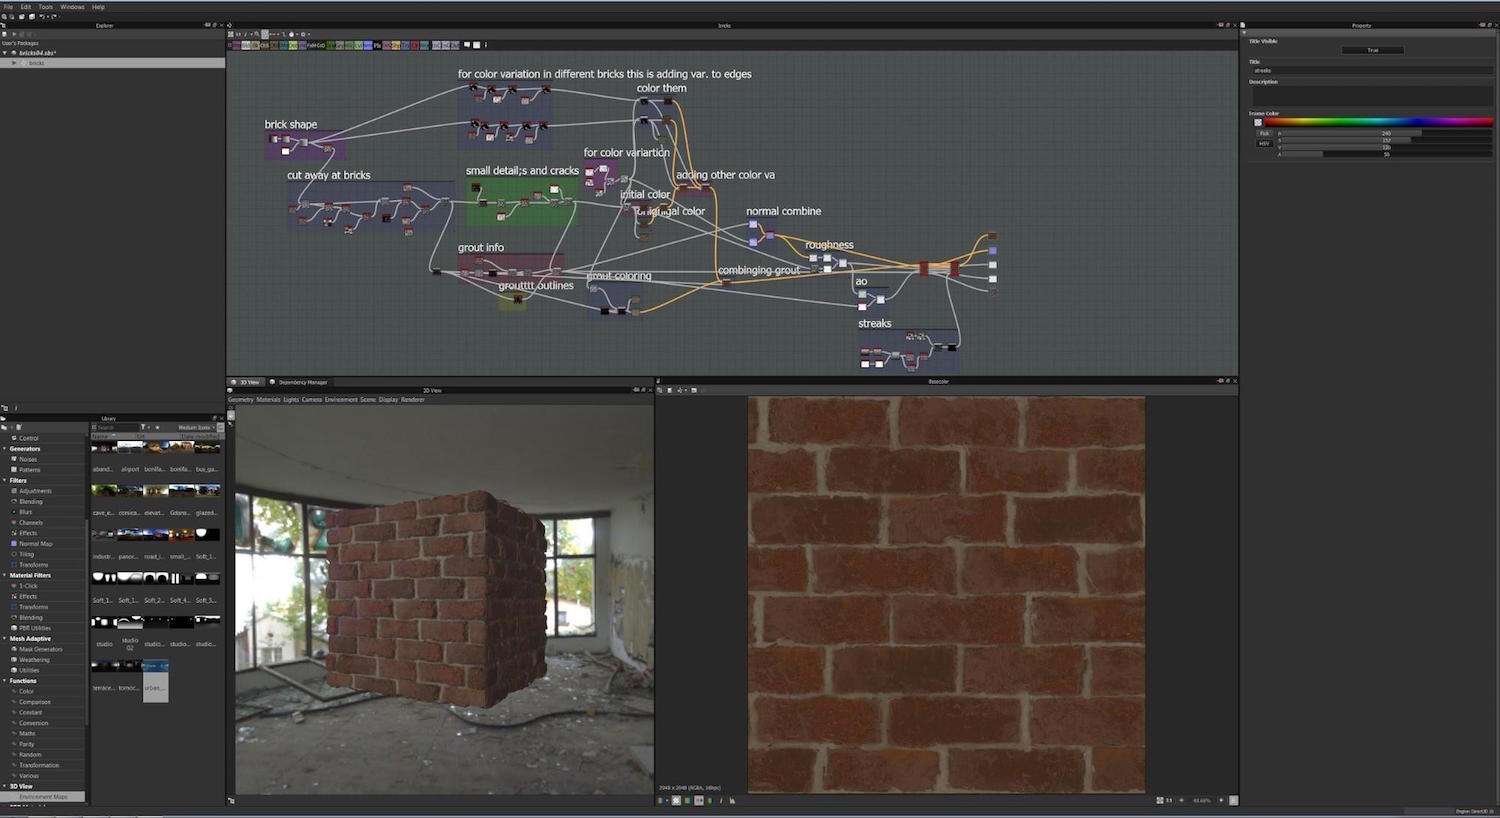
For the lighting coming from the window I added light shafts to add more atmosphere to the scene. I then moved onto some landmark materials, for example the brick. Which was created in Substance Designer.
The cement was a material that had vertex paintable puddles. Then for additional details in the level like the yellow painted lines on the ground, I used decals.
A lot of my last minute touches included editing the post processing in Unreal Engine. I also did passes of grunge on some props, made the windows dirty, and added rust and edge wear to a lot of the props. Which mostly took place in Substance Painter.
I used this project as a chance for me to further develop my skills in Substance Painter and Designer since they are definitely industry standards now.
Substance Painter and Designer are both very powerful programs that can drastically help improve any project.
Final Render