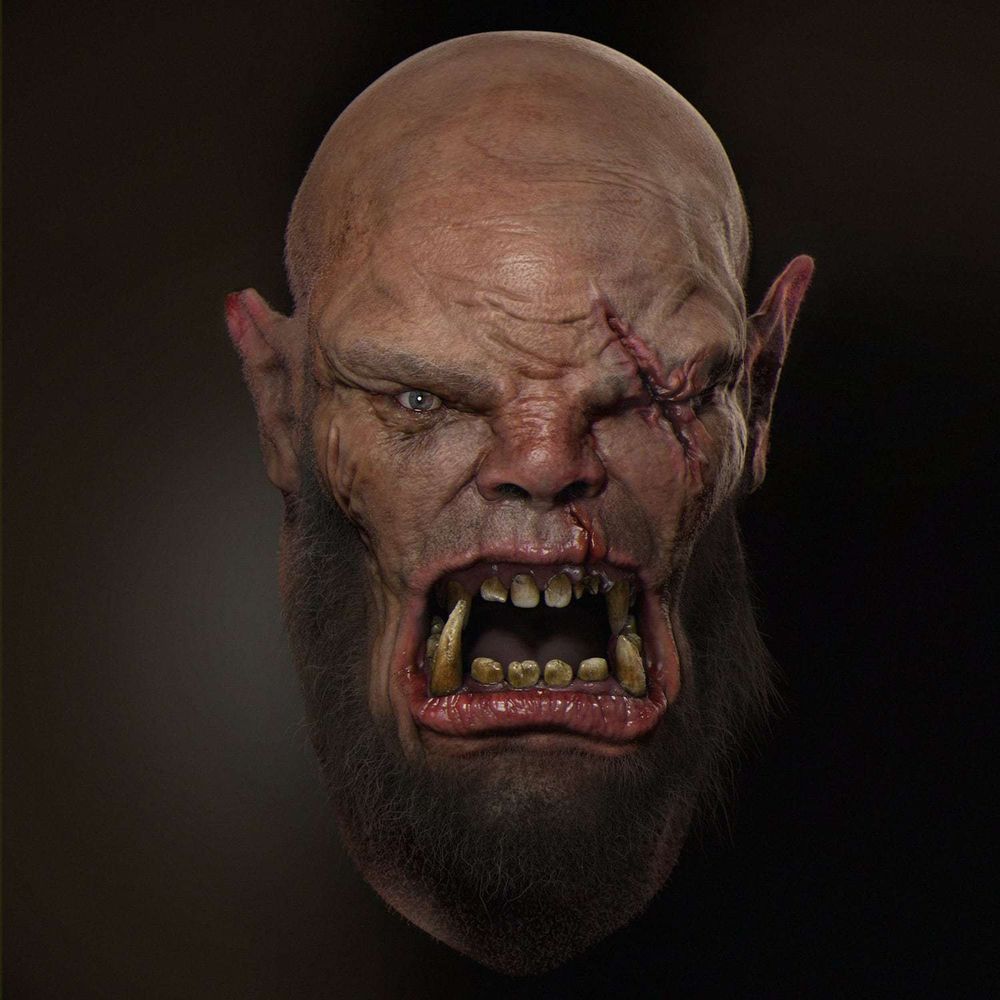

Before I start any project, I always like to have a back story. By having a back story, it allows the project to come to life and gives you information and detail. I believe this is one of the things that brings any project to life.
I simply start with 2 phrases: War Hero and Warrior Turnaround (A hero that turns a crisis situation into a victory). These phrases made me start to think about different ideas eg iHow many scars should he have, which part of his face would it go on? Are the scars from swords? Arrows?….etc… this thinking process gives me something to work with.
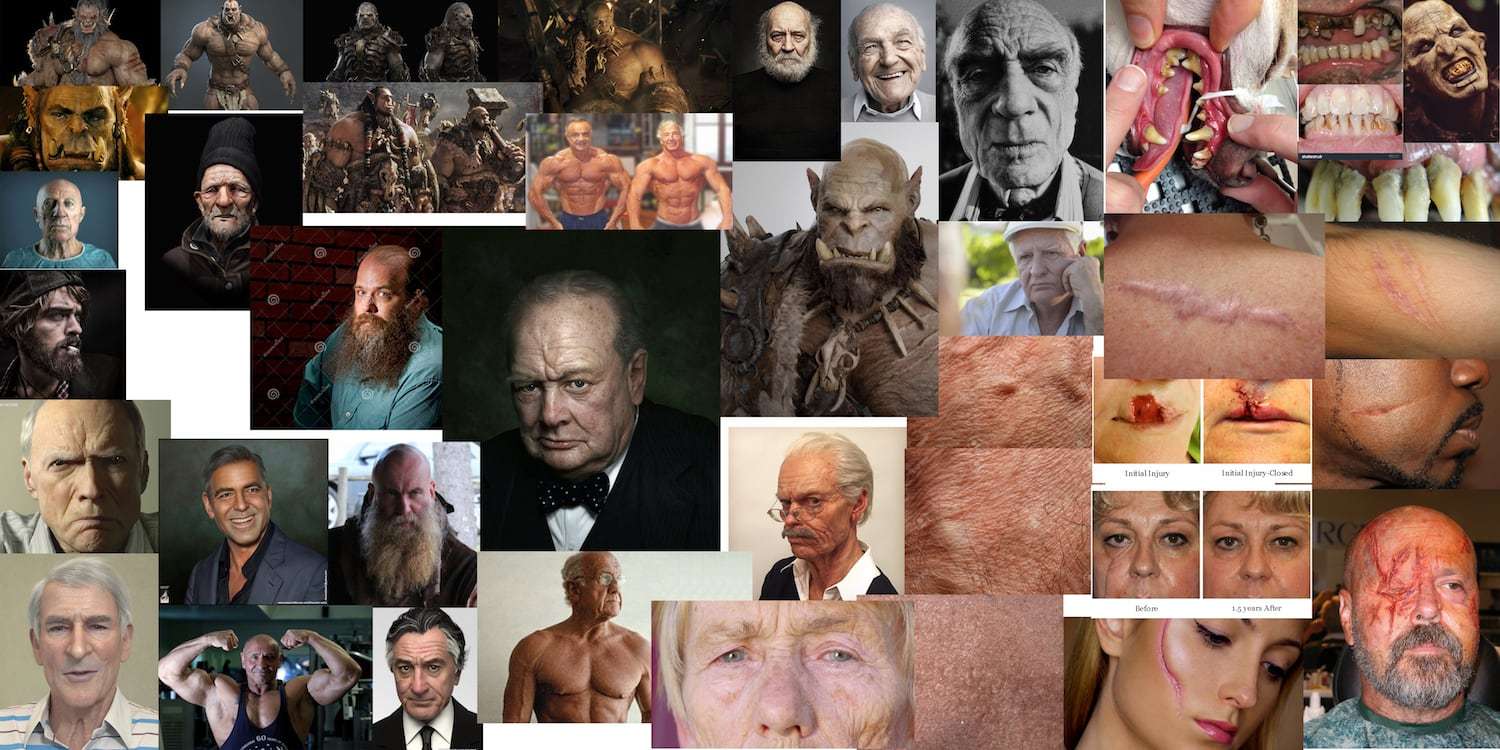
Finding references.
My instructor, Craig.L.Stevenson, always said, “reference is king!”
For me, finding reference can take whole day. It’s best not to rush this process and it’s not just about collecting high-resolution images, this is where you start to tell the story through visual imagery. The more vivid the image is, the better.
As artists, we always need reference to better our own visual libraries.
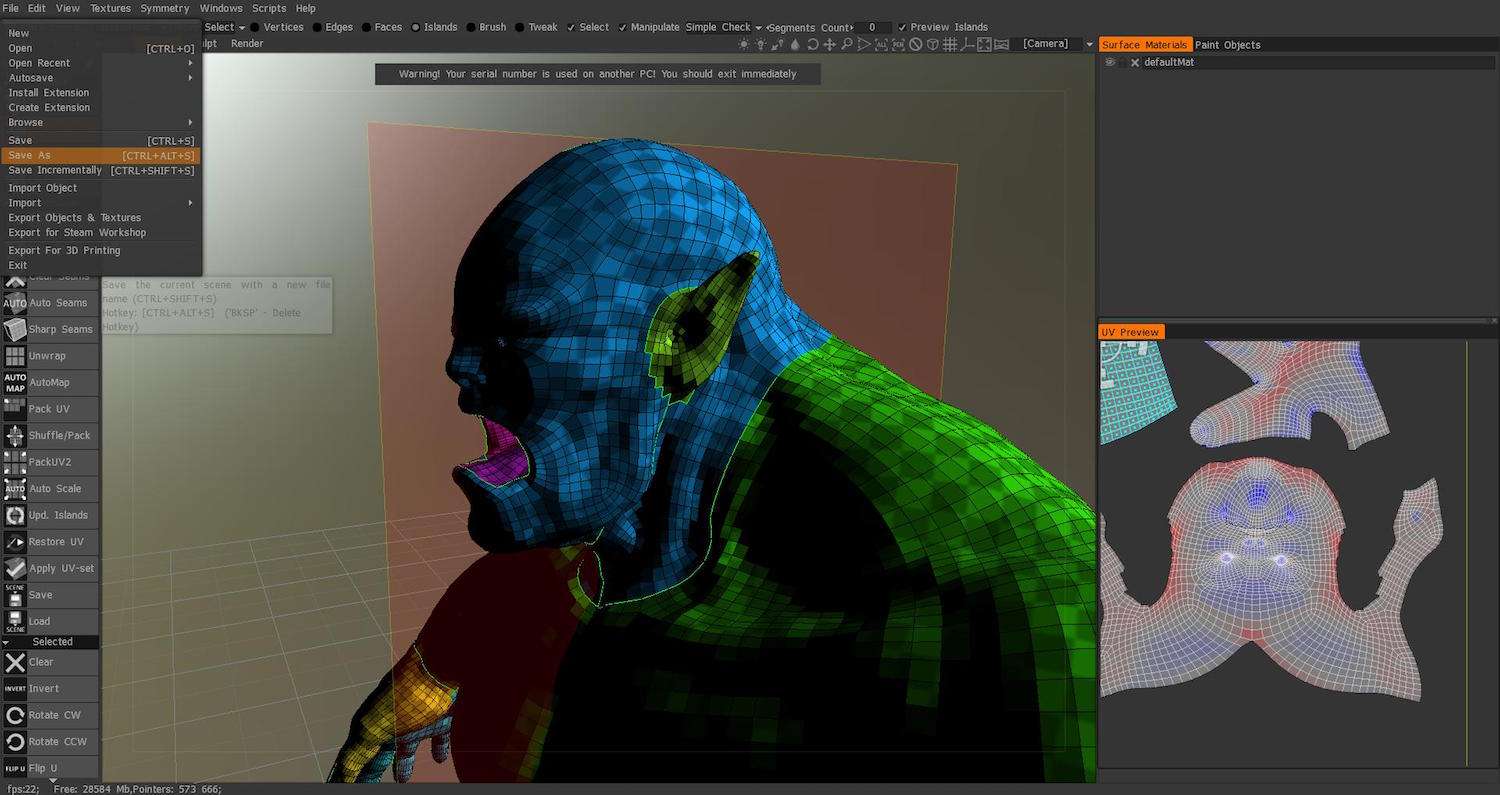
UV and modeling.
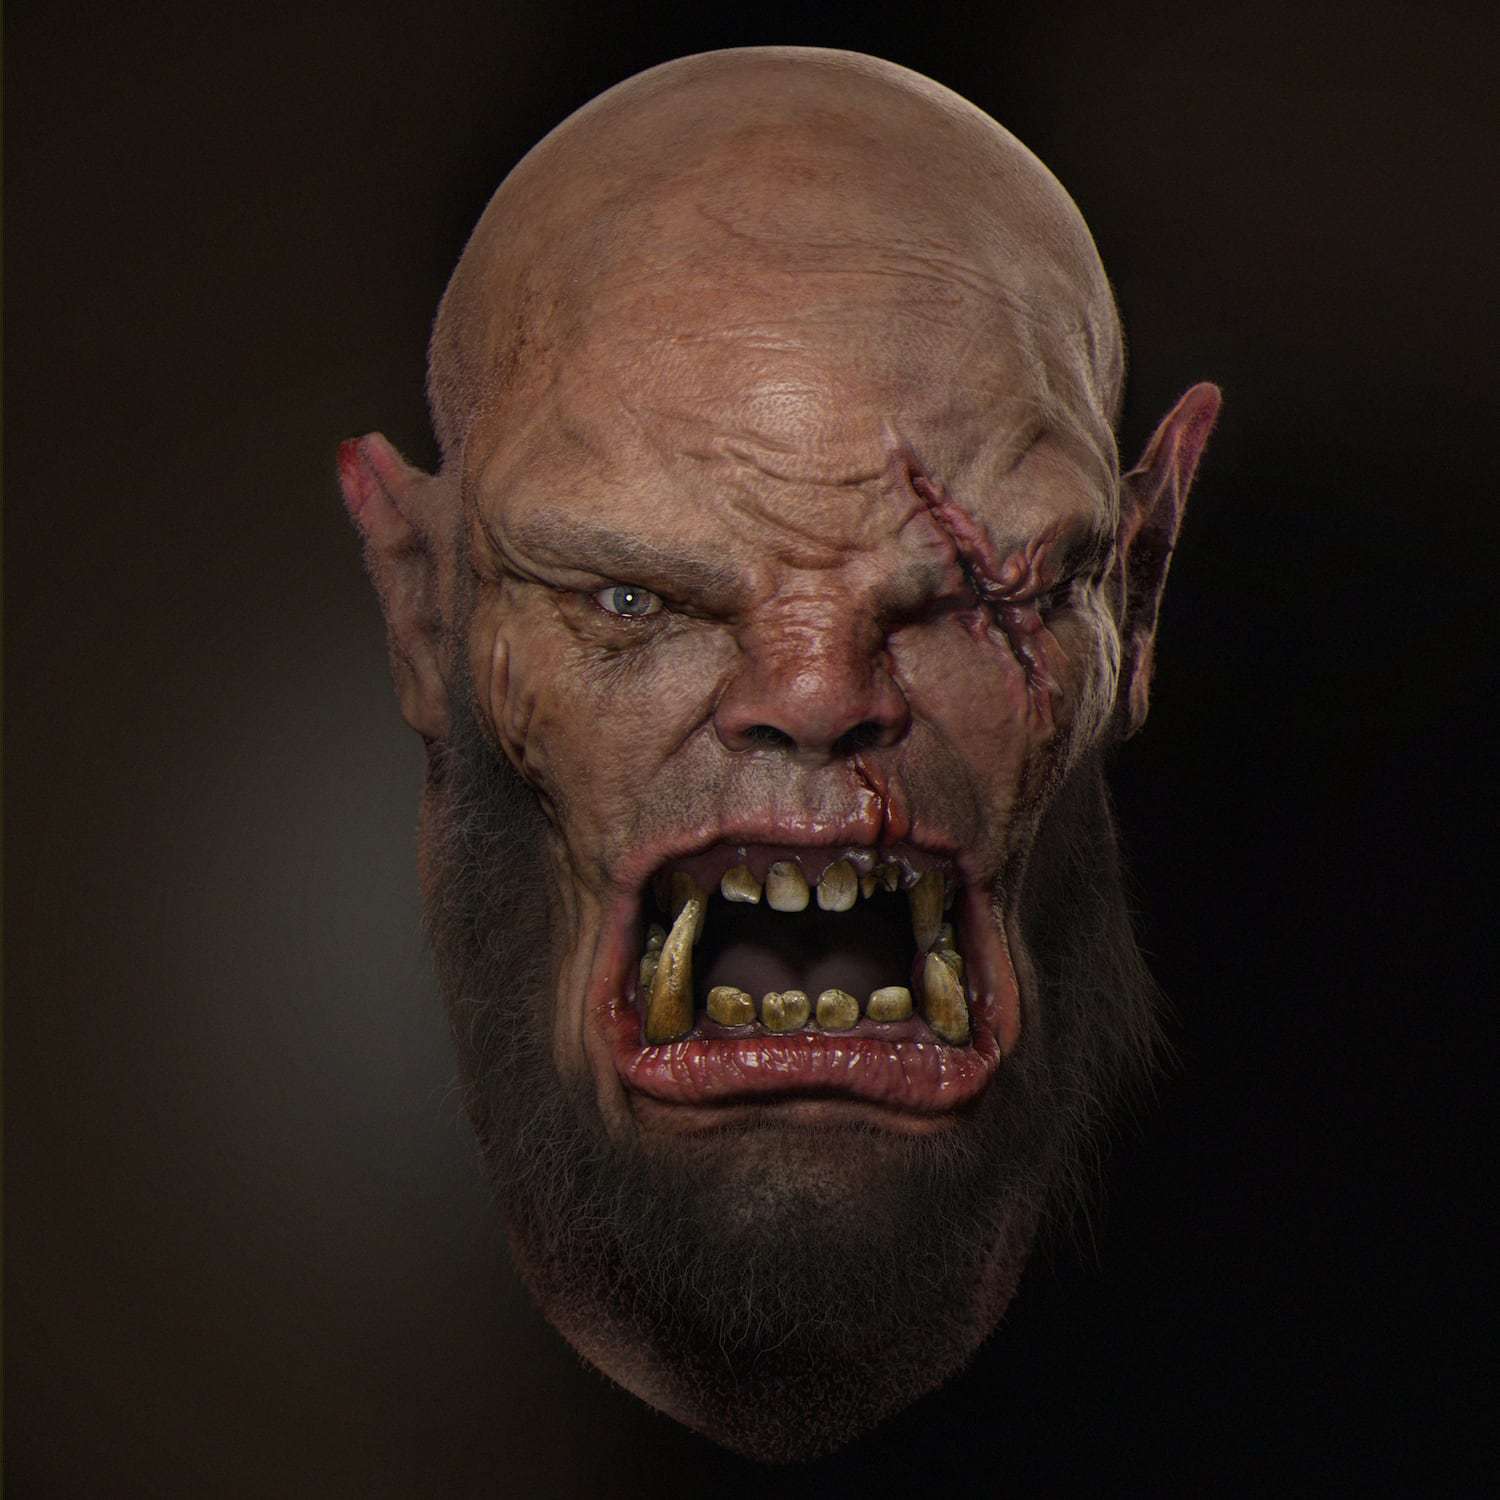
Before I started the modeling stage, I used 3dcoat to unwrap the Orc’s head and brought the mesh into ZBrush for sculpting. While I sculpted his head, I kept thinking about the story of the Orc, Because in real life every scar has a story, and this thinking process really helps me add details of sculpting to the next level.
For example the scar on the Orc’s lips, it was almost healed, but it left marks which ran very deep, this means when this happened, his gums and teeth would have been damaged too. This kind of thinking process led me from one detail to another.
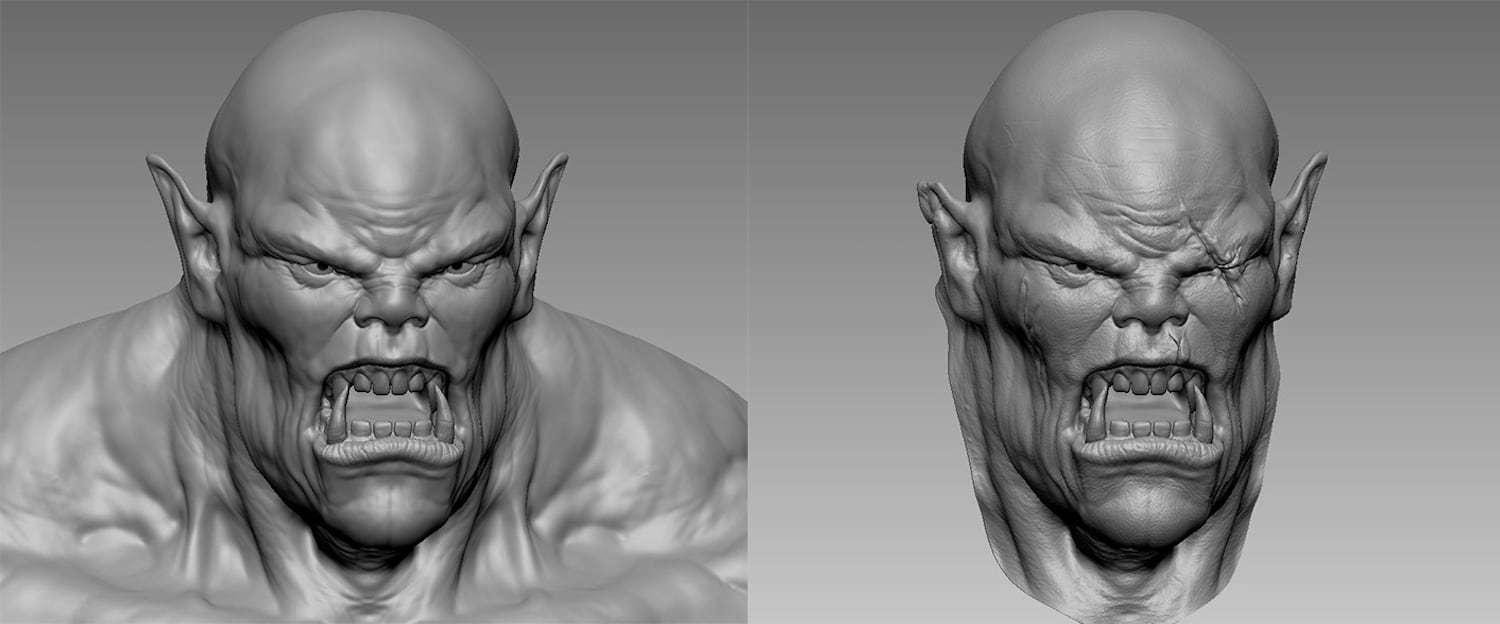
Three important things to add for realism: Asymmetry! Displacement! And Specular!
For every scar detail, I used standard brush clay tube brush and dam standard brush with a lot of alpha. And spray brush to get sculpt in scar, bit more of secondary face detail.
For the fine skin detail, I used images sourced from Texturing XYZ.

Secondary modeling process
After the projecting the displacement map onto my model using Texturing XYZ, I still needed to sculpt more details that I wanted, and also fix the minor flaws.
According to my instructor, there are three important things in realism which is: Asymmetry! Displacement! And Specular! At this stage, I was focusing on making an asymmetrical face. I tried to break small wrinkles and facial muscles. It was very subtle change but it helped a lot. After that, I realised my Orc had no tongue, I got so caught up with other detail, I almost did forgot!
ZBrush to Maya
After I found a good amount of reference of human/Orc skin. In ZBrush I baked out a displacement map, specular map, and albedo map. I used cavity mask and depth brush to make the base of specular map and later on I baked AO map and cavity map than I brought all 3 maps into photoshop to make a specualar map that will give me more accurate results., And for texture map I used polypaint + spotlight.
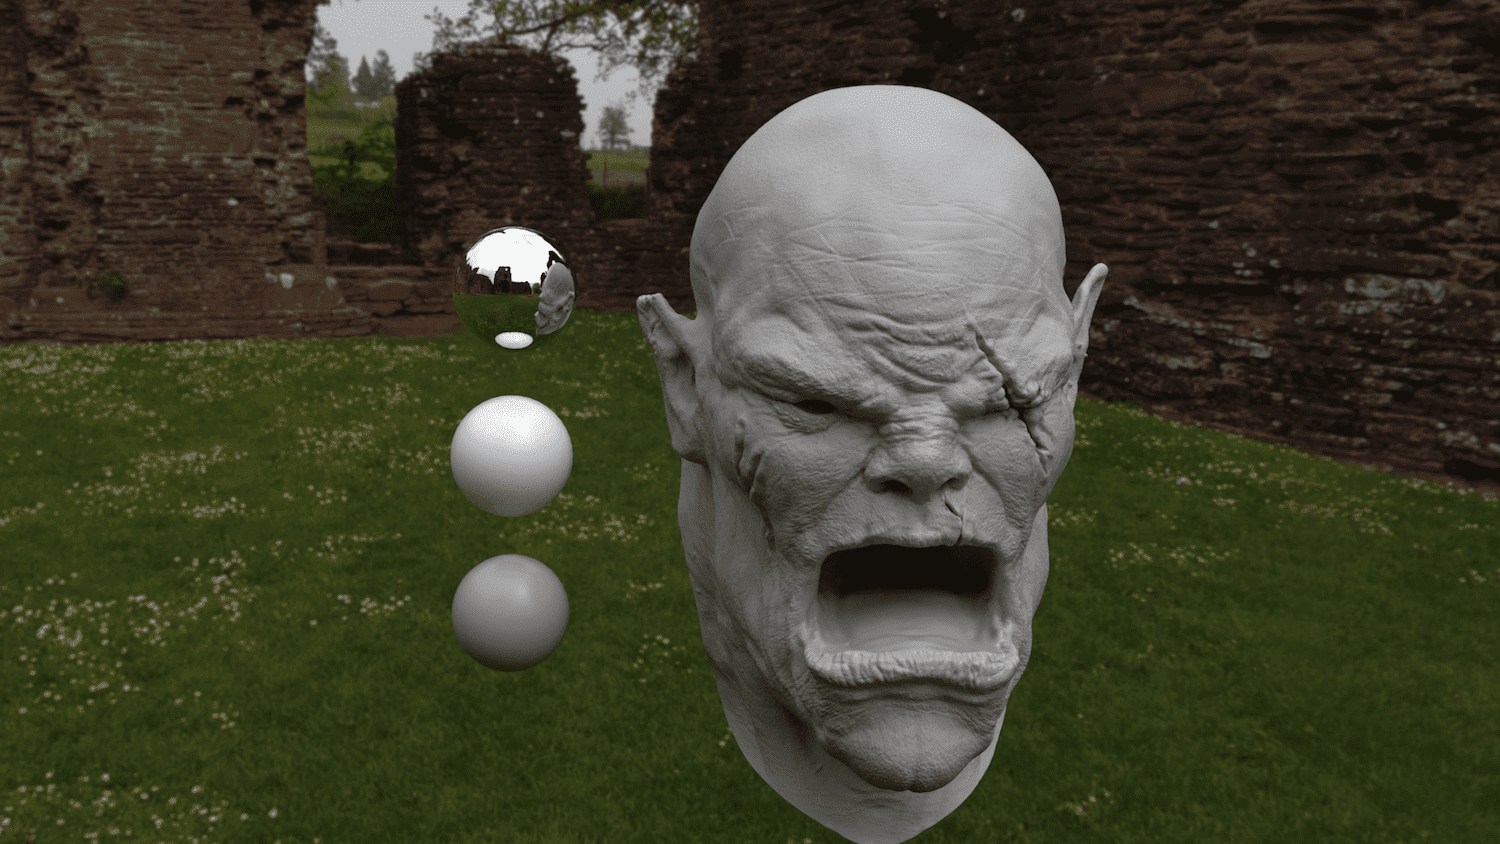
Then I brought my model and displacement map that I generated in ZBrush into Maya, for test render. I used alSurface shader (which you can downloaded for free online). After I tested the displacement map, specular map, albedo map, the next step was creating the hair.

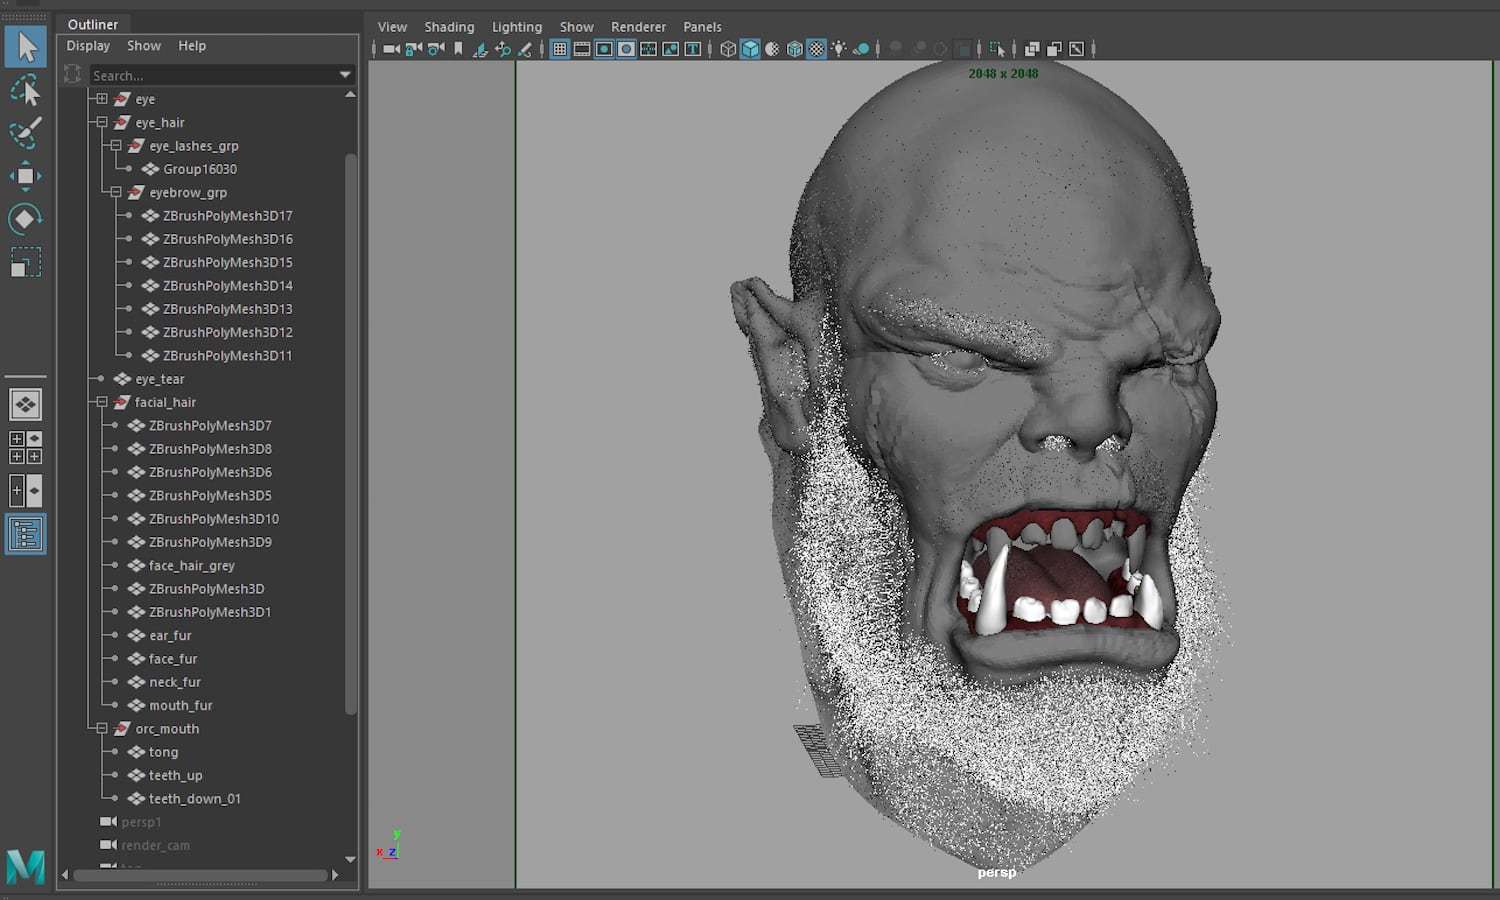
Fiber mesh
This Warrior Orc was experienced, healthy, but old, so I did not want to let him have hair on his head. I decided to make a beard, eyebrows, eyelashes, nose hair, hair inside of ears, and some fine thin hairs on his face and on top of ears.
While I was working on this project I was learning Xgen but I wasn’t really comfortable with it, so I decided to use Fiber ‘mesh’ for this project. I divided the beard into different groups and applied different colors, lengths, and transparency to render it more realistically.
Lighting
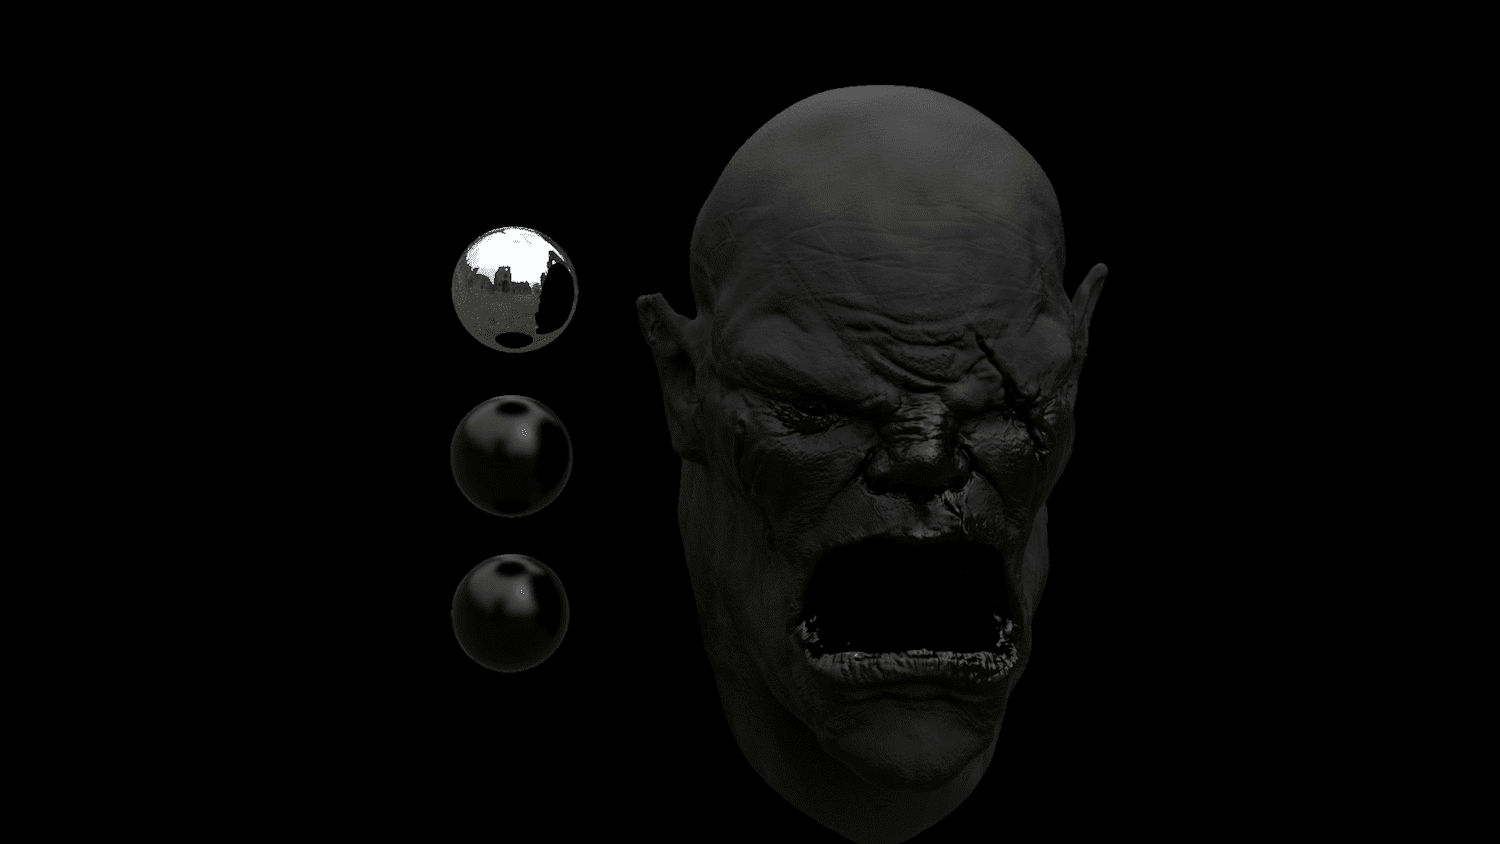
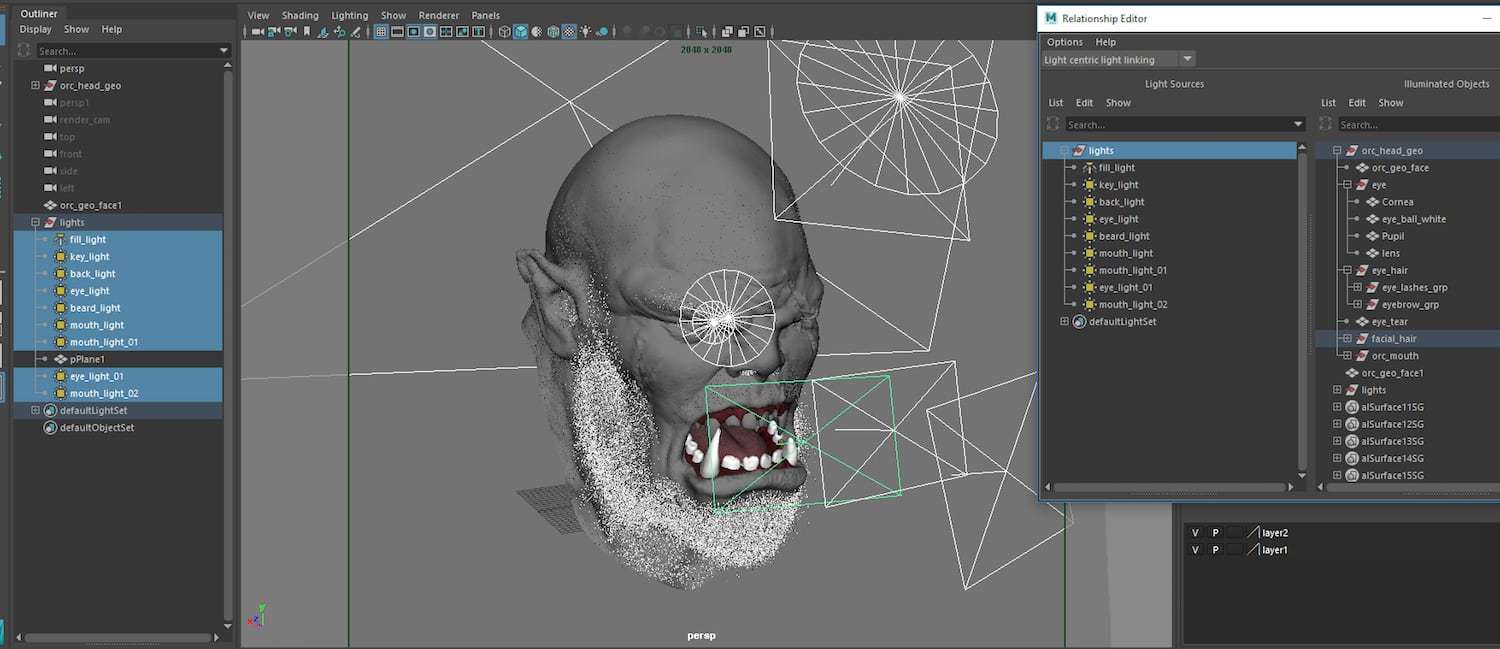
I used HDRI only for test rendering. For the beginning stage I used one key light, one fill light one back light, but eventually I needed to create a lighting for each mesh to get the result that I wanted. Maya light linking was a great tool for the lighting.
For the background, I put a light brown wall to create subtle gradation because solid black wasn’t really as appealing. Then I brought my rendered AOVs (Arbitrary Output Variables) into Photoshop, and I did some colour correction, adding lens distortion.

 Conclusion
For this article, I wanted to talk more about the importance of spending time on gathering reference, and the power of having a back story.
I want to thank The Rookies for this great opportunity, and I want to also thank 3dsense Media School and my classmates for their great support, my instructor second to none: Craig.L.Stevenson, and thanks to YOU!