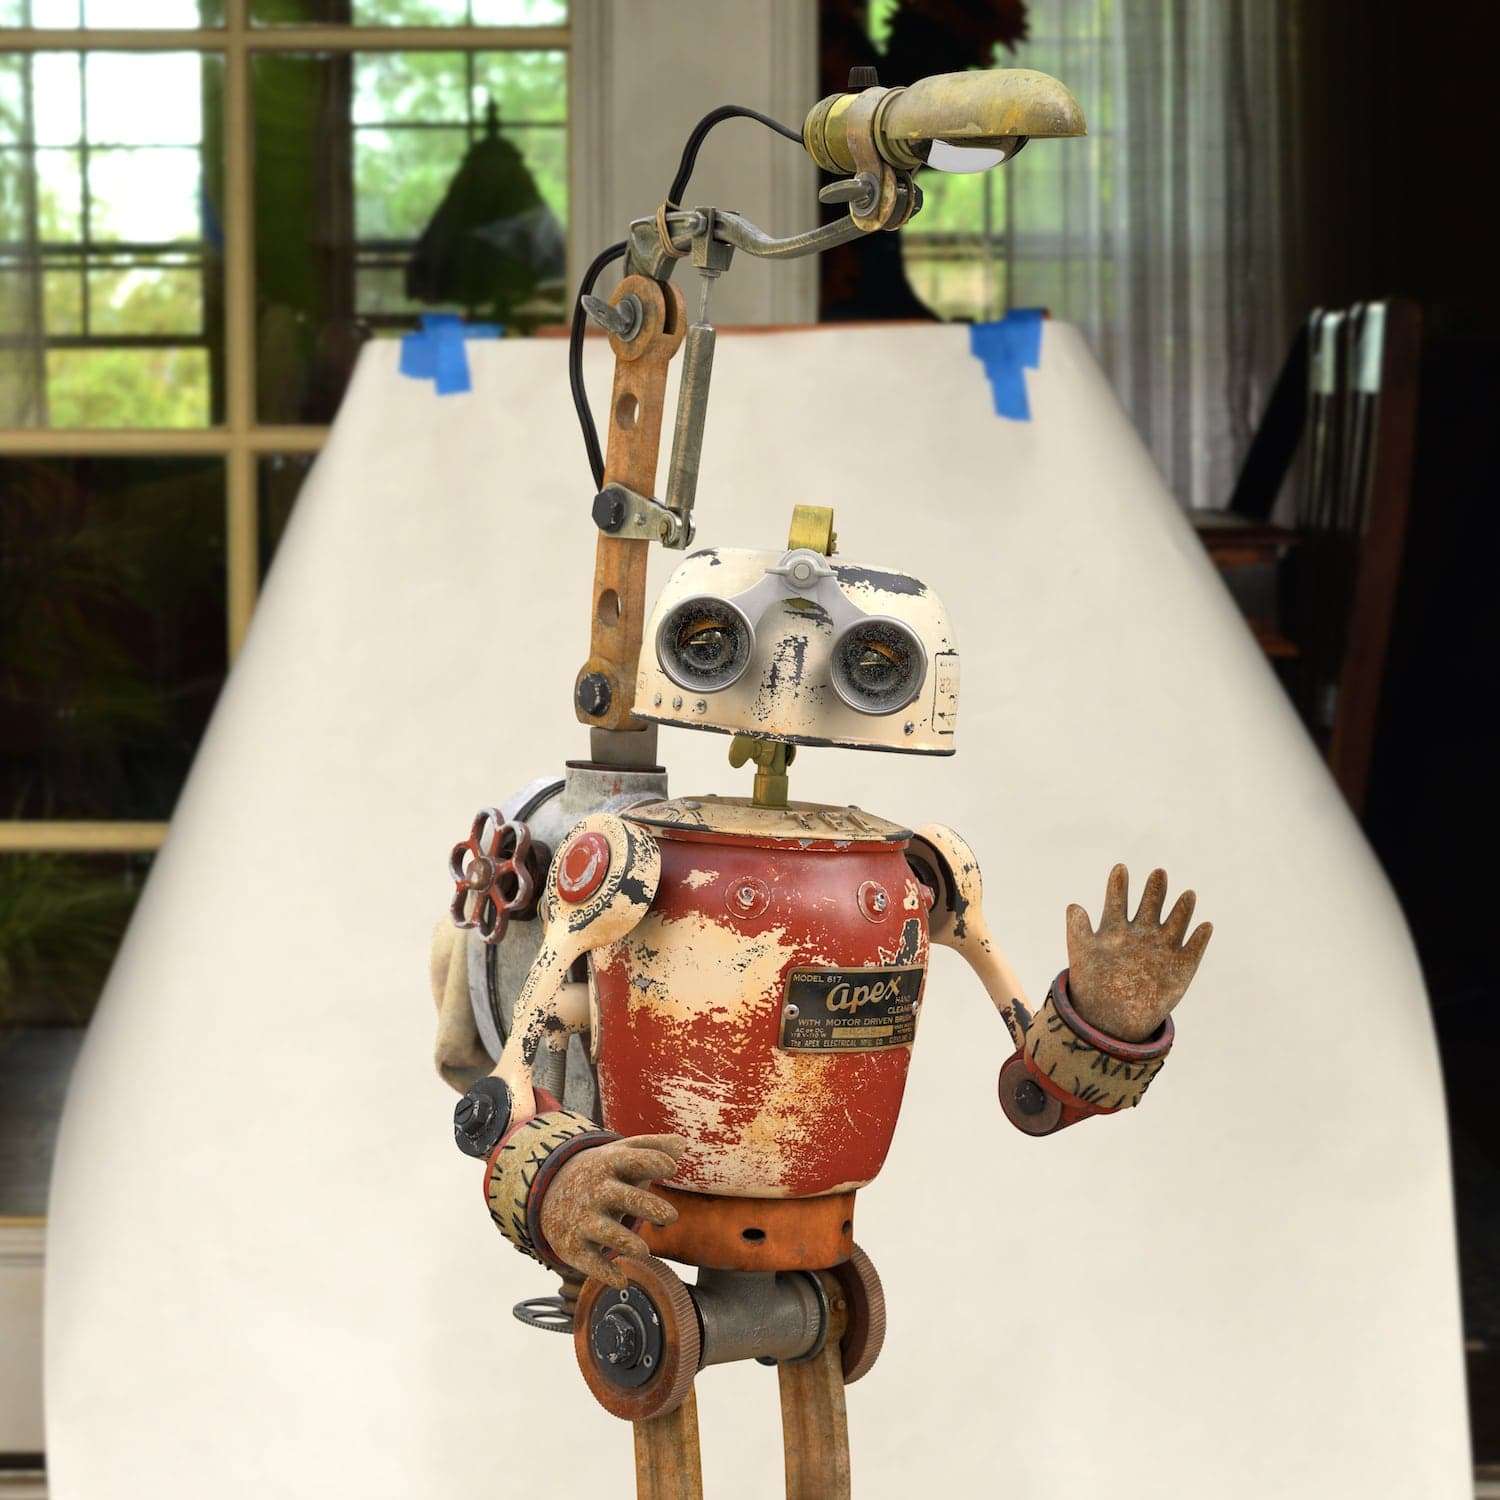
This 3d texturing guide I did for my demo reel started with me contacting Dan Jones, the artist who did the original robot sculpture. I asked him if I could digitally recreate one of his robots called Apex; to use for my demo. He agreed, so I flew to California to meet him. I was lucky to be able to take photos and shoot video from the original, which is a luxury you don’t usually have when working in a big production.
 I was responsible for modelling, texturing, lighting, shading, animation and compositing… basically everything!
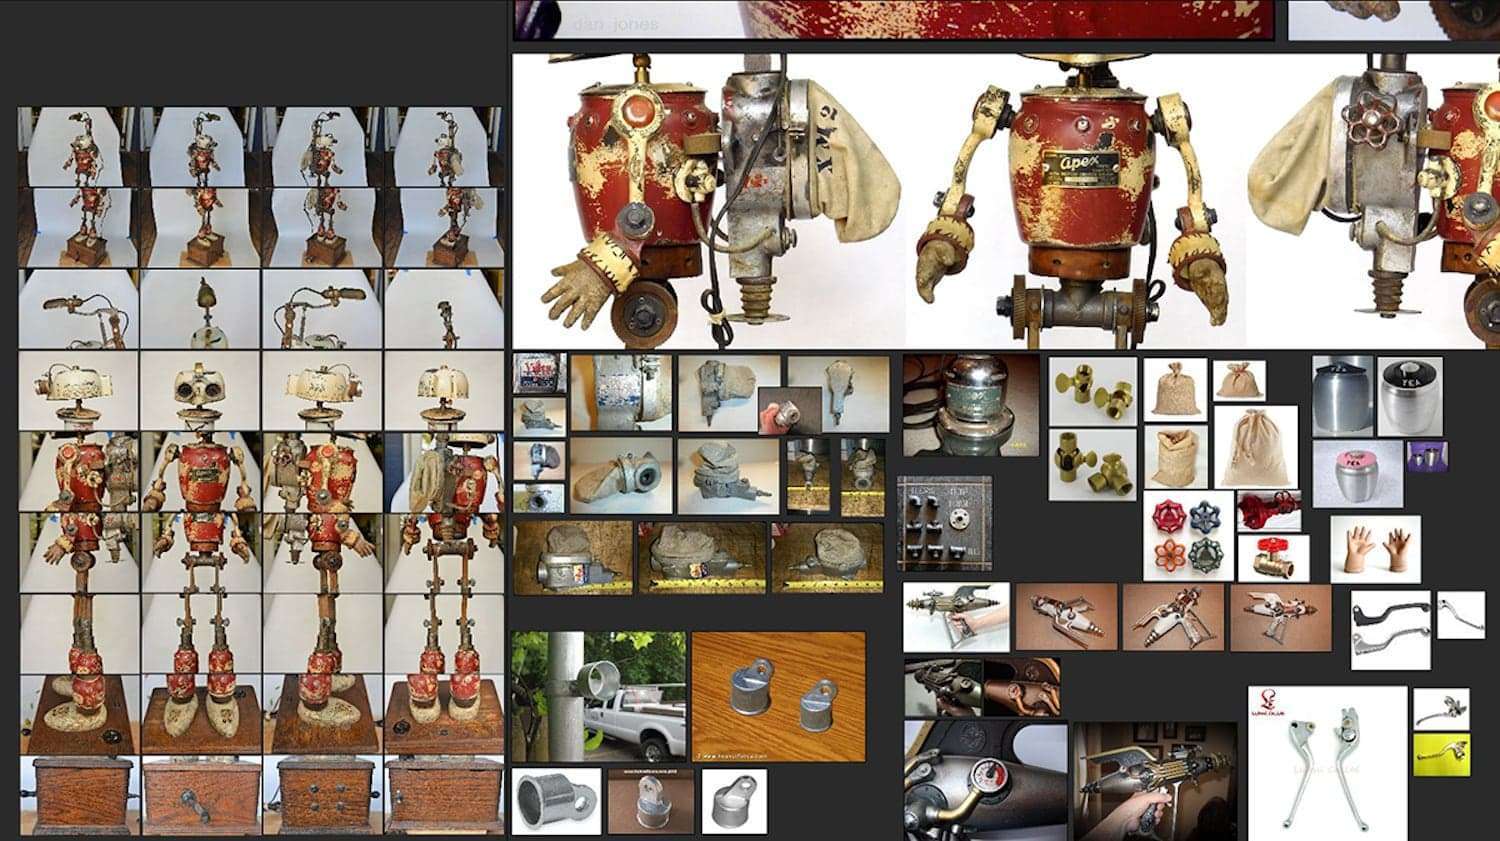
Photos are essential in order to create masks for projecting details in Mari, so choosing the right lens was extremely critical. I also gathered references for the different parts and materials to help me with the modelling and look dev.
Modelling
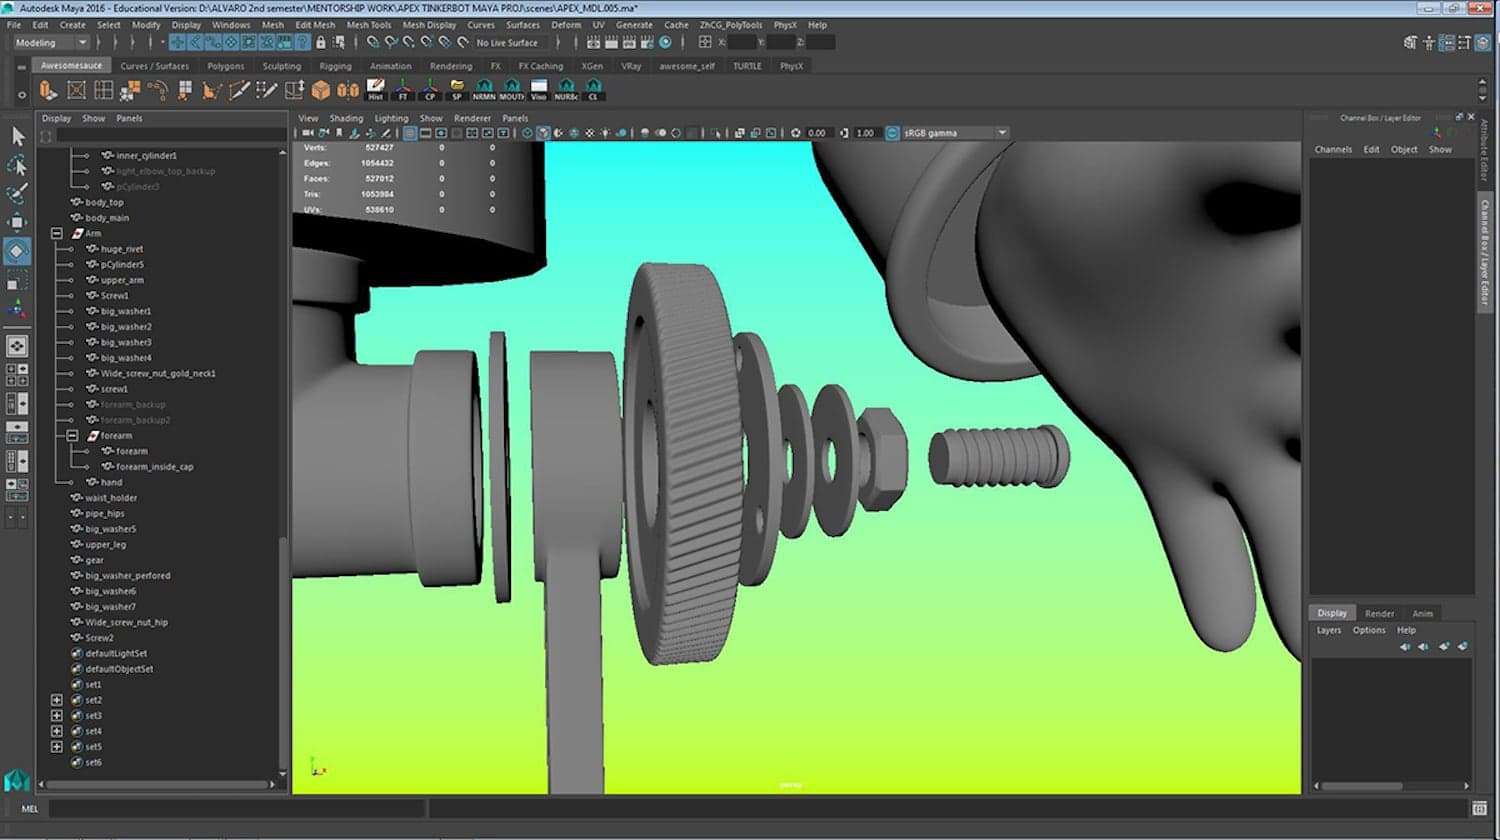
After gathering the reference material, I was able to start modelling APEX. This part was fairly straight forward – trying to make sense of topology in every moment and keeping an eye on the volumes and shapes.
UV Unwrapping
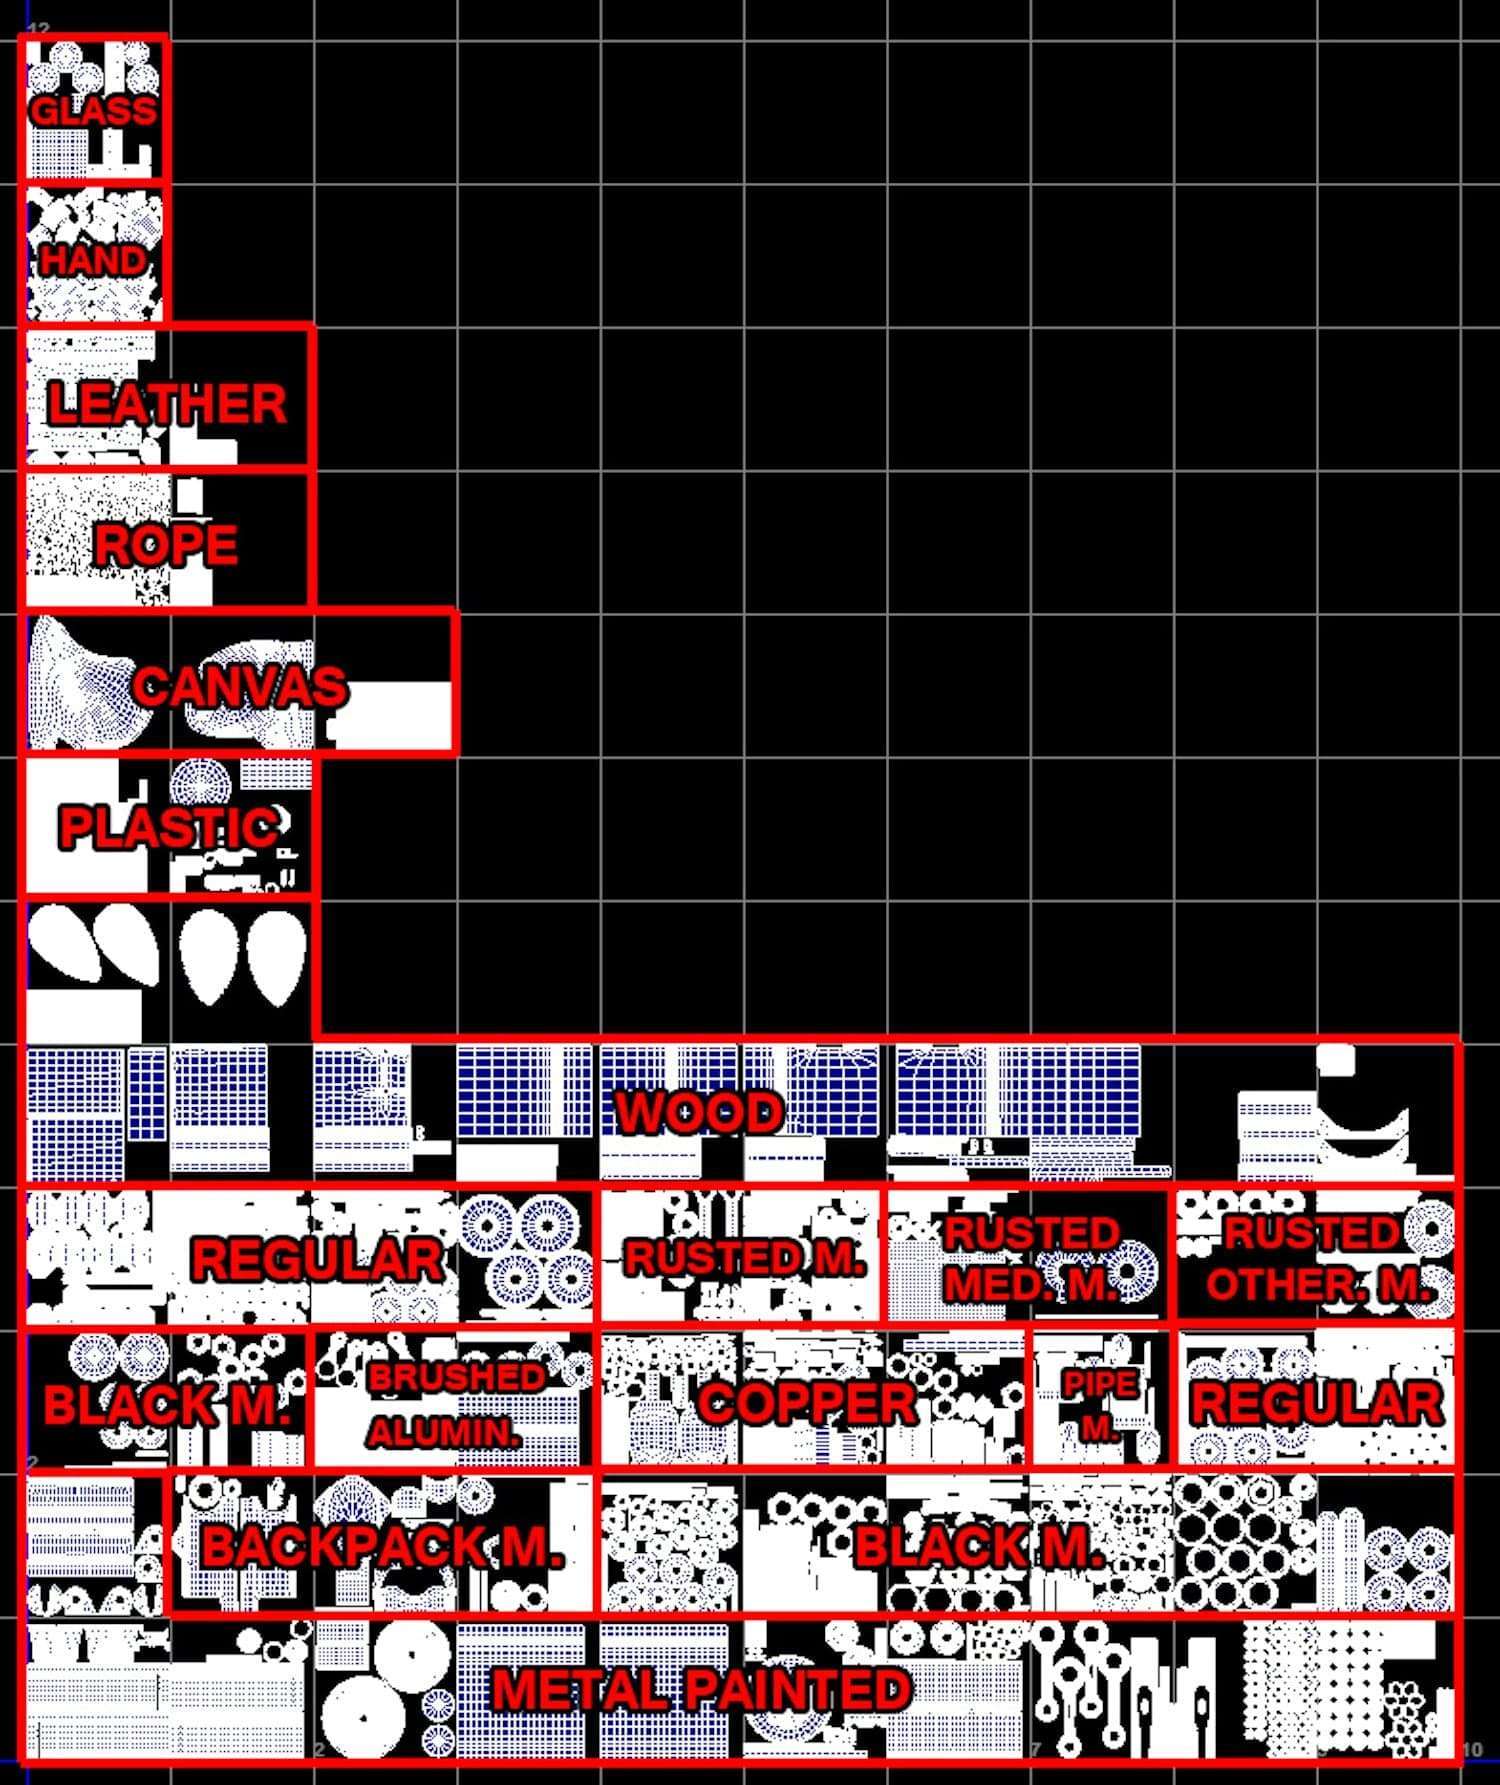
Unwrapping the UVs, I grabbed a cup of tea (no, beer as it doesn’t make you more productive) and listened to my favourite music with a good pair of headphones. I like it, as most of it is a mechanical process, but there is a fair amount of problem-solving. It takes some time, but it’s a crucial step for preparing the mesh for texturing. There are many things to consider, like how much resolution will you need depending on the size on screen, proportion consistency among meshes, and the orientation in the UV space.
In my case I distributed all the parts across 63 UDIM tiles, ordering them in rows by the material. All maps are in 4k.
Texturing
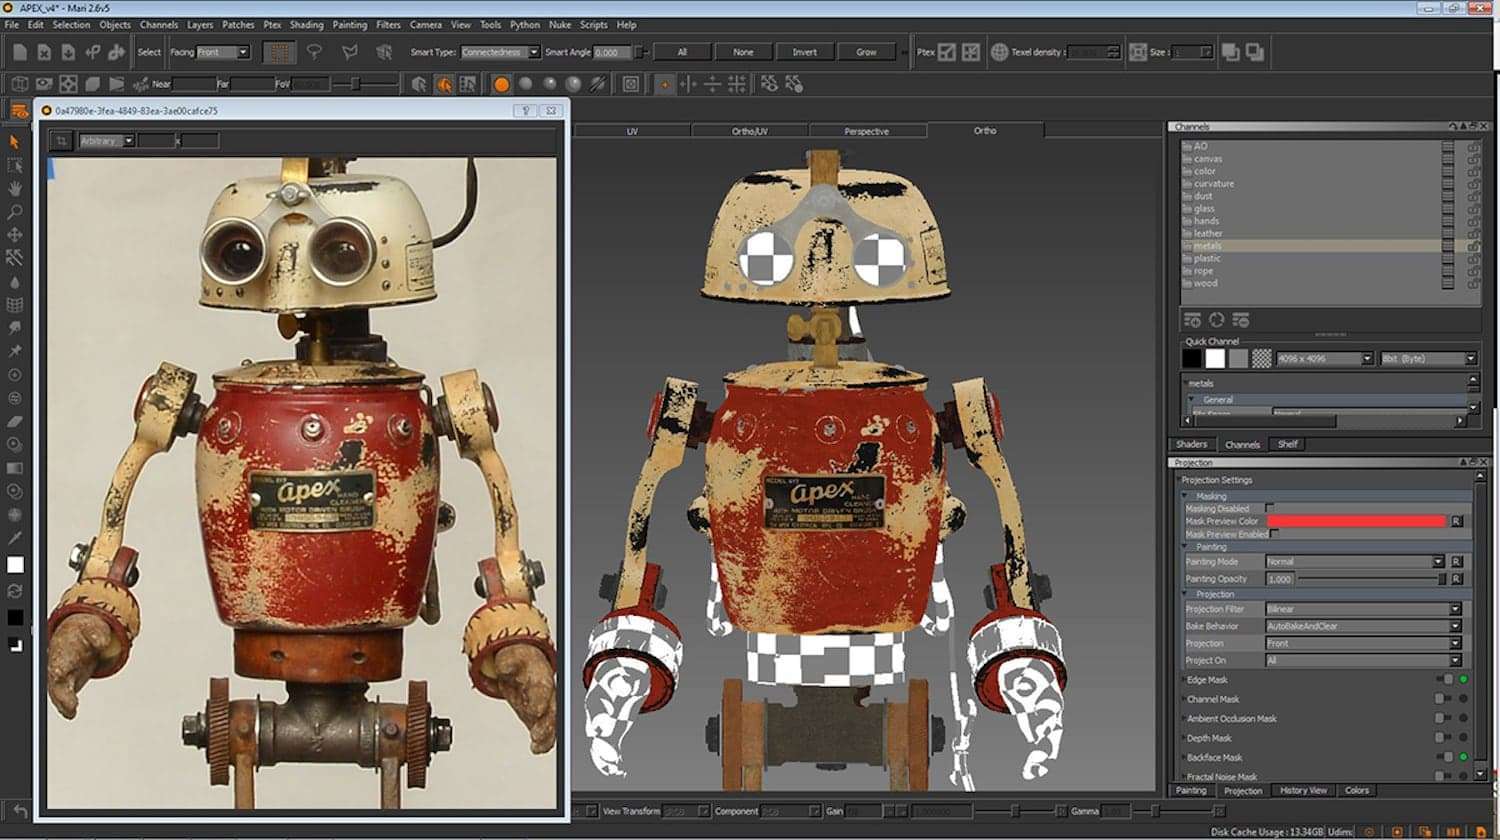
Now my favourite part of the whole process: texturing. I used Mari as it’s the most widely used texturing software in the movie industry. Plus it works like magic and allows me to work in an organised and non-destructive way.
My workflow involved creating multiple channels for every material including diffuse, specular, glossiness, and bump. Some of the objects in the scene, like the main body piece, have four different layers: an aluminium base, black patina on top of it, and then two more paint layers – cream and red.
It is very important to plan in advance for this! I had to create multiple black and white masks in Photoshop to achieve a layering similar to the reference.
Rendering
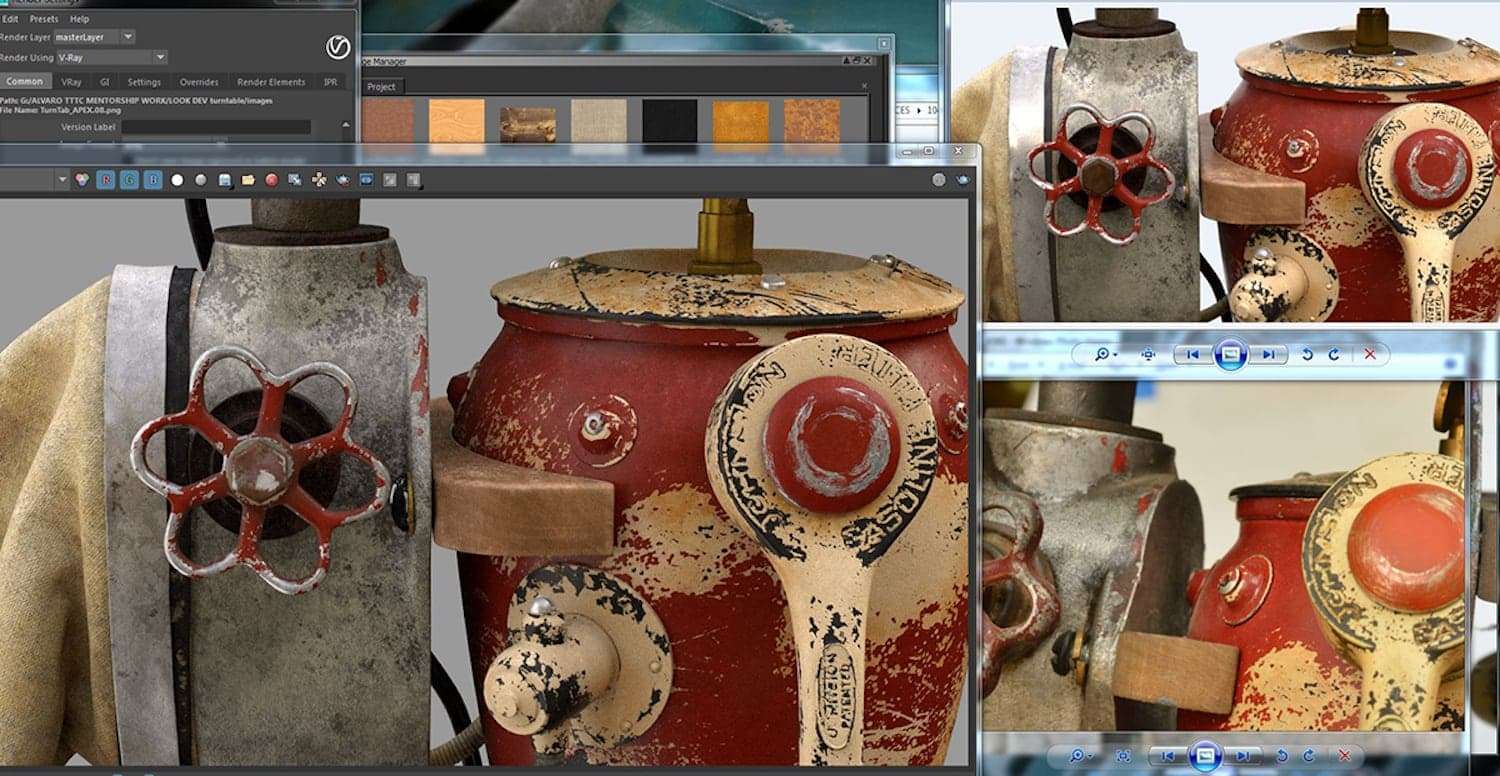
For APEX the Robot, my renderer of choice was V-ray. It’s pretty heavy on the technical side, but the quality you can achieve makes it worthwhile.
For the shaders, I used both simple and blend v-ray materials to plug my maps into. APEX has metals, wood, plastic, fabric, glass, and many other materials.
Lighting
I used a classical set-up: an HDR very similar to the location where I took the photos, and a couple more area lights to highlight specific points ever so slightly. I also created a white backdrop to bounce light on the back of the figure, as I used a real one whenI took the photos in San Diego.
As I needed the light to bounce from the backdrop into the back of the robot, I had to use GI (Global Illumination). For this, it came in very handy to cache a flythrough pass on the very first frame of each camera and then load it for the rest of the sequence. It worked like a charm!
For the image sampler, I went with adaptive and kept an eye on the subdivision threshold. I was lucky to count with more computers, so I used distributed rendering and lowered the render time from 70 to 10 minutes per frame.
Compositing
Once all the renders were finished it was time to comp all the passes in Nuke, one of my favourite pieces of software. A slight colour adjustment, defocus, and a background did the trick perfectly.
It’s always a pleasure to work with Nuke, as the possibilities are endless if you have the proper render passes. In my case, I had the renders in multi-map open exr files.
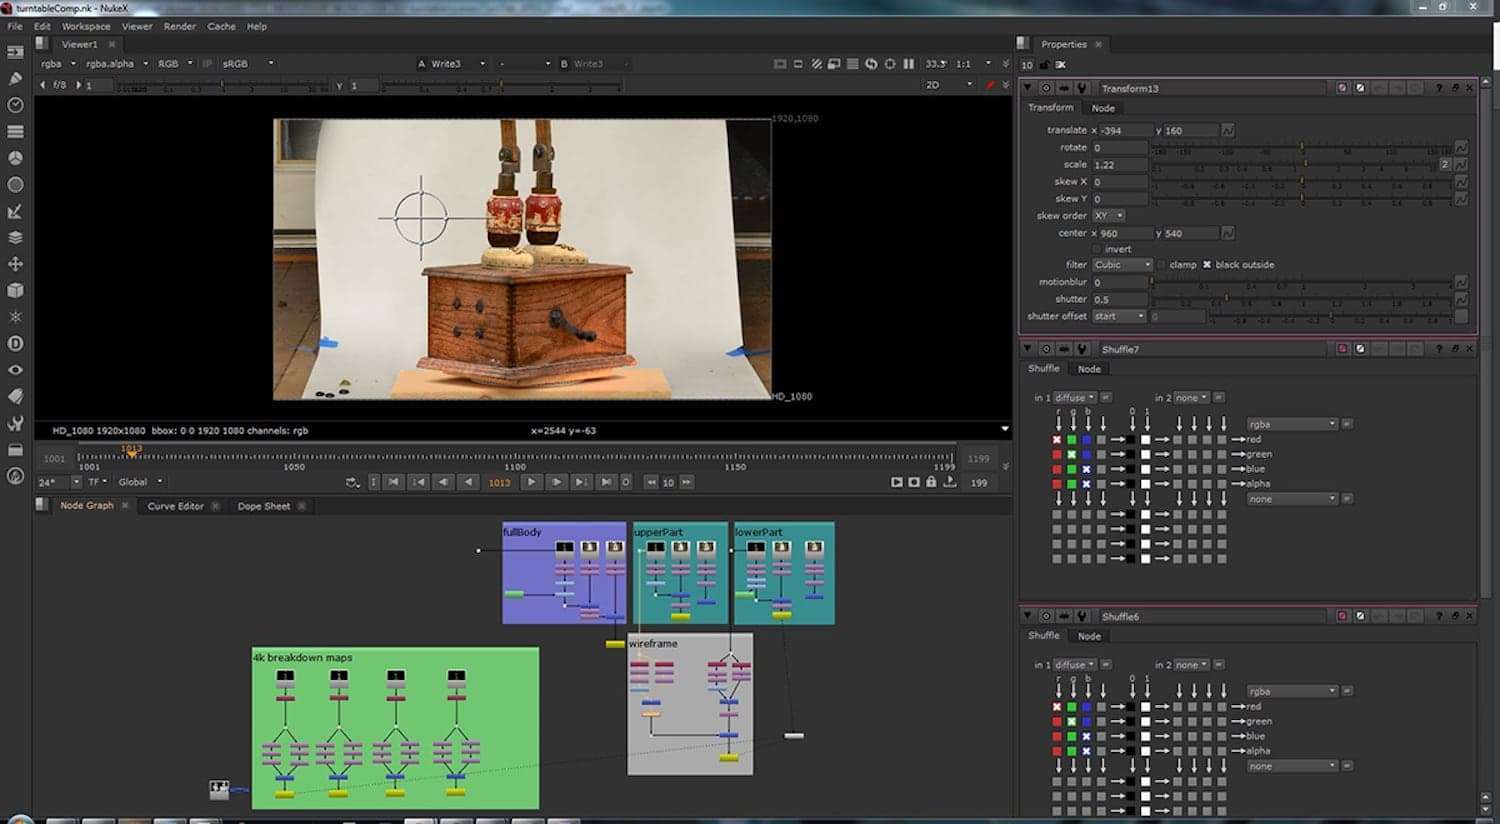
This way it’s very easy to shuffle all the passes directly from the read node.
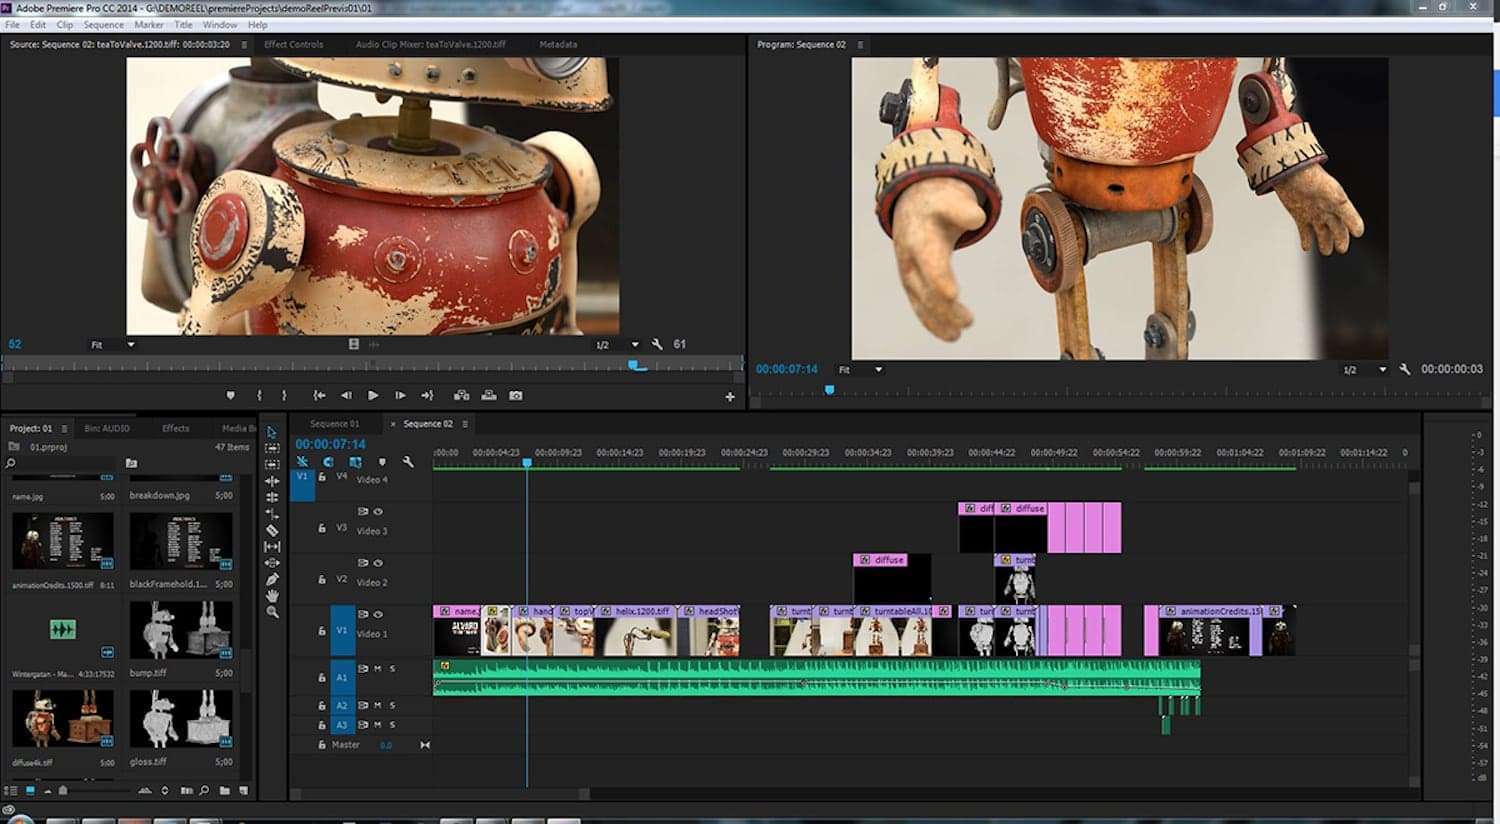
After compositing, I edited the video in Adobe Premiere – keeping an eye on timing and rhythm. I already had a couple of music pieces selected, so I used the one that fit the theme. Finally, I added the titles and created a brief animation for the credits. It was so nice to see APEX come to life!
It’s when we push ourselves to the limit that the best work happens, and we grow both professionally and personally. The hard work, long hours learning, troubleshooting, laughing, and struggling pays off big time.
Having amazing friends and colleagues around also makes a huge impact on how you deal with the days spent in front of the computer.
I have recently graduated from Think Tank Training Centre and specialised in Texturing and 3D modelling. Being trained under one of the best texture artists in the world, Justin Holt.
Thanks to everyone that helped, supported, and believed in me, especially my mentors Justin Holt and Paul H. Paulino.!
Thank you for reading. I really hope you found it interesting
Alvaro.

