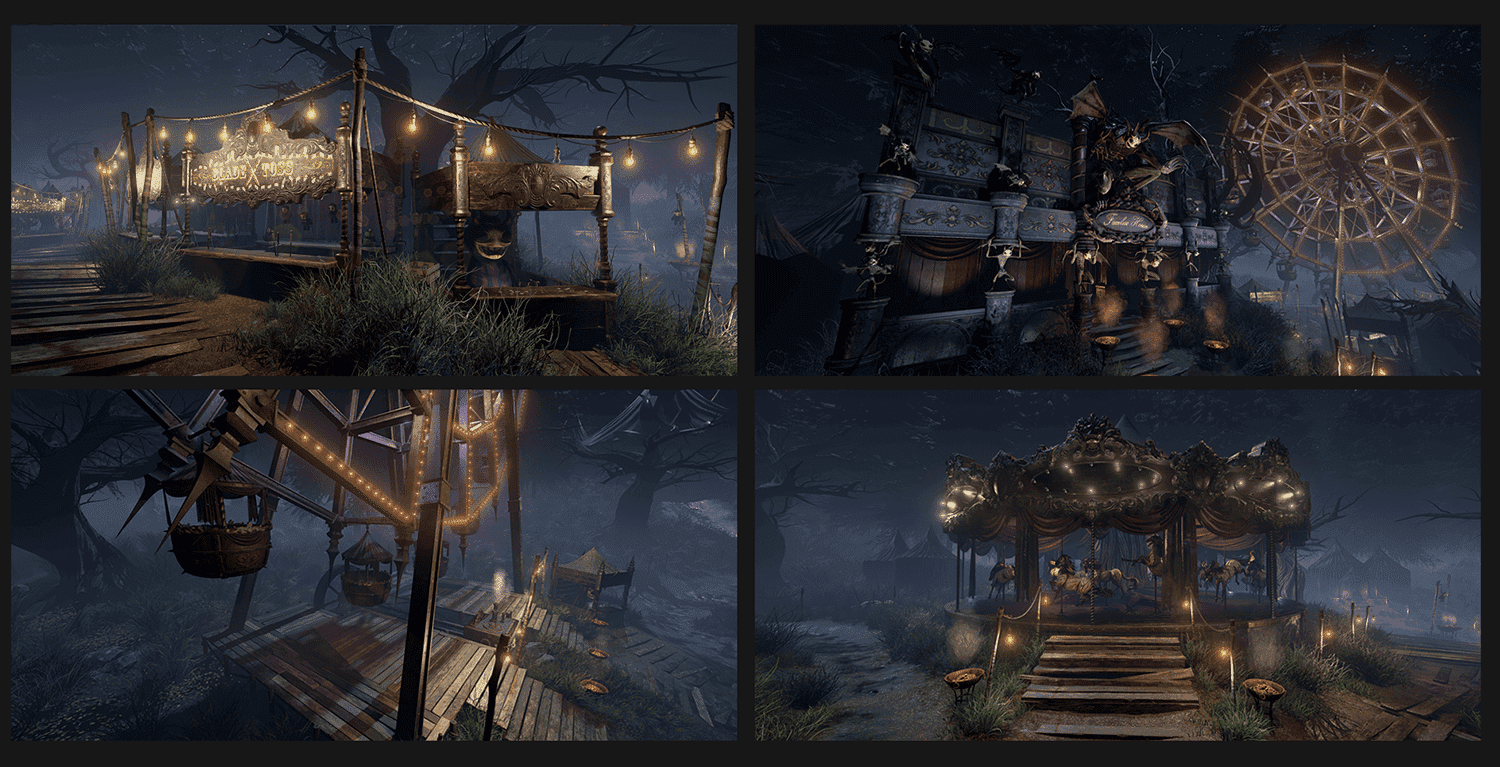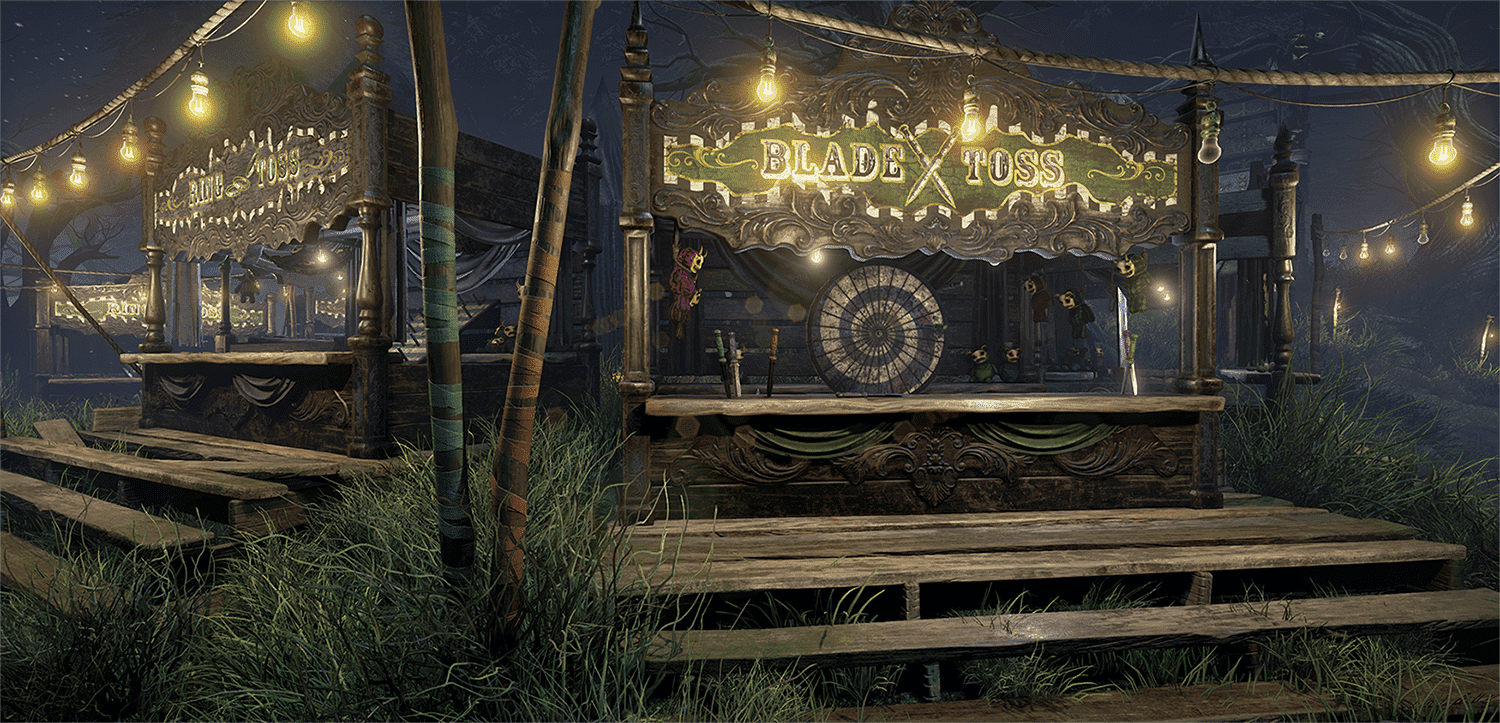
 Hi, my name is Corissa Karvonen. I am an environment artist from Calgary, Alberta. This is a making of for my demo reel which I made at Think Tank Training Centre. I will walk through the process I used to create my dark circus and hopefully explain it in a way that is helpful and informative for you.
Ideas and reference
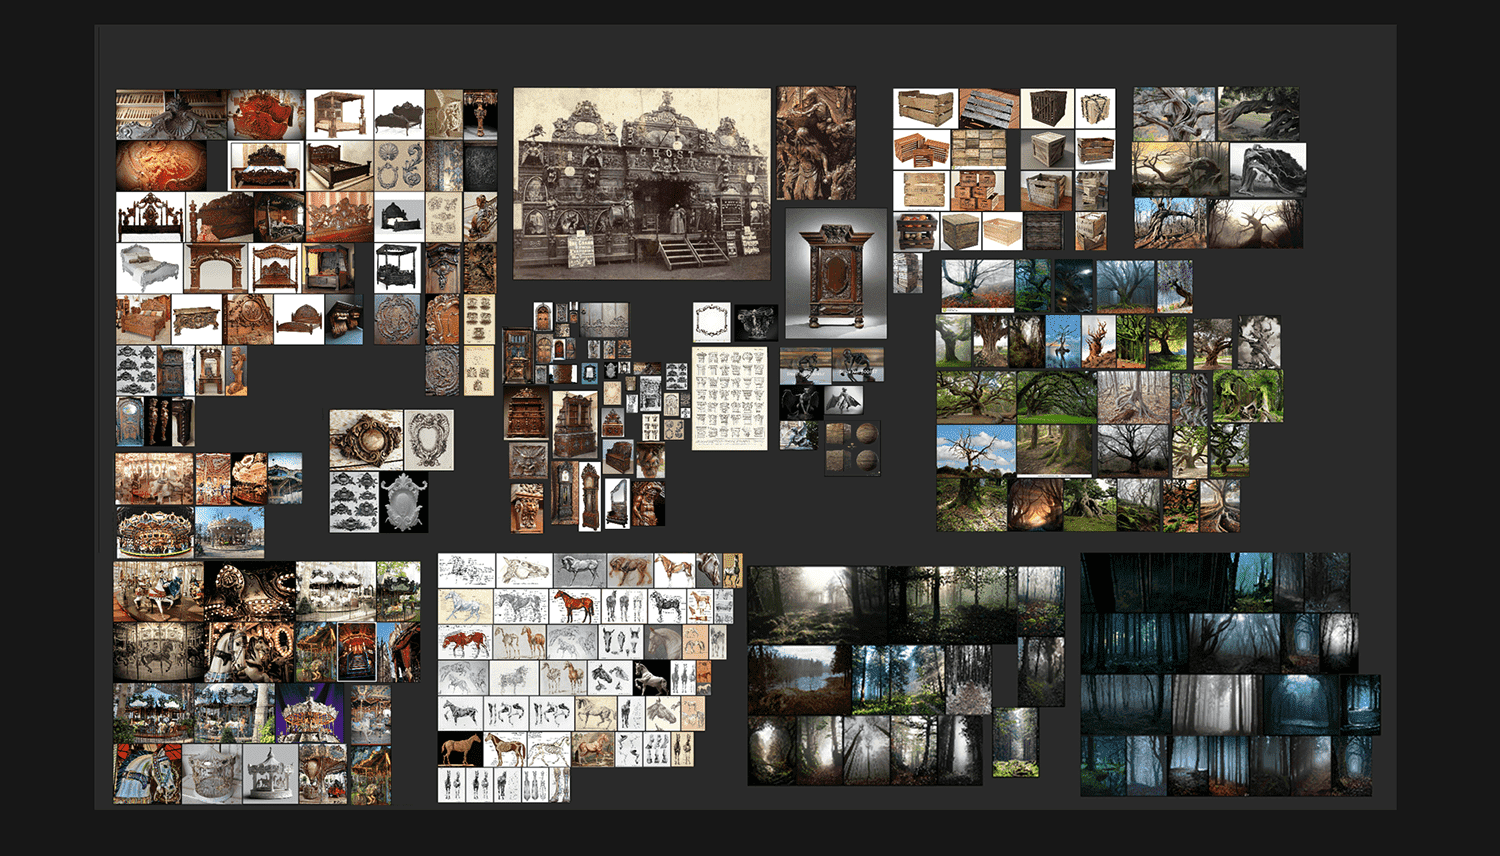
Before starting anything, research was key. Finding both cool ideas and a variety of reference was a crucial part of beginning my environment. I was unable to find a concept that truly fit the vision for my circus so instead I built up the idea from a collection of concepts and sketched out my own ideas.
Not only did I do this for the theme but for most of my props as well, including the haunted house and the carousel. I took inspiration from Tim Burton and various circus concepts to form the idea of my dark circus.
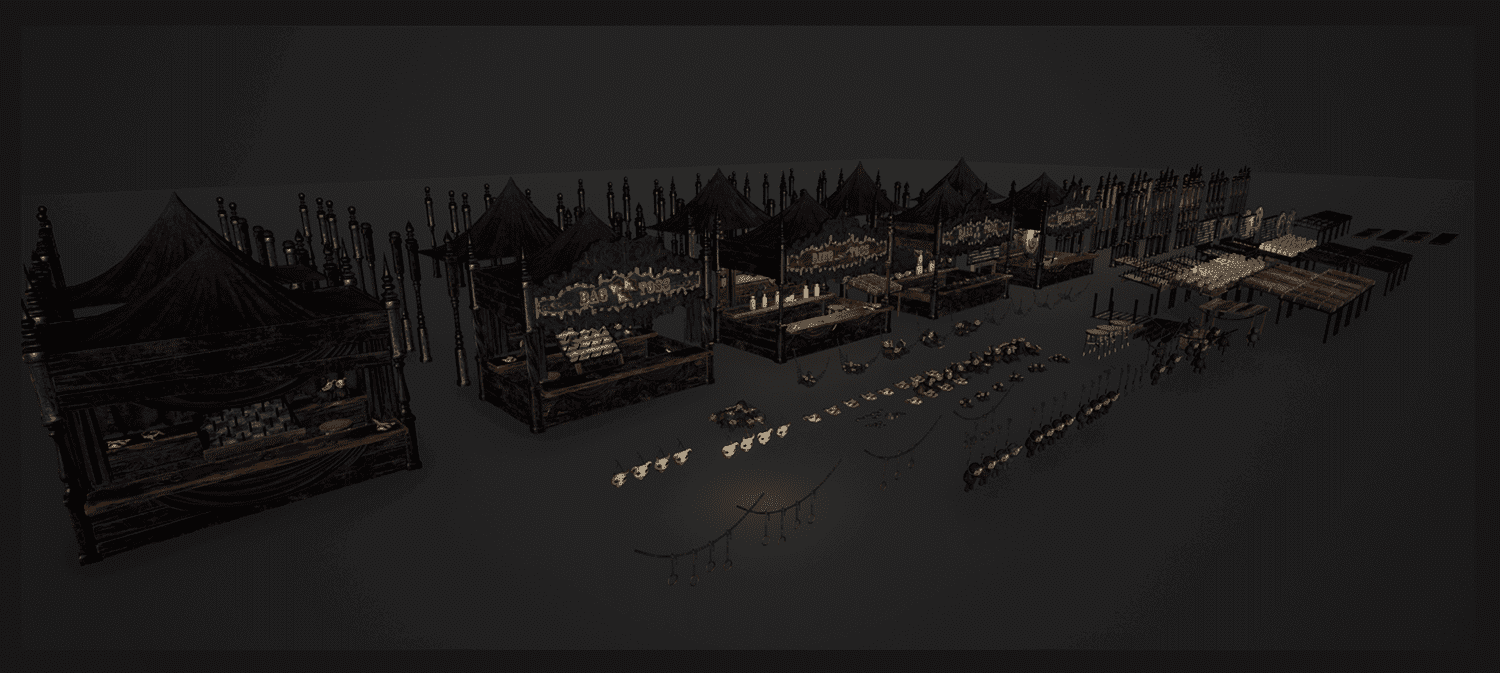
It was important to be mindful of choosing props that were reusable and could share the same materials
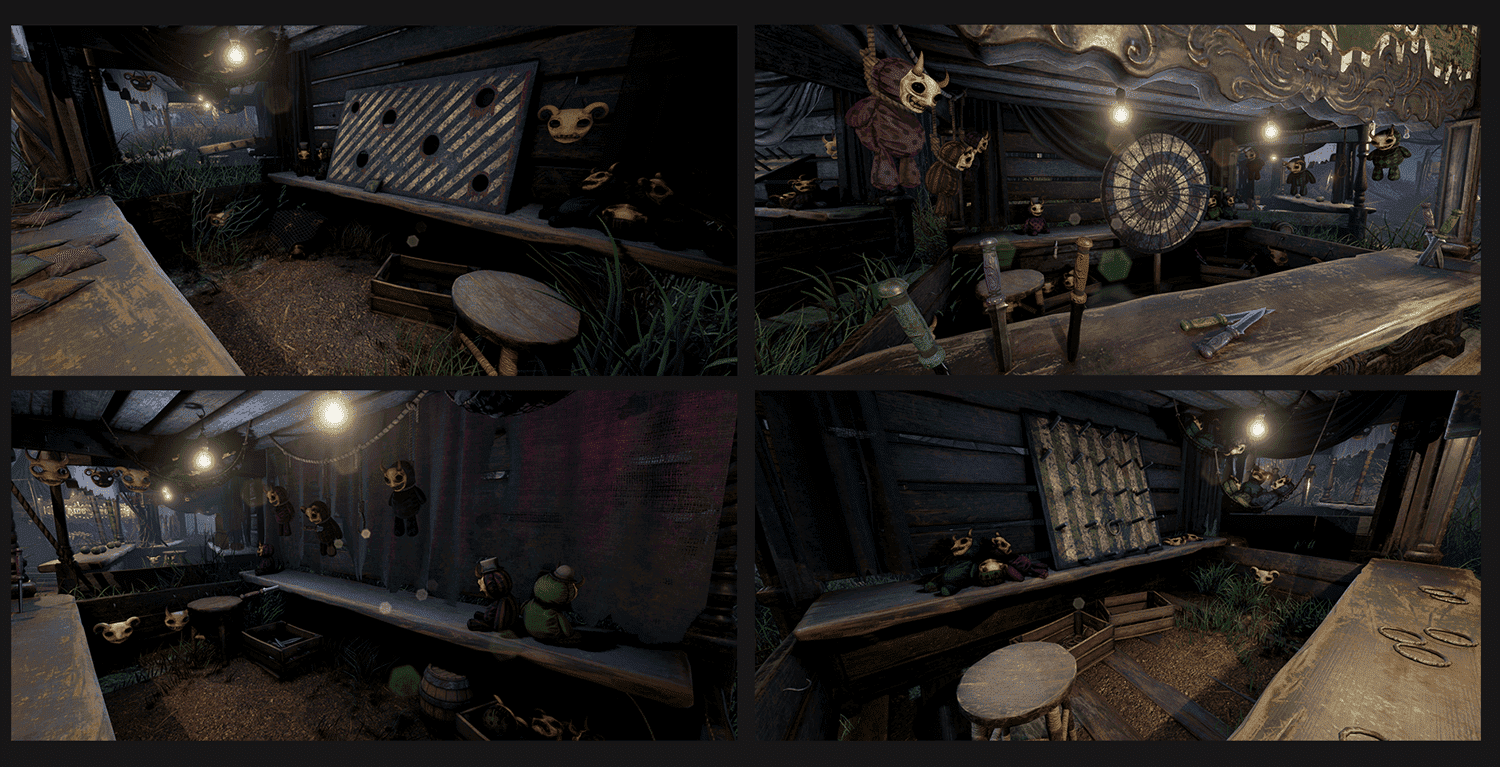
I also designed a few of assets to be modular so that I could create more variation using fewer pieces. An example of this would be the game stands which were made out of pieces that could be swapped out to create different arrangements so that all of the stands were different in some way while utilizing the same parts.
As I was planning out my environment, I roughly scheduled how long it would take to build each prop to decide what I need to create and what could be cut out to save time. One thing I focused on was the reusability of both assets and textures. Objects that could be recycled in different places or positions while looking like different or new assets was a huge benefit.
As well as creating base substances in Substance Designer meant being able to use them on new objects without having to remake a new texture. This saved time and tied different objects together in the scene making them look like parts of the same environment.
Once I had a good idea where I was headed and the amount of things I needed to make in order to form my environment, then came the actual creation.
Modeling
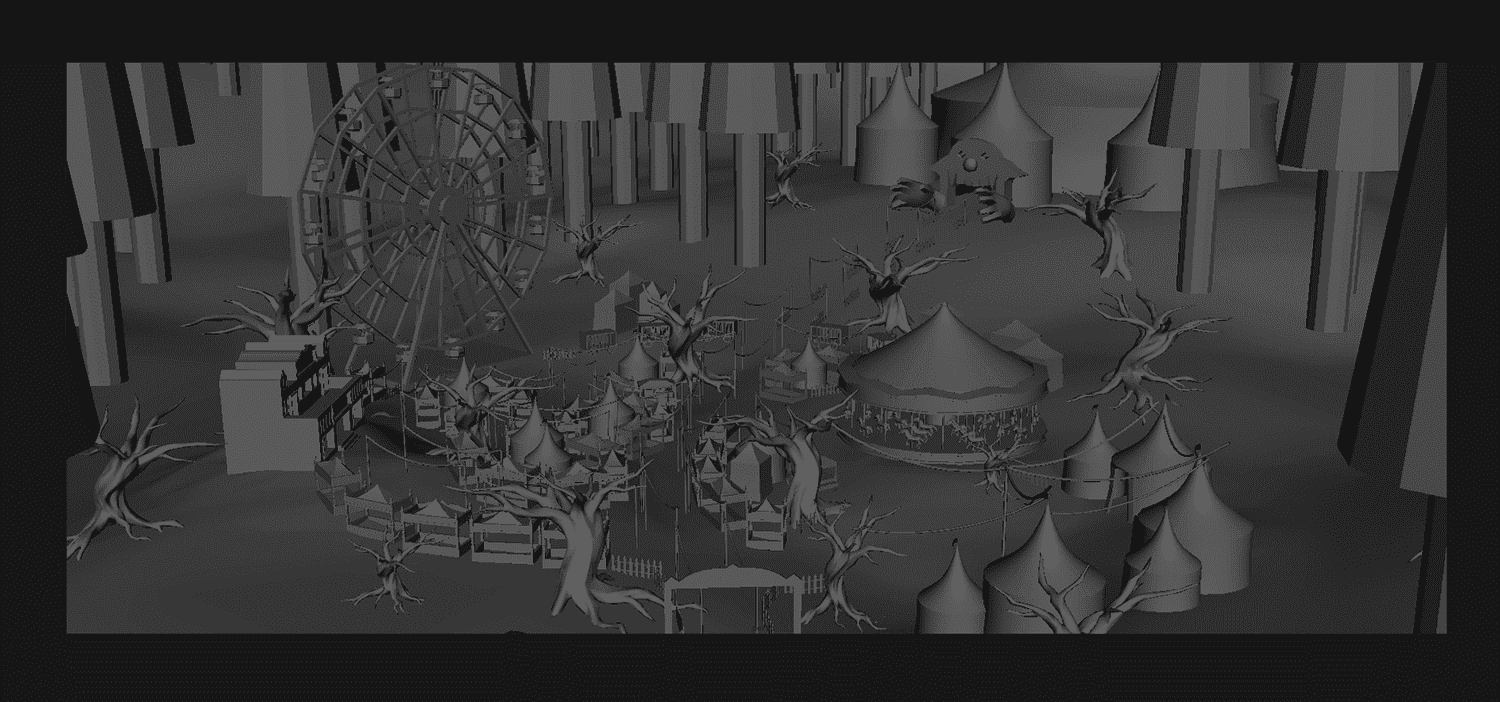
I started by roughly blocking out the layout of my circus and the placement of the rides and stands. I spent quite a bit of time on this to get the original arrangement of the circus to make sure I wouldn’t have to go back to change it after I started placing things.
For all my assets I first started to define the size and shape. This was important to build all the props to the correct scale in relation to one another. It also helped to get a better idea of the final image and if certain concepts would work in 3d.
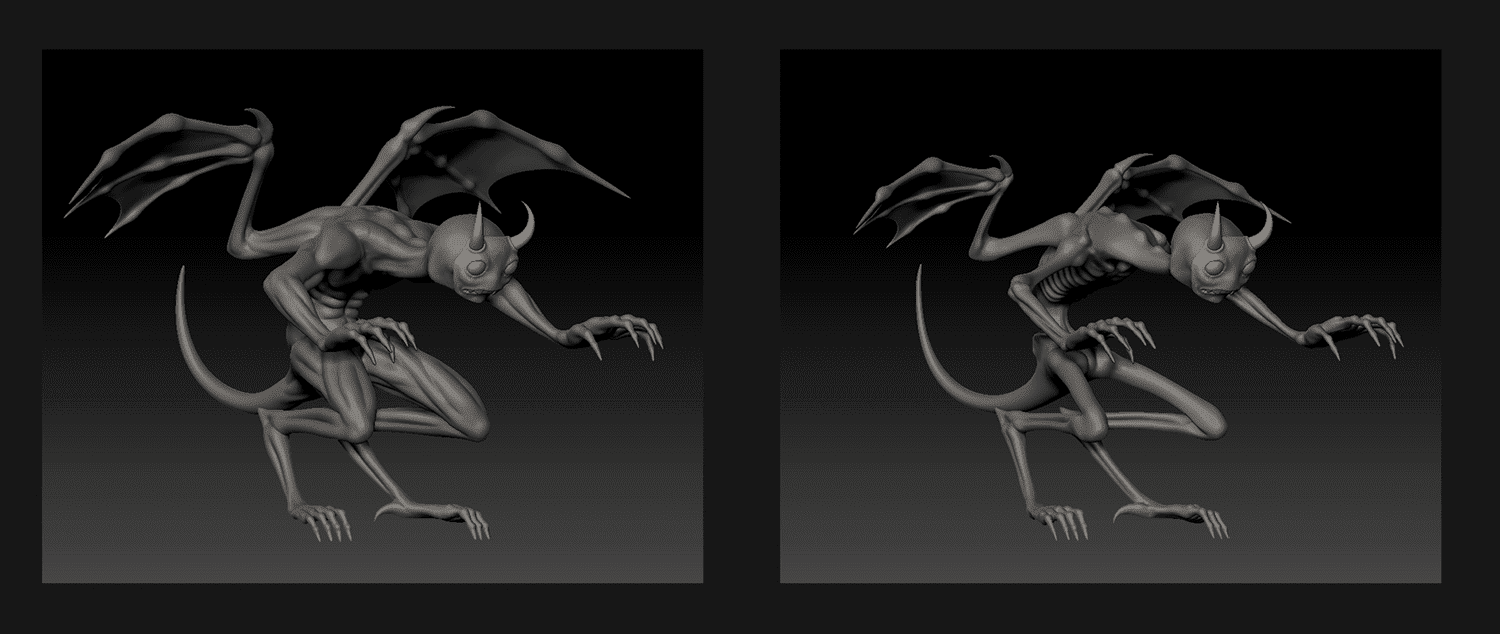
Once the blockout was finalized, I started to build the high poly mesh. I started in Maya and finished high quality detail in Zbrush.
Related link: How to build and compose a game environment
Some small details, even though they could be added later using the textures, I sculpted in because it looked better baked from the model rather than added in later using height maps in Substance Designer.
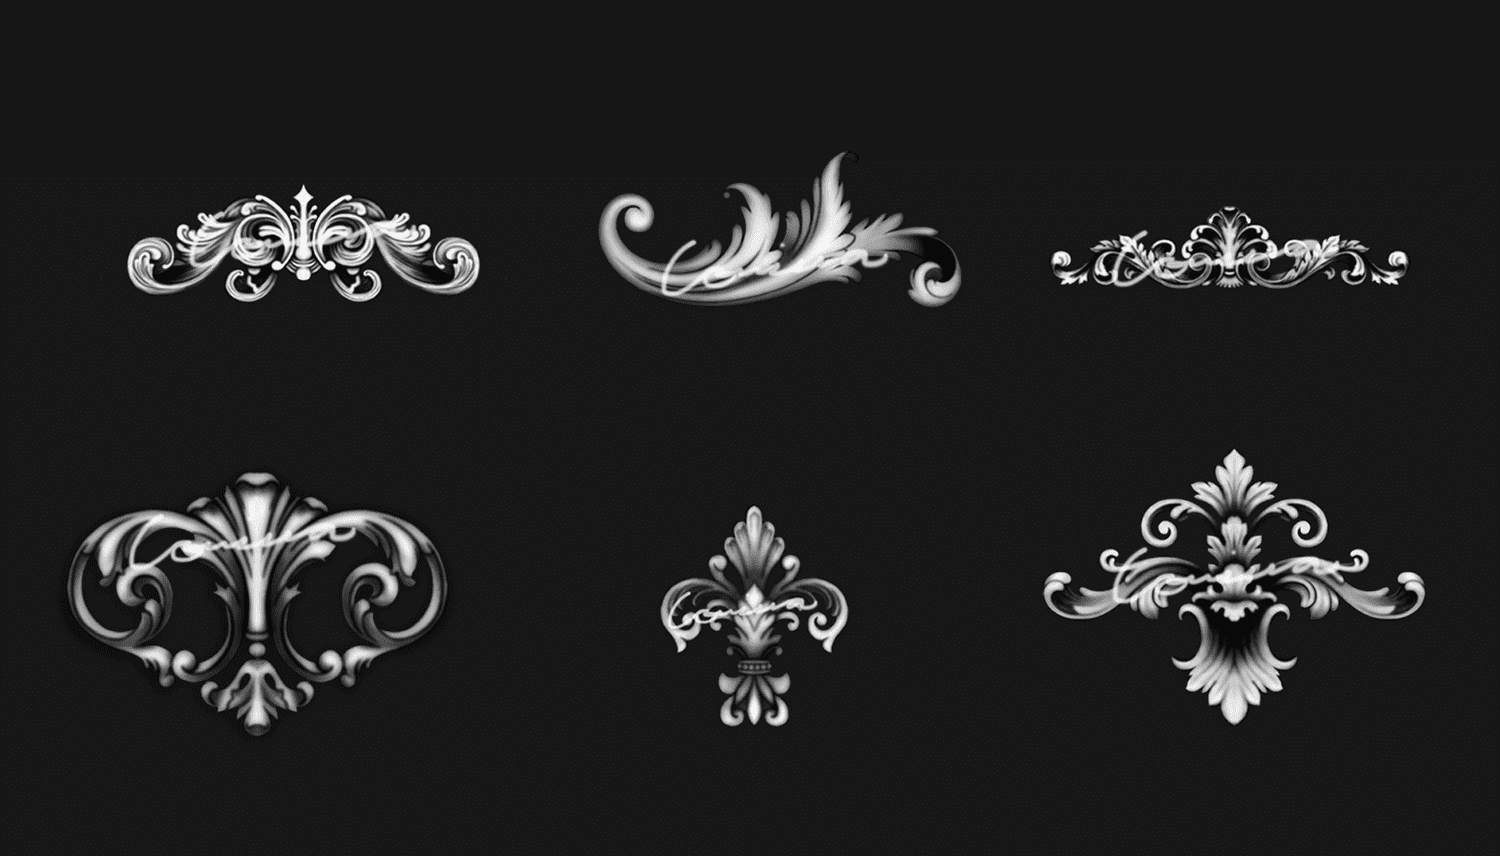
One important method that I used to save time, was to paint alphas of carvings in Photoshop. This meant that when I was done a design I could reuse it in different positions and objects instead of sculpting new carving details every time.
For the texturing I used mainly Substance Designer because of the practicality of reusing substances
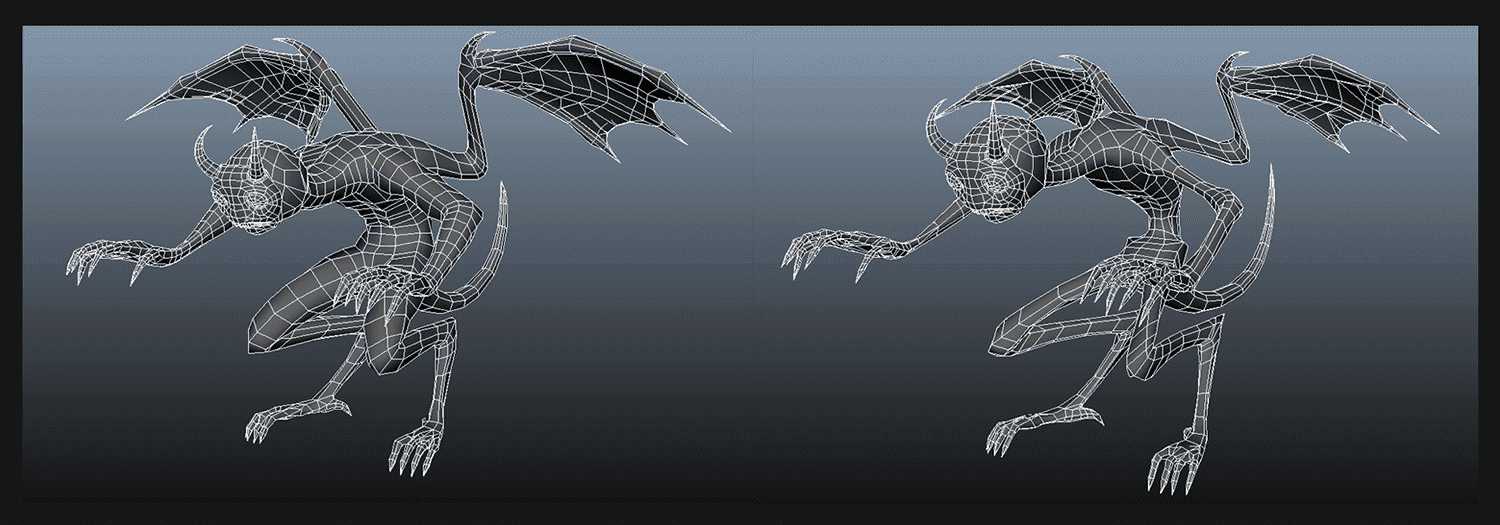
Once the high poly was complete I would build a low poly, focusing on getting the tri count as low as possible while keeping the silhouette.
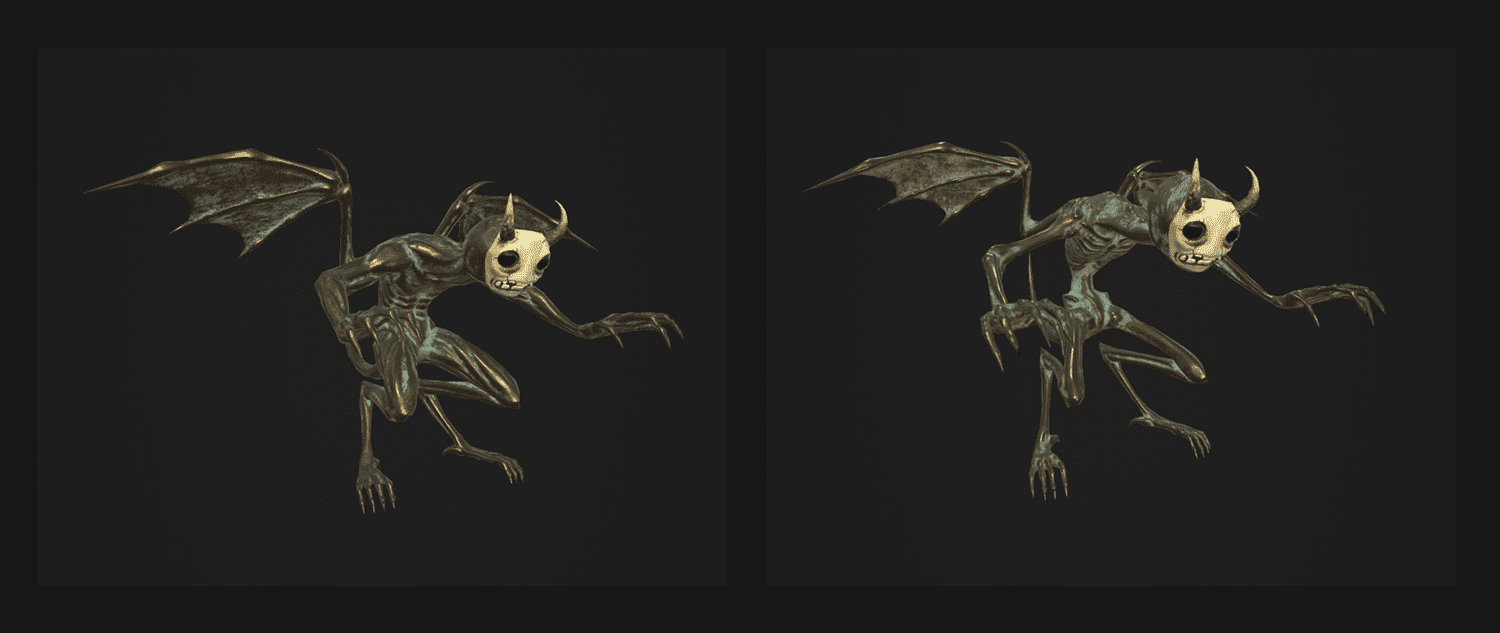
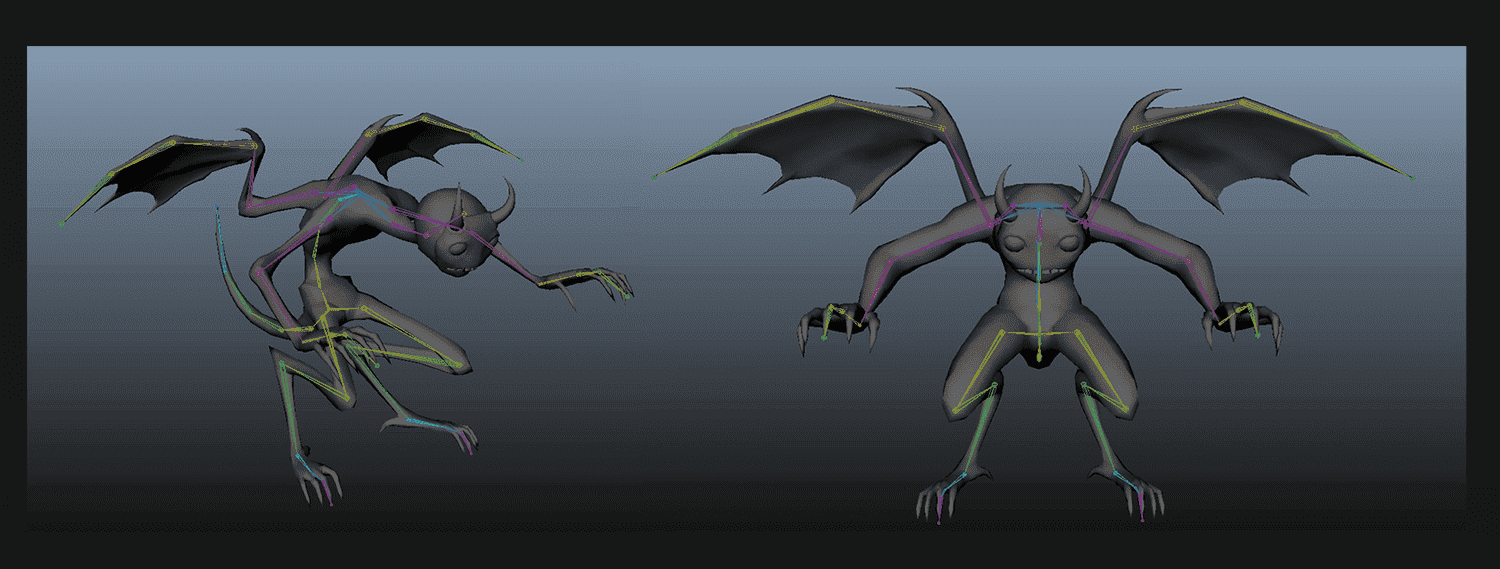
For a few objects in my scene I retopologized in a way that I could warp or pose the model after I textured it to created variation without creating more textures or materials. This included the gargoyles on the haunted house and the horses on the carousel. Doing so meant I could get variation using the same model by rigging and posing it after texturing.
After completing the low poly, I would UV and try to mirror as much as possible to be efficient as possible with texture size.
Texturing
For the texturing I used mainly Substance Designer because of the practicality of reusing substances. This was especially useful when it came to the wood because of how many wood objects were in my environment. A benefit of texturing in Substance was the convenience of altering the texture afterwards if there was need to change it.
When texturing I would be mindful of creating cohesive materials and textures that matched the theme of my scene. To be as efficient at possible I packed the roughness, metallic, and AO into a single texture and the base colour and alpha into a single texture.
Animation
When I was finished texturing, certain objects required animation to help the scene feel more alive. This included the rides and any hanging objects like the toys and string lights. To do this, I rigged the objects and animated them in Maya. I then exported the animation from Maya into unreal.
In The Engine
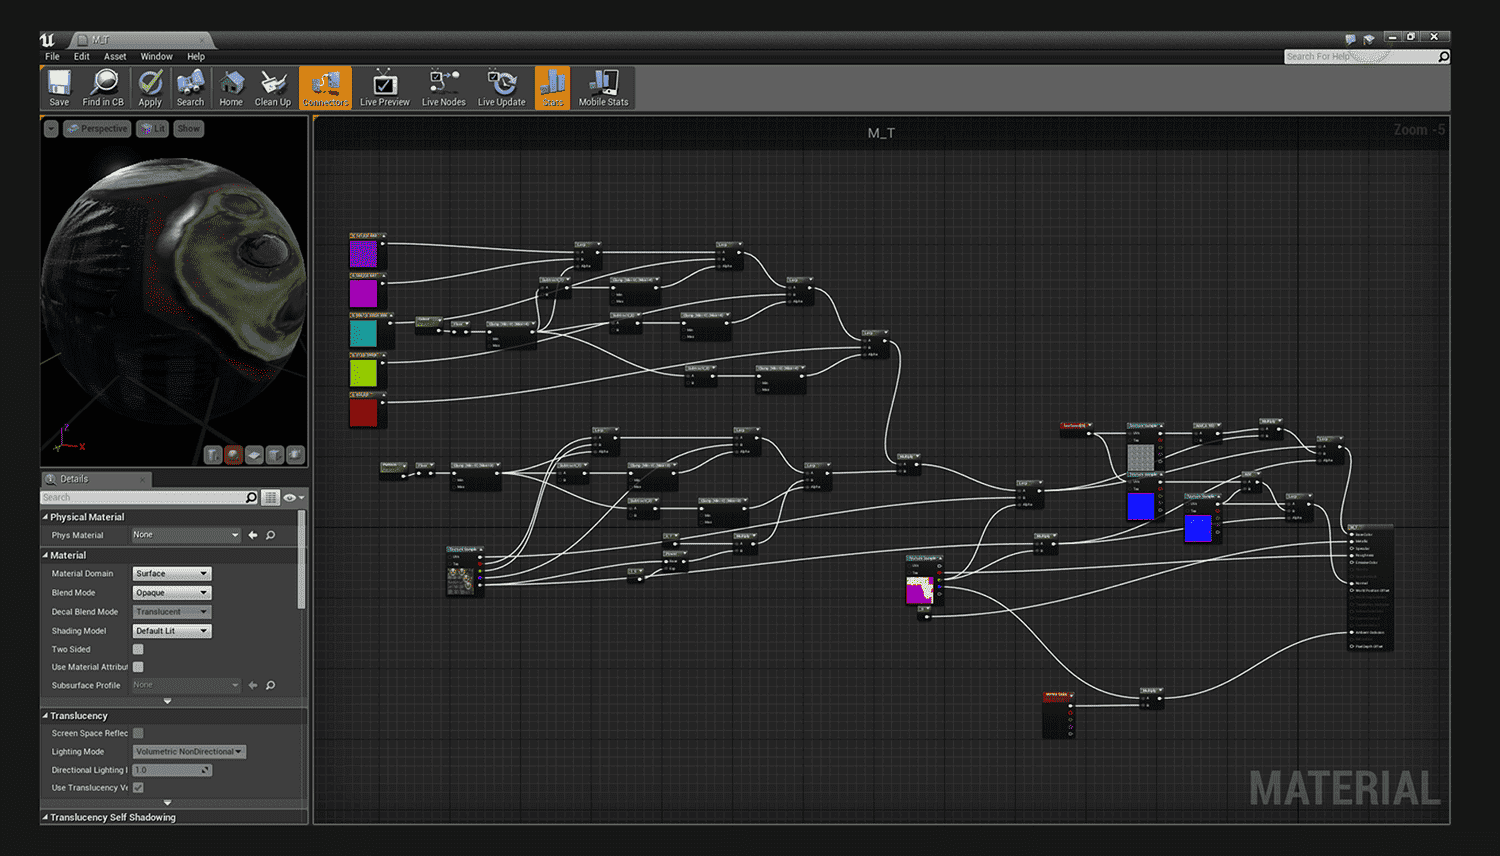
Once the texturing was complete and I imported them into the Unreal, creating the shaders in the engine was the next step. Many of the textures I made were greyscale so that I could alter the colours once in the engine. This was the case for the toys and other miscellaneous props.
I could also add tiling detail so that a lower resolution texture could look higher res on large objects or when the object was scaled larger than planned. I also made other materials that included emissive for the lights and movement for the grass and cloth.
Placement
I blocked out the majority of the scene ahead of time, but all of the small props and details needed to be placed after they were created. Due to the modularity and colour variation, I had many different assets to use to fill the area.
I also placed them so that they would look different based on orientation and lighting. To bring even more life to the circus, I spent some time making sure objects were placed in locations that would bring history into these objects. Each object having its own story and reason for being where it was.
Last Touches
Once all the assets were complete I worked on the particles, lighting, decals, and landscape. I had worked on blocking out the lighting and landscape along the way to get the feel but this was the point when I finalized them.
I created particles for the smoke and decals to add some extra detail.
Final Thoughts
Special thanks to my friends, teachers, and mentors at Think Tank Training Centre. I would not have been able to create my circus without the guidance of my mentors Scott McTavish,Reo Prendergast, Jude Godin, and Aaron Dodd.
I hoped you found it useful or interesting and if you liked it, please share it with your friends!
