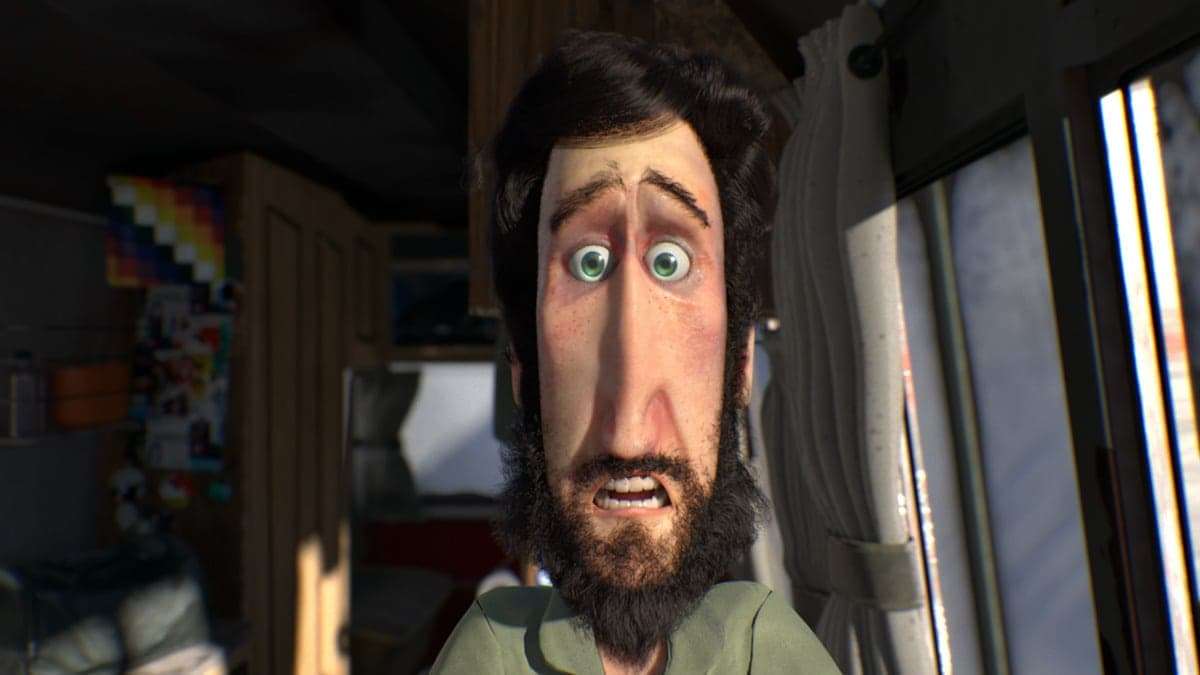
This article has been written to help other artists understand the importance of Time Management and why it’s crucial to any successful project. To help illustrate these points I will be walking you through the process of creating my short film Down the Andes.
Down the Andes was inspired by a climbing expedition that I did to the Bolivian Andes on 2014. I had contact with so many incredible landscapes that I was waiting for the opportunity to do a project based on that fantastic place and its immense mountains.
The key points for this project were time management and following a strict schedule. That’s why I think my greatest contribution on this tutorial is talking about how I managed the time, quality and consistency of all the shots in the scene.
Naturally, I started with the concept art, storyboard and other aspects of the pre-production. To illustrate a bit of the design process, I have included images of the different stages before completion.
How to time manage
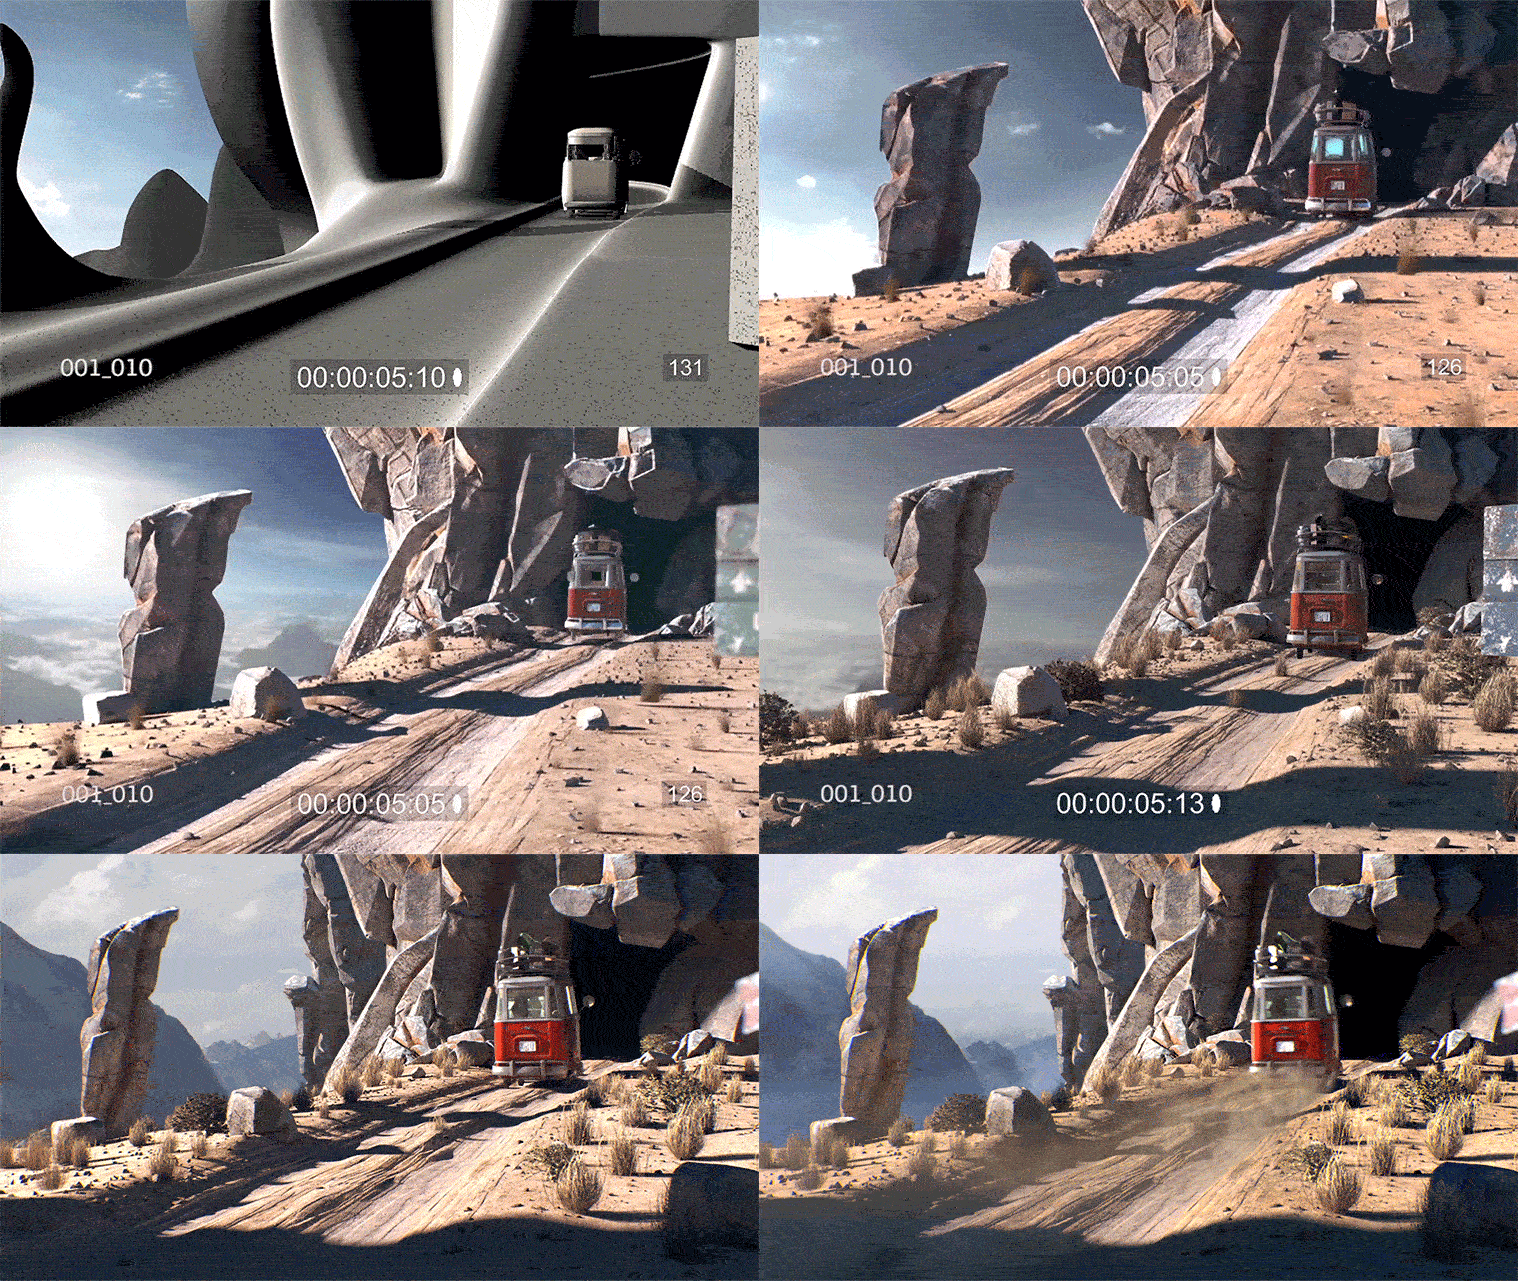
After pre-production had been completed, I divided the production phase into quality check passes. The Goal of each pass was to make a fully rendered version of the film, in a smaller resolution.
In the first month of work, I rushed to have all sets and assets in an early stage of texture development, blocked animation, and a basic light and comp setup. Using this approach allowed me to have a clear vision of where the details were most needed.
Related link: How to make an award winning graduation film by Örs Bárczy
This process was repeated during the project. In total, I made five quality passes, as you can see from the images below.
I worked tirelessly until the last moment before the deadline because there was always something that could be given more detail. Because I had done many versions of the movie with a consistent level of details across the shots, I never ran the risk of not finishing all the shots, or inconsistency of quality.
It was only possible to execute an environment of such scale in the Down The Andes because I had considered the technical challenges from the design phase. While sketching the concepts I was also thinking about how I would execute them.
I realized that the choice of doing a modular environment and tileable textures would be the fastest way of achieving an excellent level of details.
The whole set is more than a 1000 meters high, and it wouldn’t have been possible to build individual details to fill all areas of the set. I realized that the choice of doing a modular environment and tileable textures would be the fastest way of achieving an excellent level of details.
After doing proper research about the Andes, I decided to go for a very rocky cliff and vegetation at altitude – around 5000 meters above the sea level. This kind of landscape is dry, with short bushes and yet still so appealing to the eye.
It was important to make the rocks models in four different sizes, to keep the resolution of the textures and shape of the rocks consistent.
A huge rock will not necessarily have the same silhouette or patterns as a tiny pebble.
Every variation of the rock was unique, but I tried not to make their unique characteristics too outstanding. When you are repeating modules to compose a bigger set, it is very easy to spot the repetition if one model has something very different from the others.
For the ground texture, I used a layered texture of Maya and rendered everything in Mental Ray. The textures were made based on images downloaded from the internet. I cleaned them in Photoshop and used Mudbox to create the Normal maps in a way that I could have excellent control.
The wheel tracks were modeled in ZBrush and converted to a normal map. I used Photoshop to make it tileable. Three different UV sets were needed. Here is the Shading network:

Base Layer: (2 UV sets) The Ground Shader:
Procedural Mask used to create the random variation between the two ground textures.
Ground texture 1, normal map
Ground texture 1, diffuse and specular (on alpha channel)
Ground Texture 2, normal map
Ground Texture 2, diffuse and specular (on alpha channel) Middle Layer: (road UV set) The Road Normal Shader:
Shader with Only the Normal map information. The shaders make the wheel track marks on the ground. The texture is repeated only on it’s U axis.
Top Layer: (road UV set) The Tacks Gravel Shader:
On my reference, the wheel track had brighter color and smaller rocks than the rest of the ground. Diffuse and Specular texture create this look.
Mask of the layered shader repeated only on its U axis. Uses the road UV set and defines where the road will be placed on the geo.
As a final touch, I used the nParticles instancer to scatter three variations of tiny rocks around the surface. It made a big difference in the way that the light was broken on the ground, casting interesting small shadows and helping to achieve a more impressive result.
Although most positions in the Visual Effects and Animation industry are specialized, I am happy to have chosen to make a whole animated scene because it was a massive learning experience.
I am very thankful to VFS for believing in me and helping me with a scholarship, and also for all the friends that I have made whilst at the school. They are all a big part of this project!


