
I’m currently doing my internship at Frontier Developments in Cambridge as part of my final year at university. I have been working with 3D and game art for about four years now ever since I started University.
Making 3D game environments is my passion, I always had more of an attraction towards structures and architecture than I had towards characters and creatures. In this tutorial, I’m going to discuss the way I handled the scene called Absolute Zero, this is going to be a short and sweet tutorial, not an in-depth one.
Try to build the scene logically and have a nice focal point in the scene.
1. Concept
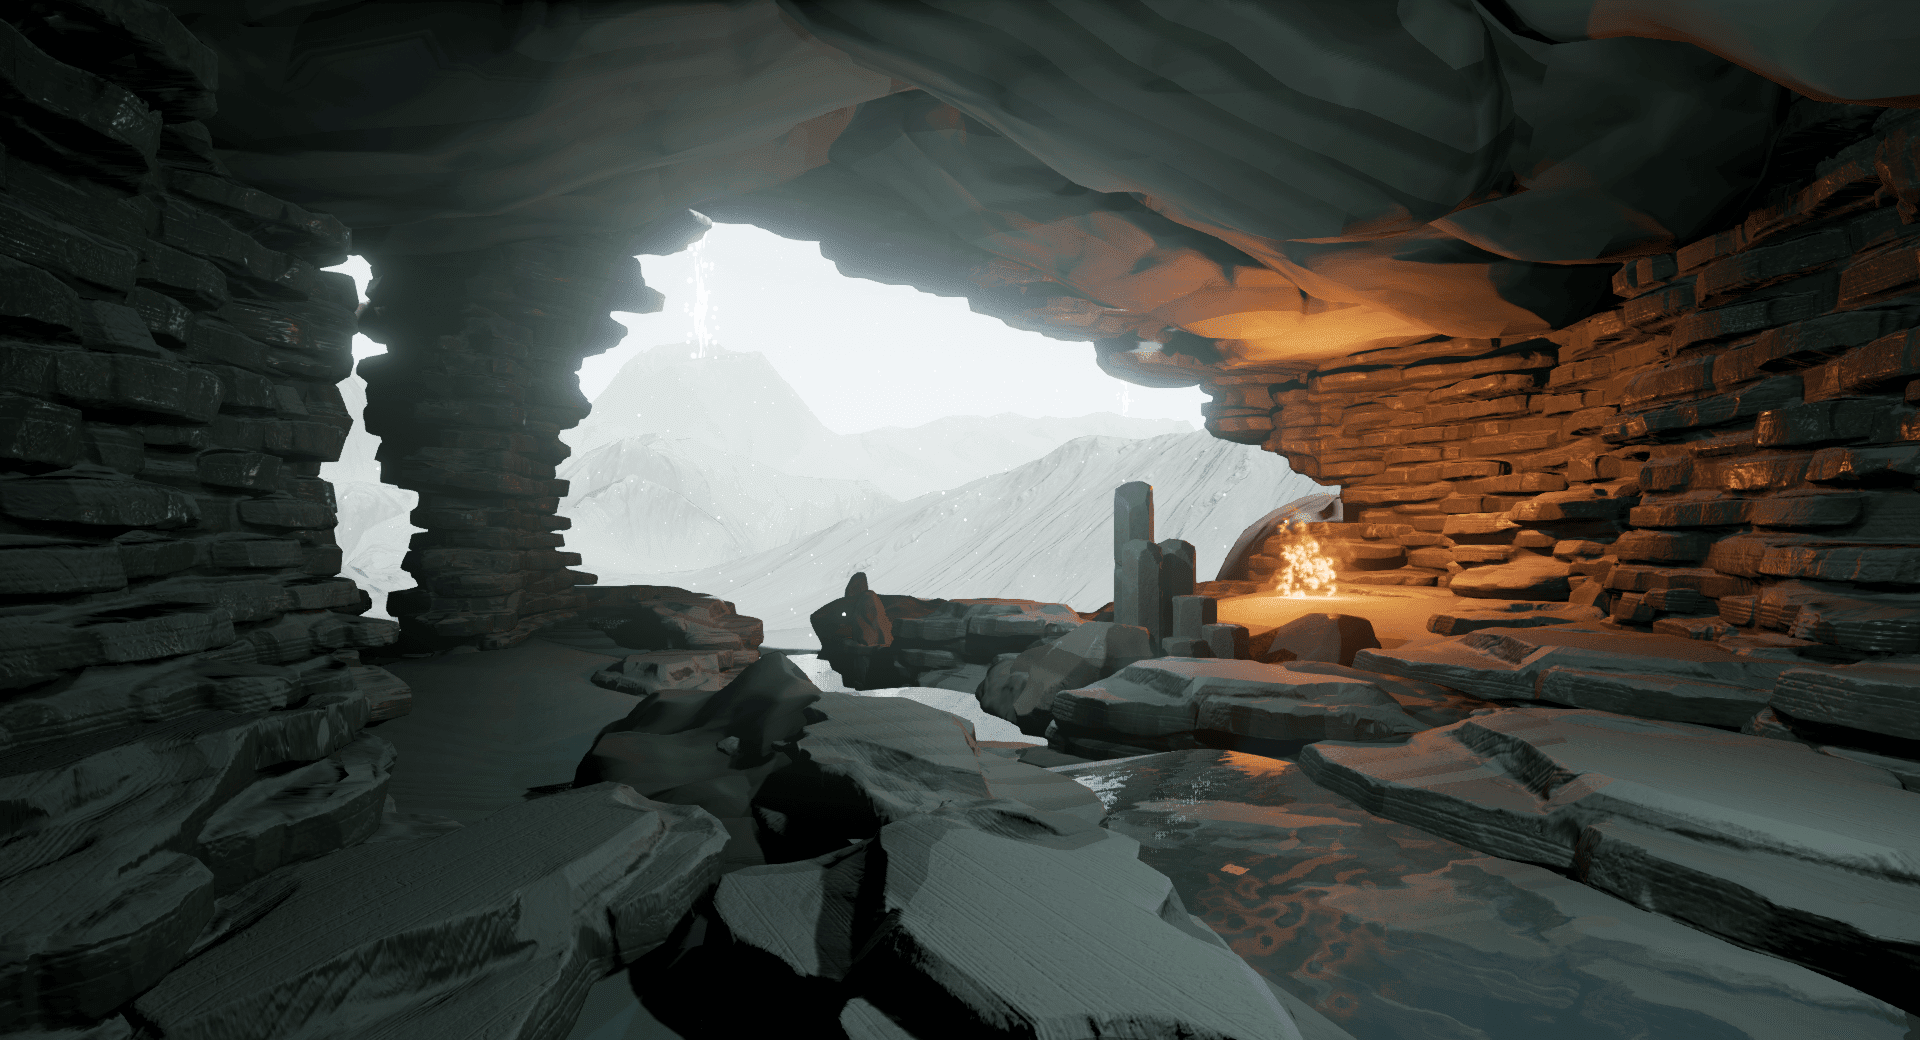
The main idea for this environment was about the idea of a traveller that has this massive journey ahead of him/her. So the reason I picked a cave is that it puts a great space contrast in your environment.
Most people can remember some game or scene from a movie where you exit an enclosed space into a vast open environment, e.g. Fallout 3. So these were the two things I was sure about, all the rest was still to be seen. So I started searching for reference (on Pinterest because I like it for looking up nice reference).
2. Reference
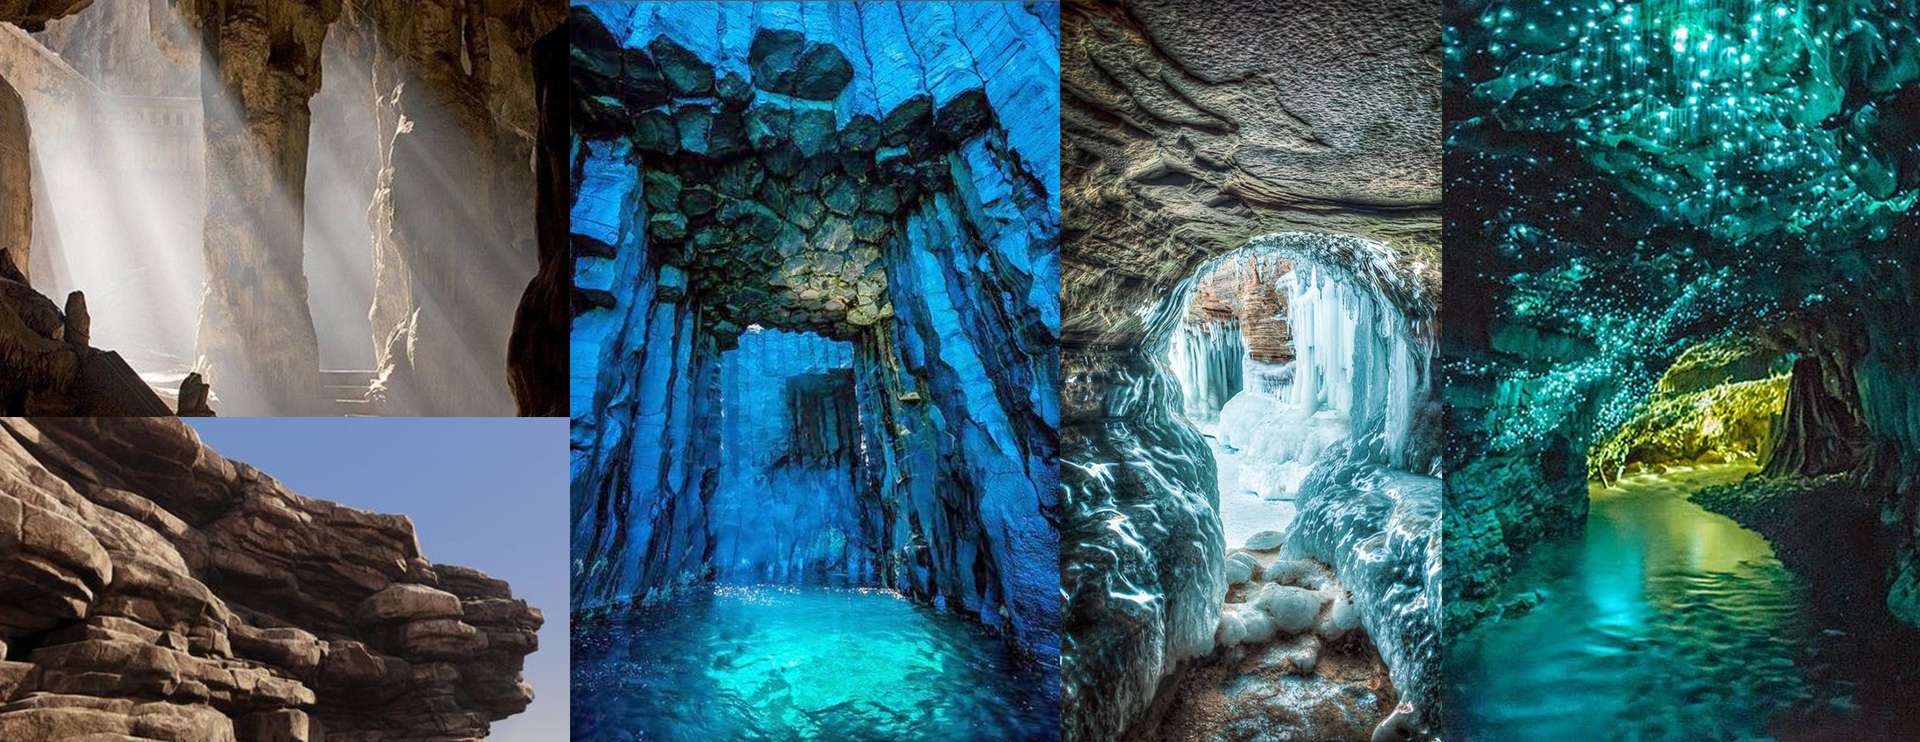
I got inspired by cool shaped stones in Icelandic caves. As I was looking more and more into Icelandic caves I wanted to do something with ice and having not only a scale contrast but also a temperature contrast.
And I also like the idea of having some sort of cliff with running water as this puts an emphasis on the fact that there is life, and it can also be a nice guideline to guide the viewer’s eye.
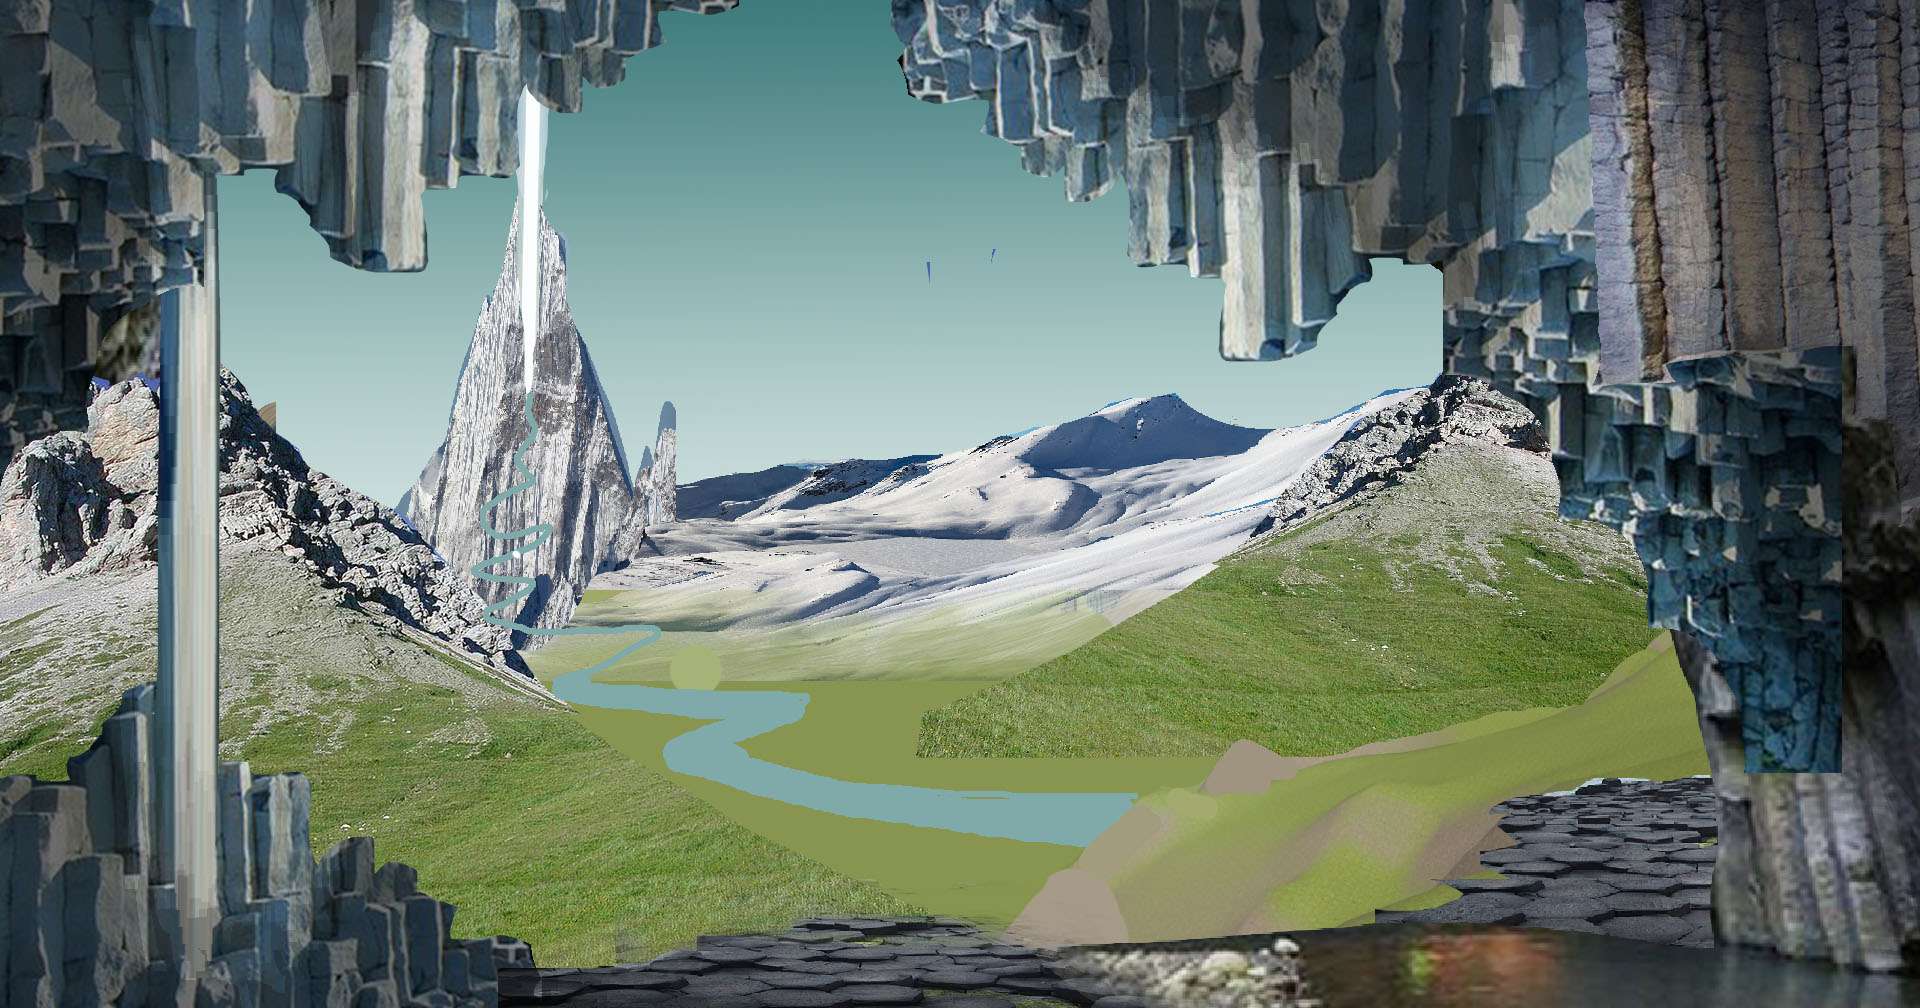
3. Blockout
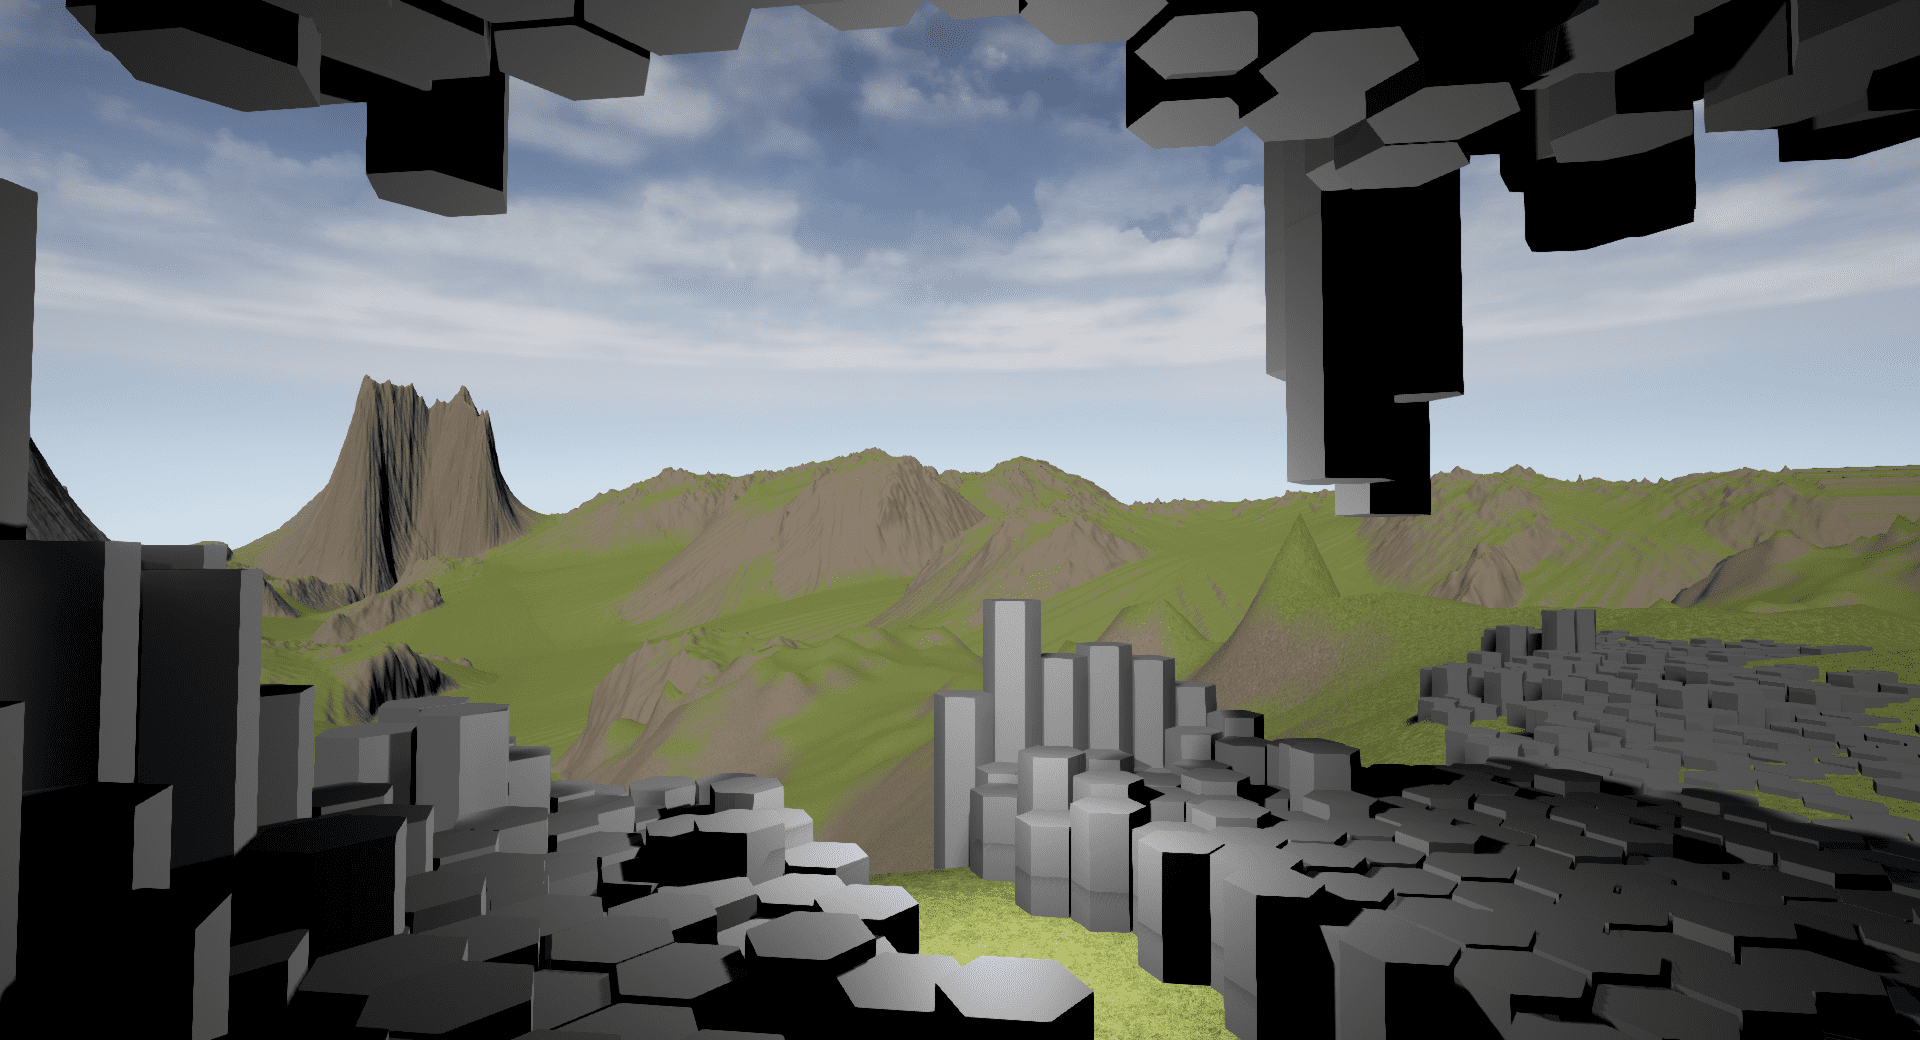
This was the first little block out I made using the terrain that I made in World Machine, this gave me some good initial results, but I needed to adjust a lot of this.
Also, this was the using way too much repetition in the hexagon shaped forms. I decided to keep these assets in the back of my mind for the time being and focus on more realistic caves.

Using the reference I had collected and searched for more online to create another iteration of the cave itself.
When I had something that represented the vision I had in mind regarding placement, I decided that it was time to go back to Zbrush for some additional sculpted meshes.
I opened up the reference I had and looked into some types of stones, and actually, I came across an asset that someone else created that was layered in a cool way.
4. Sculpting
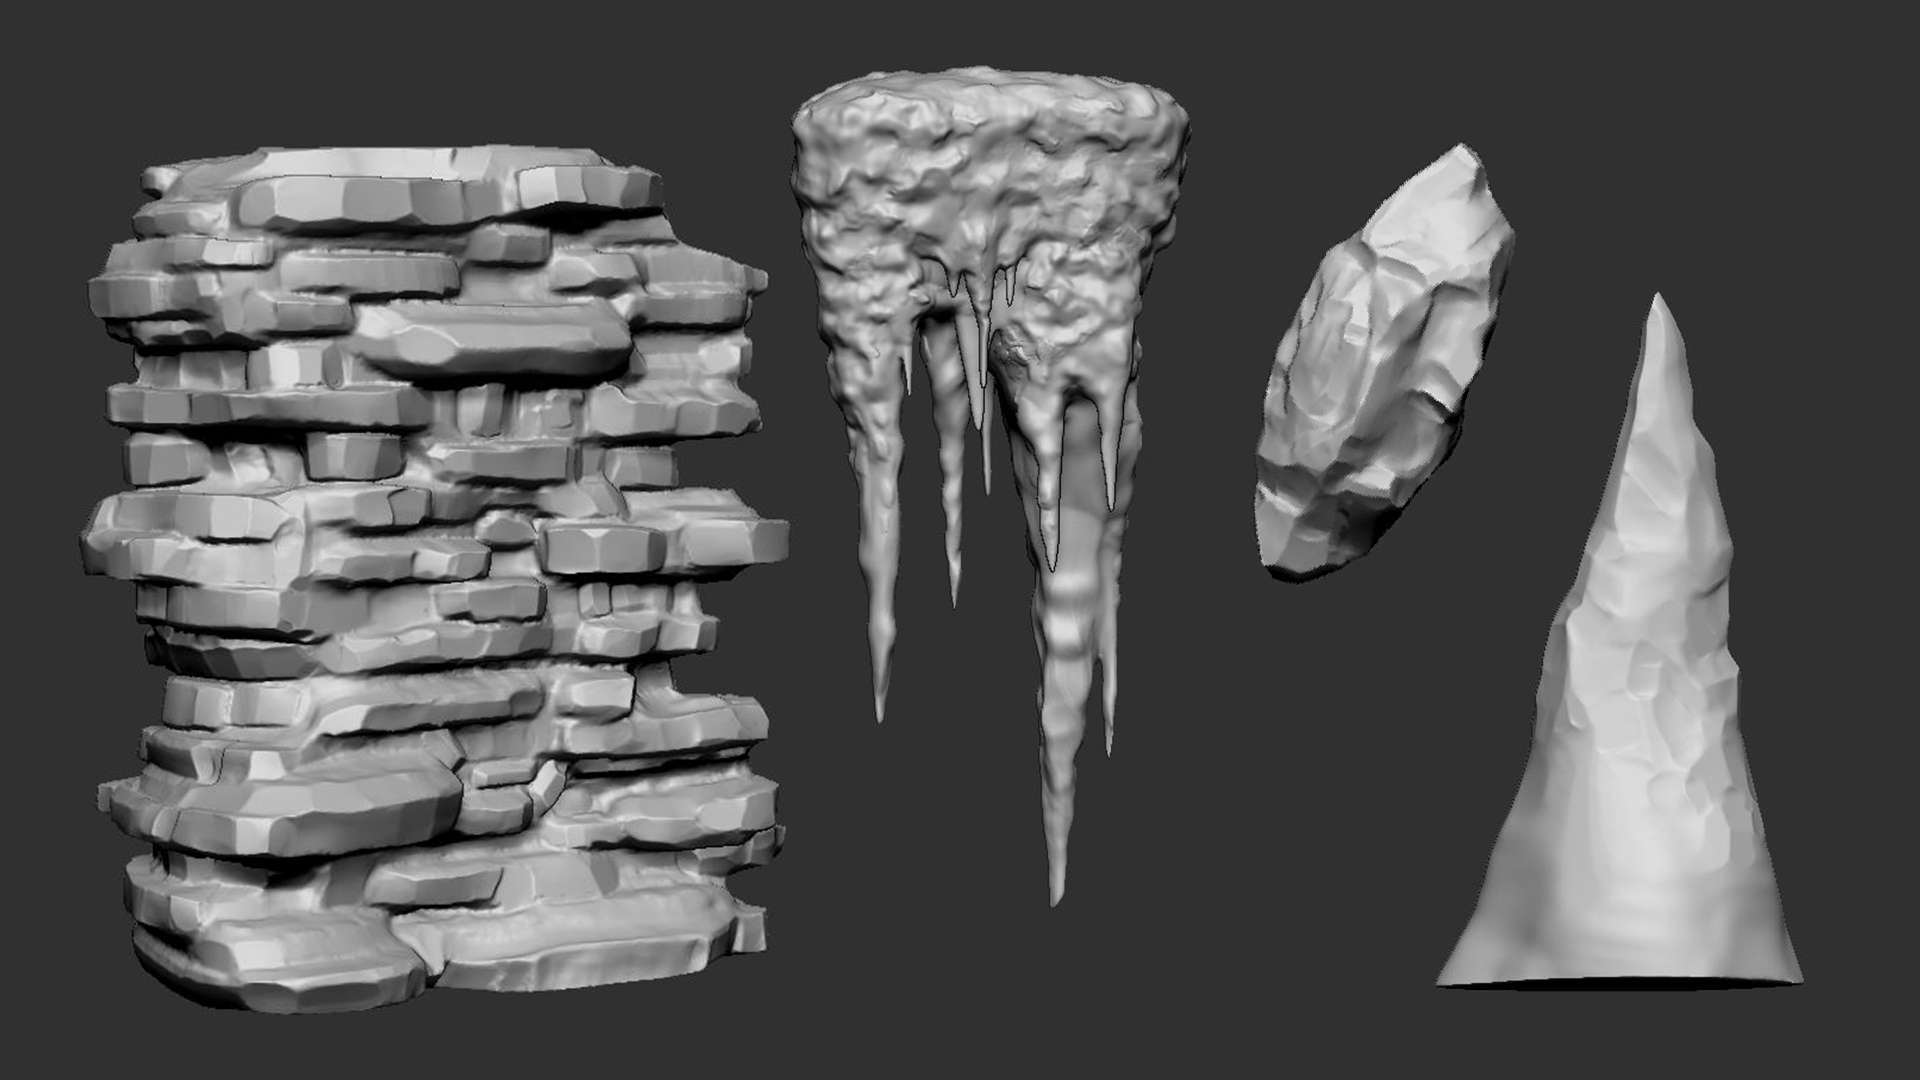
I went with the sort of layered style of stone and started a new ZBrush file that just had a cube and started moving/scaling it until I had the base shape going. From there on I dynameshed it and started sculpting my rocks, first by adding them and them sculpting crevices to put some contrast in height.
And every time the poly’s were stretching to far I just dynameshed it again. I repeated this as many times I needed to and then made the base mesh rockier by using the trim adaptive brush in ZBrush.
5. Updating the scene
After I had done some more work on the sculpting it was time to try them out in the scene, they looked quite nice and worked well in not being too obvious that it is just one mesh.
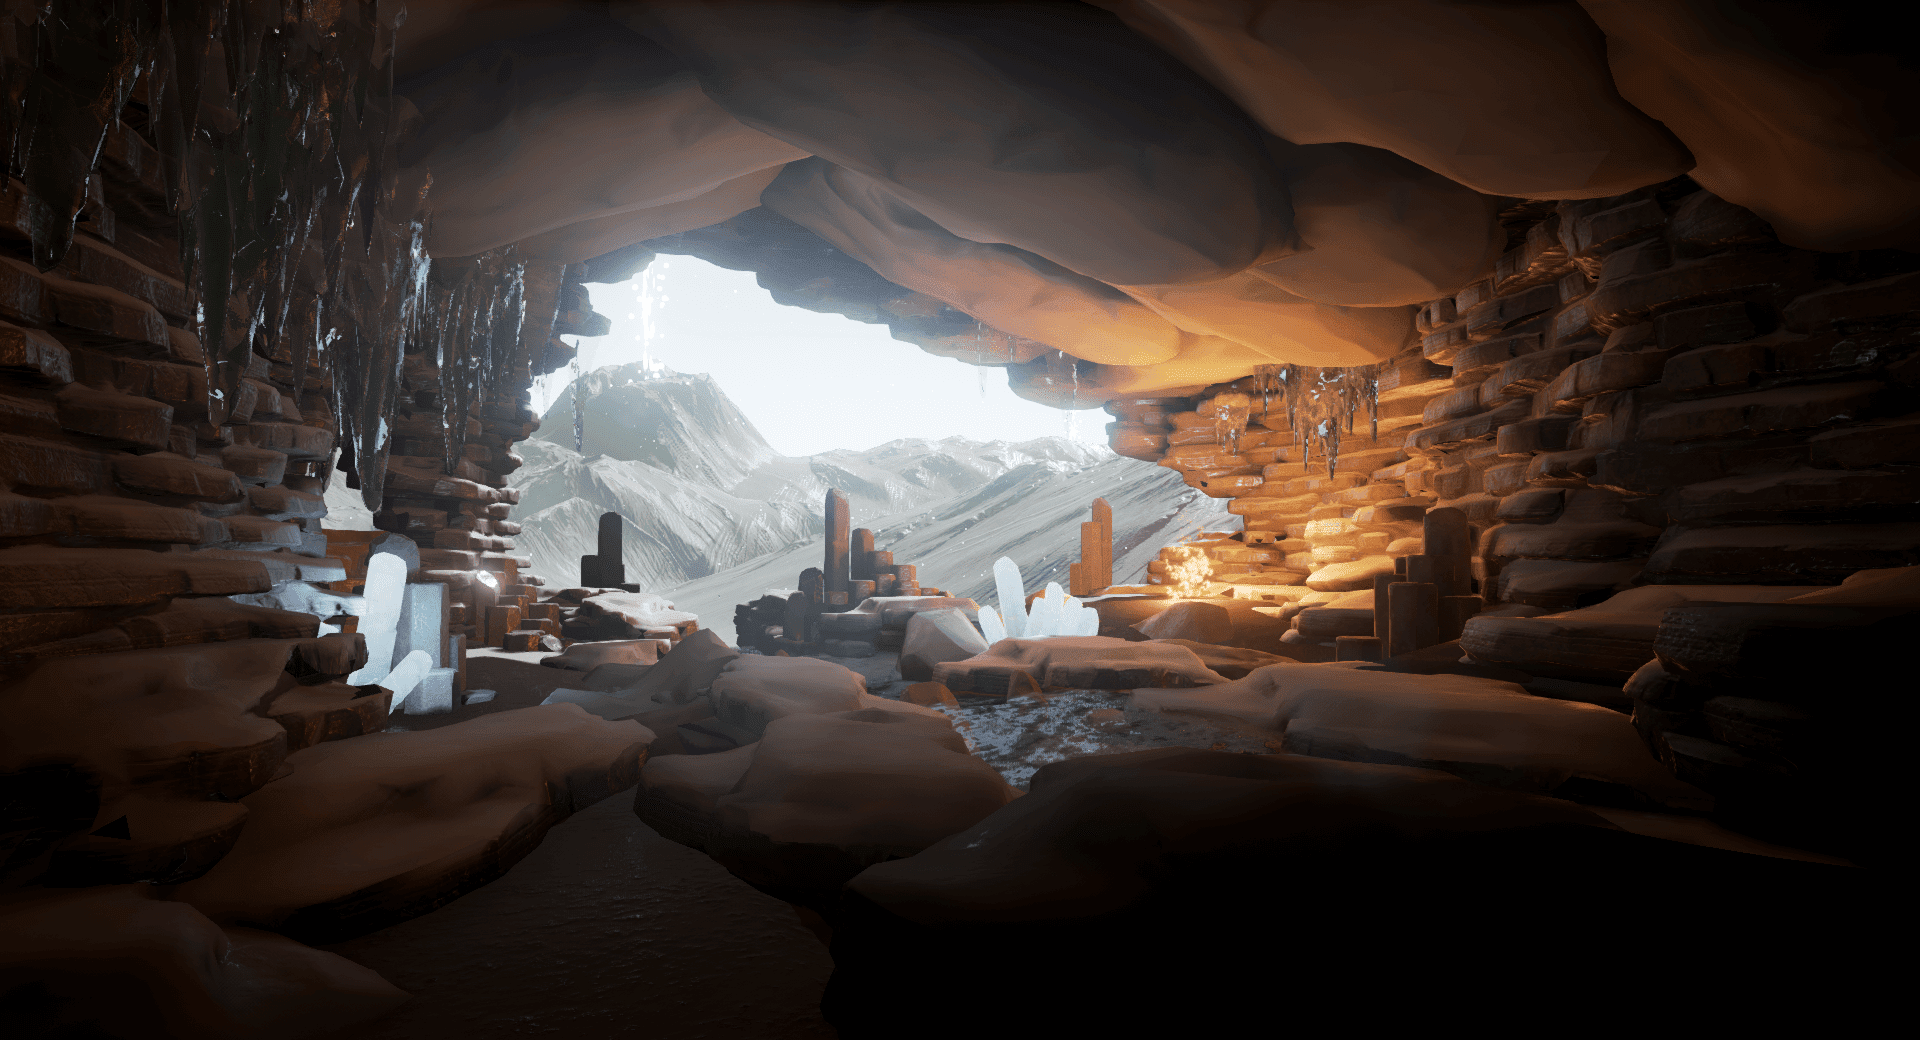
Of course, this wasn’t the only thing that I added to the scene in the meantime but if I would add every asset this would be a way long tutorial. I also did things like the fire, hanging ice and water stream running through the cave.
6. Composition and Lighting
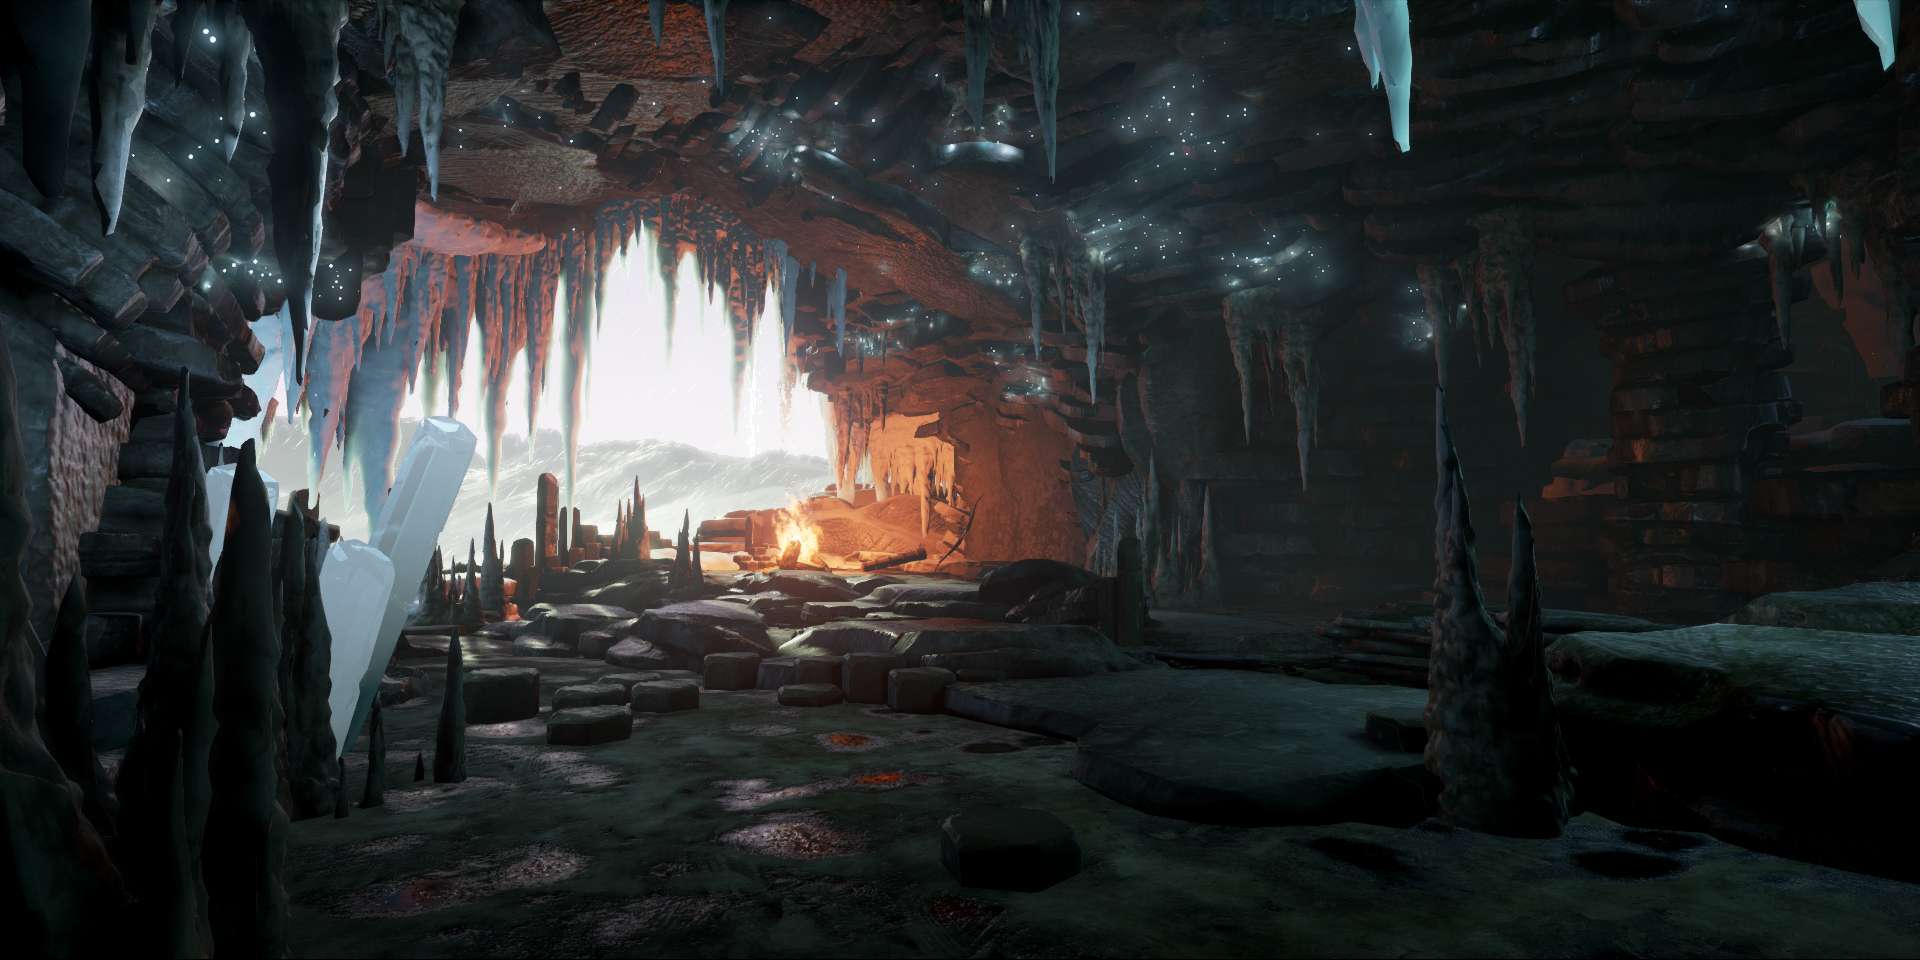
Keep all of the tricks in mind when thinking about composition and lighting. Try to build the scene logically and have a nice focal point in the scene.
Talking about this it was nice adding a fire as this contrasted the outside and the blue colors of the cave itself. Also, we have the bright blue crystals and some glow worms to put further in some contrast.
7. Post processing and effects

Adjusting the floor material a bit more to make a more fitting texture was the next step to make, I also adjusted the roof meshes to make the roof feel more natural and I added the bottom of some wall meshes to create some places where the eye can rest, this is an important step to think about, because adding detail everywhere is going to make the picture less interesting as a whole.
I hope this was helpful to you guys, and that you can use some of these things in your own work. If you have any questions, don’t be afraid to contact me on social media, and I’ll be glad to help.